The new Rift in Time expansion in Dreamlight Valley introduces many new quests including the Directive Dreamlight Quest.
In fact, this quest is found in the Eternity Isle which only unlocks once players access the Stardust Port.
Continue reading this article to learn about the Directive Danger In Dreamlight Valley.
Table of Contents Show
How To Unlock The Directive Danger Quest?
Directive Danger is a Specific Quest that only unlocks after meeting certain criteria.
Hence, players must follow the following points to unlock this quest in the game easily:
- Firstly, players must purchase the new expansion- A Rift in Time for 23.99$.
- Then, they must complete the port of many worlds to access the Eternity Isle.
- To do so, players initially have to talk with Jafar and Merlin and then meet with Merlin again in the Dream Castle.
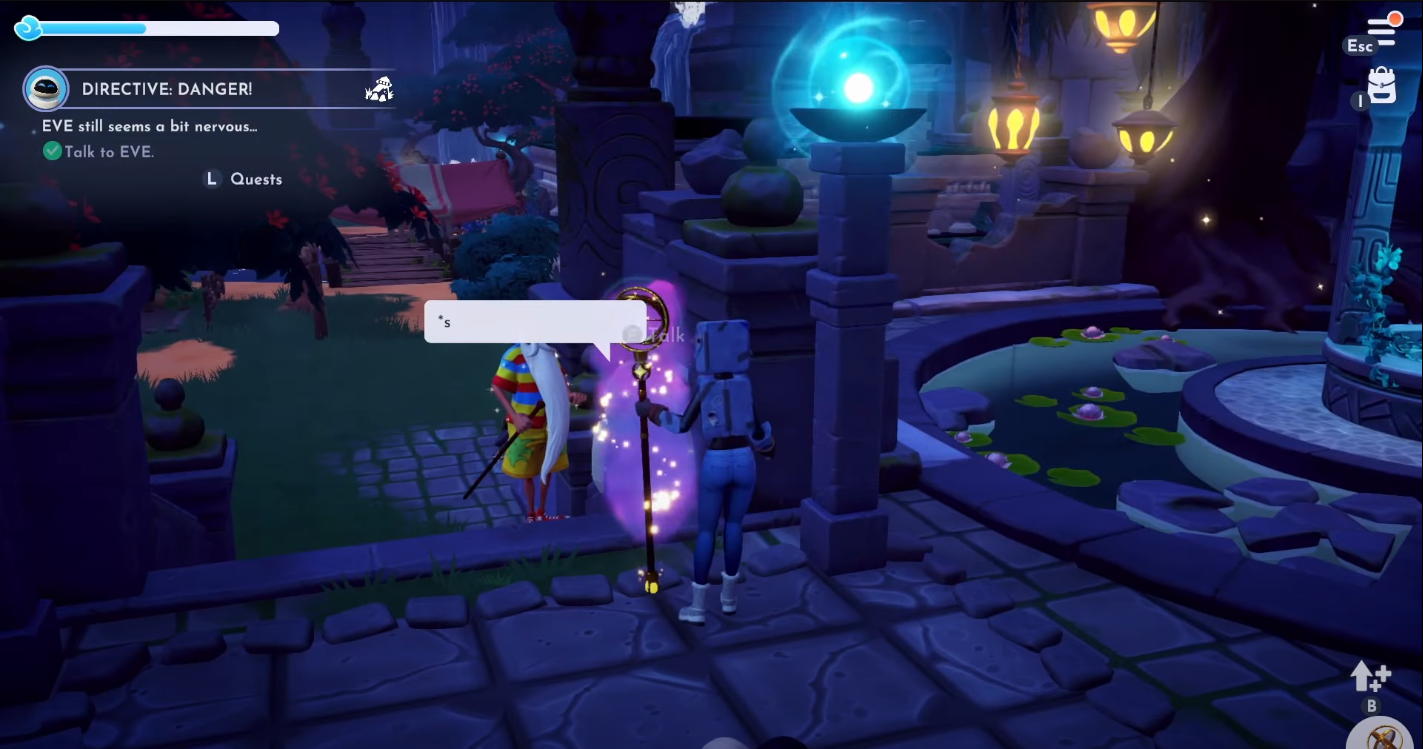
- Hence, interacting with Merlin will unlock the Staardust Port, giving players access to the Eternity Isle.
- Additionally, players must complete one more quest called the Flying Metal Nuisance before meeting Eve.
- Finally, players can interact with Eve to unlock the Dirctive Detective Quest in the Isle.
Complete The Directive Danger Quest In Dreamlight Valley
Players can dive into the Directive Danger Quest once they interact with Eve in the Eternity Isle.
Hence, they must follow the aforementioned steps, to reach this phase of the mission.
However, once players access Eve, they must interact with her by pressing the E key.
Consecutively, they should pick the ‘Anxious‘ option to start the conversation about the quest.
Afterward, the game displays a series of locations that players must locate to take a photograph.
In fact, players can only complete this quest after taking a photograph of all these locations.
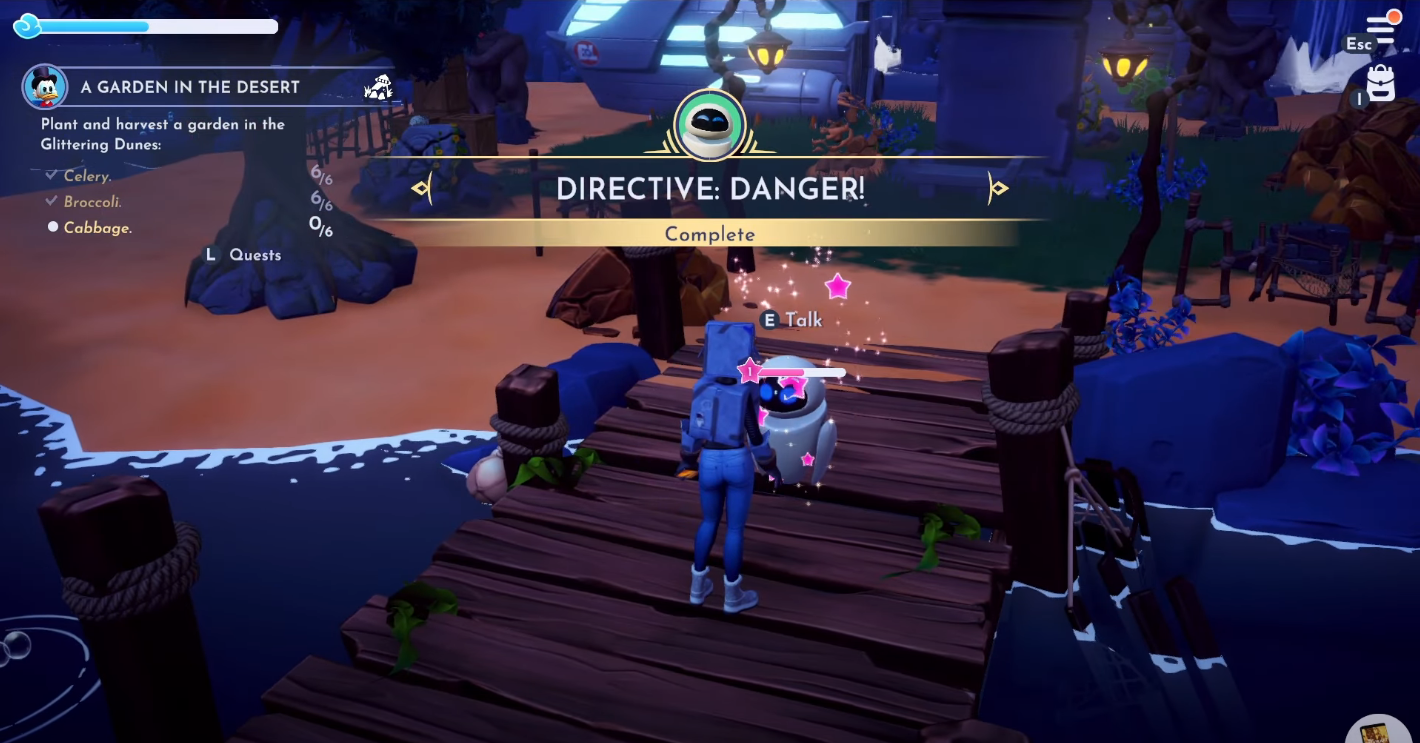
Players must fix the broken bridge during the quest to unlock more photograph locations.
After taking the last photograph, a glowing ray of light appears before players, leading to Eve.
Players must follow this ray of light and report the discoveries to Eve to complete this quest.
All Photograph Descriptions In The Directive Danger
The photograph descriptions of the Directive Danger quest are divided into two phases.
Players must take four photographs around the Eternity Isle for the first part.
Similarly, players should cross the bridge(after fixing it) to take six additional photos.
Here are all the photograph descriptions for the quest:
| S.N | 1st Phase | 2nd Phase |
|---|---|---|
| 1. | Giant Tree with hanging lanterns | A lady with long braided long hair(Rapunzel) |
| 2. | Small Wooden Boat | A misplaced boat high up in the jungle |
| 3. | Giant Statue Face in the hallway | A plant with very pointed teeth |
| 4. | A strange sunken doorway between two waterfalls | A man with an impossibly thick neck |
| 5. | - | A Snake |
| 6. | - | A waterfall of Sand |
The Bottom Line
The Directive Danger quest is one of the longest in the game because of some hefty prerequisites and multiple phases.
However, the quest itself is very fun as it allows players to discover new areas of the map along with new characters.
Therefore, players must buy the expansion pack and hop into the new DLC world to take part in this quest.
