You probably already know about Canva. But are you familiar with the Frames that are available on it? If not, you have landed at the right place.
The Canva Frame is an excellent tool for making your design flexible and highlighting the content simultaneously.
Continue reading the article to learn how to use Canva Frames in your design and customize your own Canva Frames.
Table of Contents Show
How to Use Canva Frames?
It is important to understand what Canva Frames are before learning how to use them.
Canva Frames are a powerful design tool that allows you to crop images and videos into different frame shapes.
Furthermore, using Canva Frames in your project design enhances your design and keeps the viewer’s attention.
You can use these Frames with photos and videos.
Continue reading to learn the proper steps to use the Canva Frames.
1. Create a Design
- First, log into Canva on any browser or open the Canva app on your device.
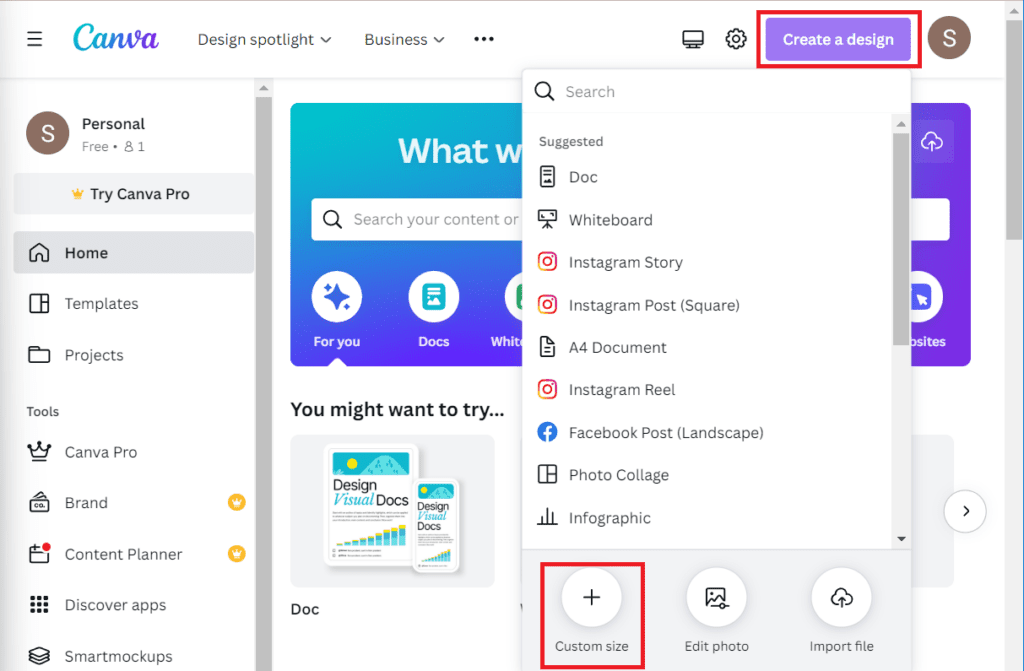
- Select Create a design in the top right corner side.
- Click the plus(+) icon(custom size).
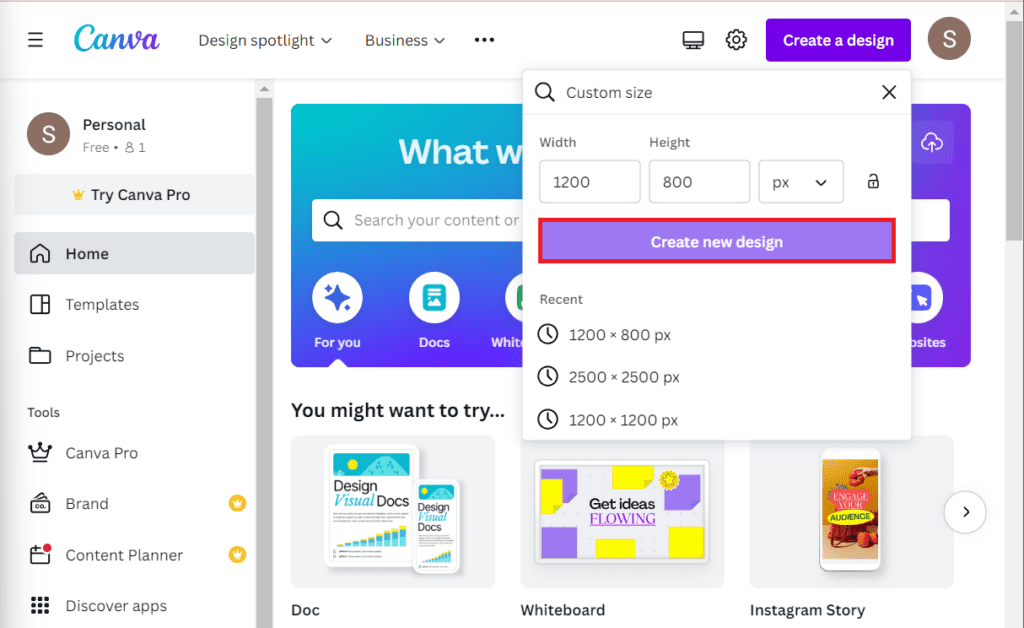
- Select a blank template with dimensions. You can customize the size of the template.
- Now, click on Create new design.
2. Find Your Canva Frame
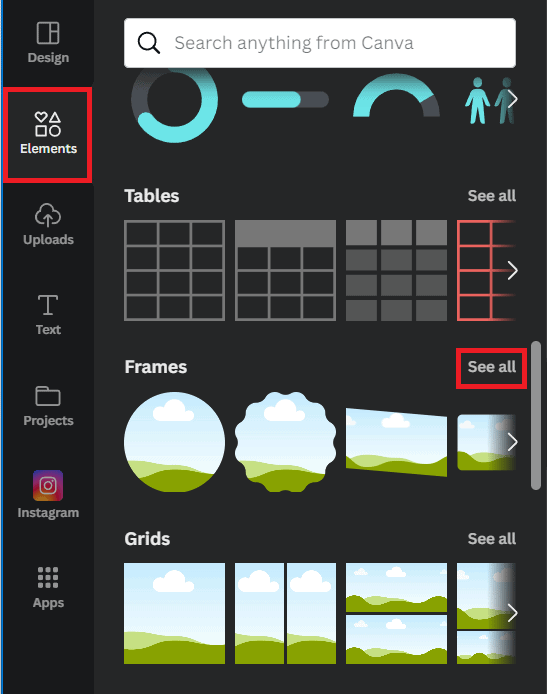
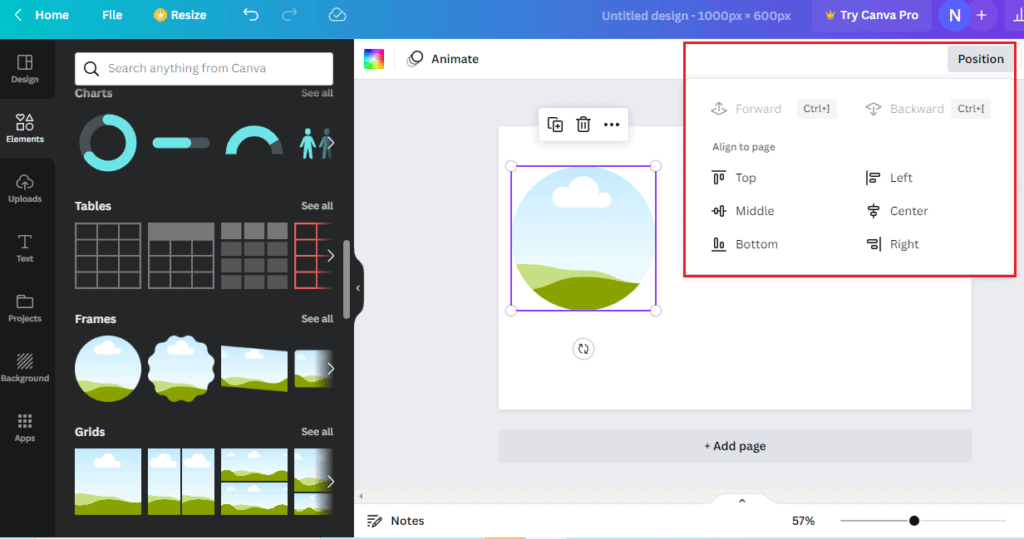
- Click on the Elements tab on the navigation panel on the left-hand side.
- Scroll down, and you will find the Frame Section below the table section.
- Click See All. You will find different Frames.
- Alternatively, you can directly find it in the search bar. Type Frames on the search bar.
3. Select Your Canva Frame
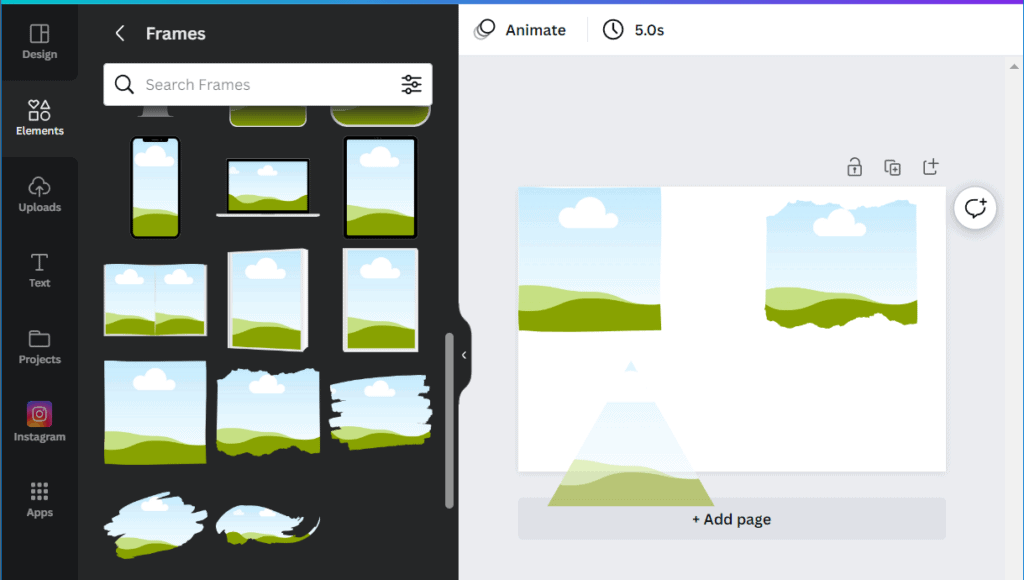
- Click on the Canva Frame you want to add.
- Now, drag and drop more Frames you want to add to your project. You can manage the position of the Frames on your own.
4. Add Images/Videos
You can add images/videos from the Canva library or upload your own from the Upload section.
- Click Uploads > Images.
- Drag and drop the images/videos into the corresponding Canva Frame.

You can change the filters, effects and settings. In addition, you should not move the Frames after you have added the images/videos.
5. Adjust and Resize the Frame
After selecting images/videos, you can drag the frame to adjust the placement.
- Drag the frame’s border in or out to resize it to make it smaller or larger.
- Depending on your needs, you can resize a frame to make it larger or smaller.
- To make the frame larger, click on it and drag it into one of the corners.
- To make the frame size smaller, follow the same process but drag the top border of the frame down.
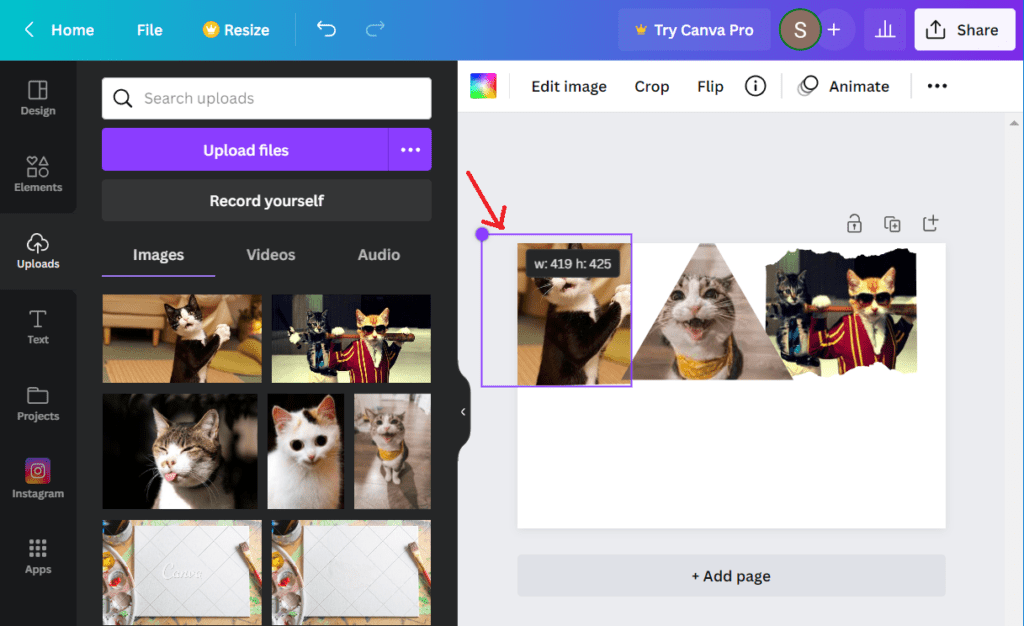
6. Resize and Edit the Added Images/Videos
Resizing is one of the most important steps in Canva within the Frames.
- You can reposition the image with a double click and drag them.
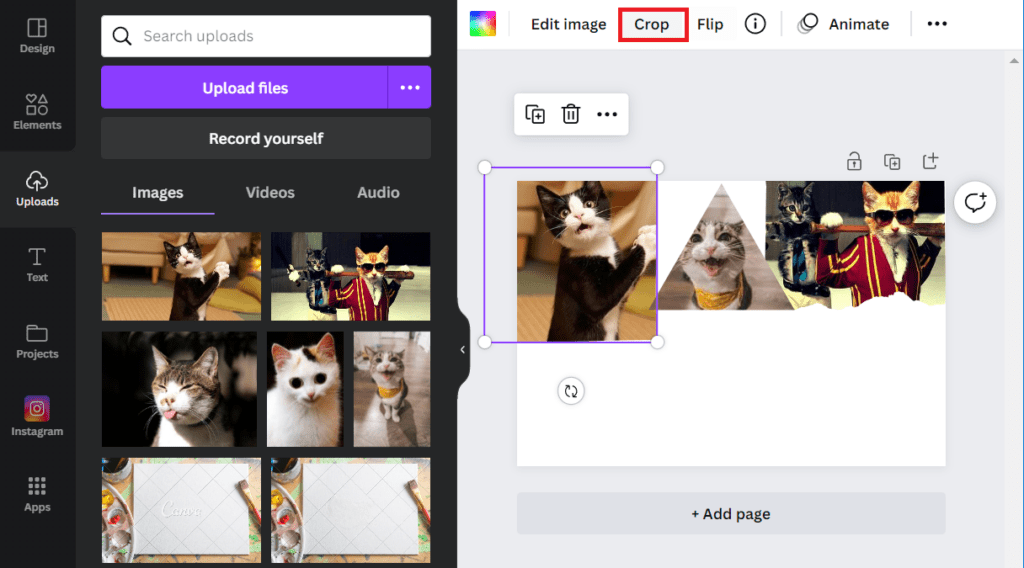
- To adjust the image, click on it and select the Crop option from the toolbar.
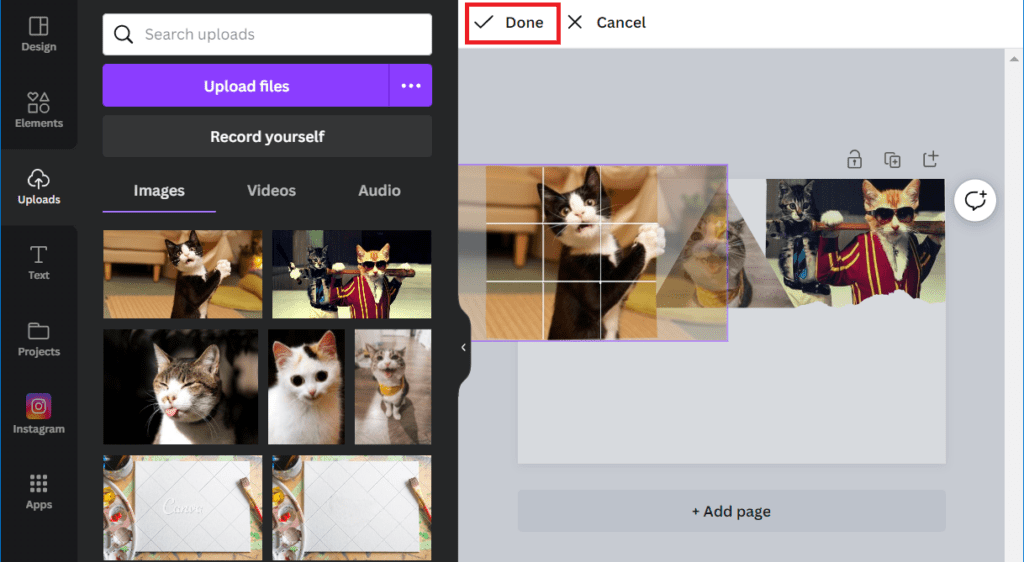
- Then after resizing the images, Click Done.
- Select the image you want to edit and click Edit Image.
- You can also adjust brightness, contrast, and saturation and choose filters as you want.
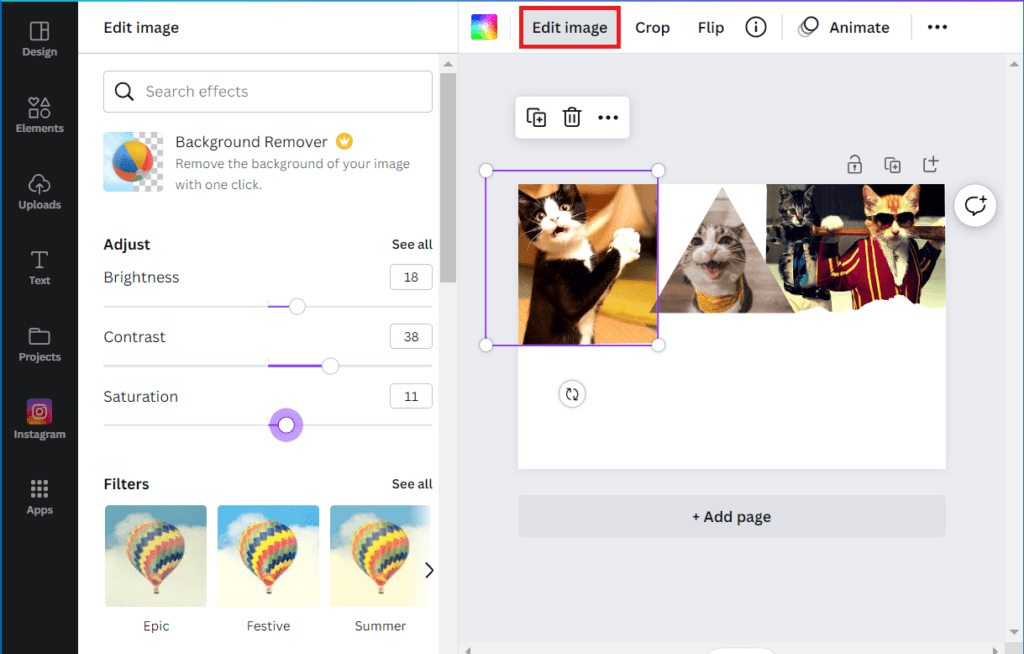
You can quickly delete the images and Frames. Follow these steps to delete the images and Frames.
- Select the object and click the Delete button at the toolbar on the top side.
- You will see the Delete picture and Delete frame options.
- To remove an item, click on the delete button.
![]()
7. Change/Remove the Background
It is an optional step; you can either remove or customize the background.
Follow the steps to remove or change the background.
For Adding a Solid Color Background
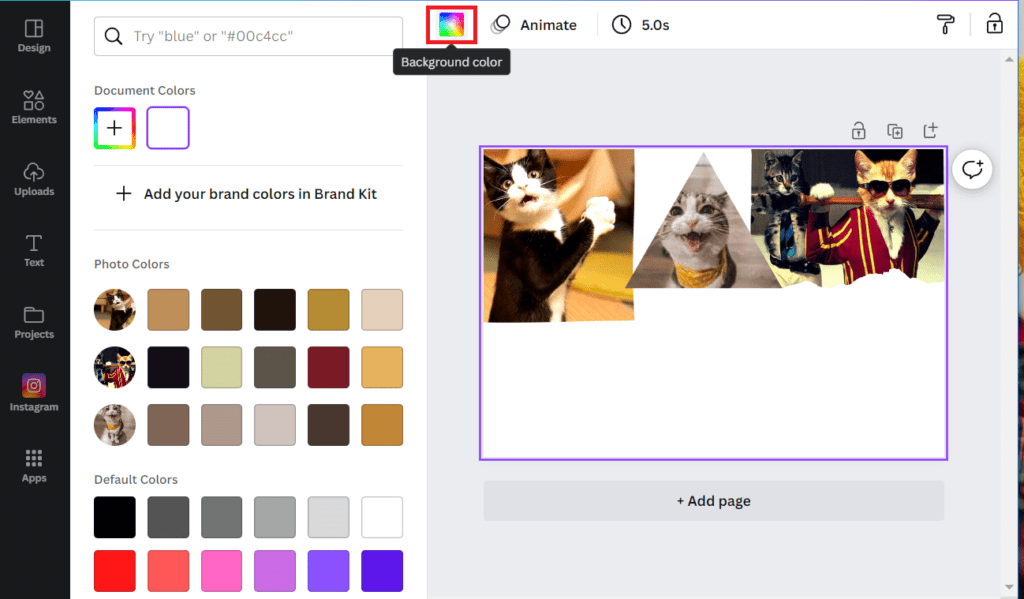
- Click the Background icon(Rainbow tile) from the editor side panel.
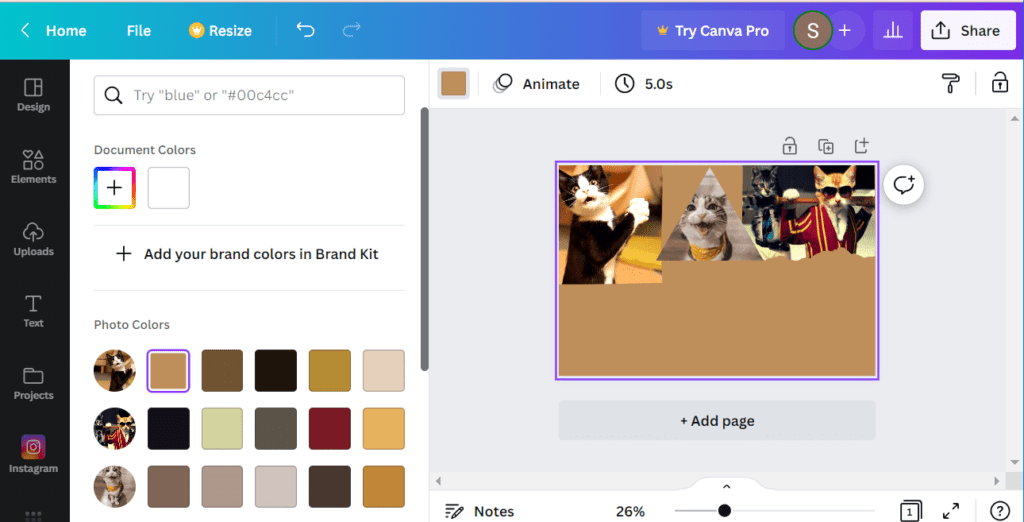
- Select the color tile below the search bar.
- You can pick any color from the color palette icon.
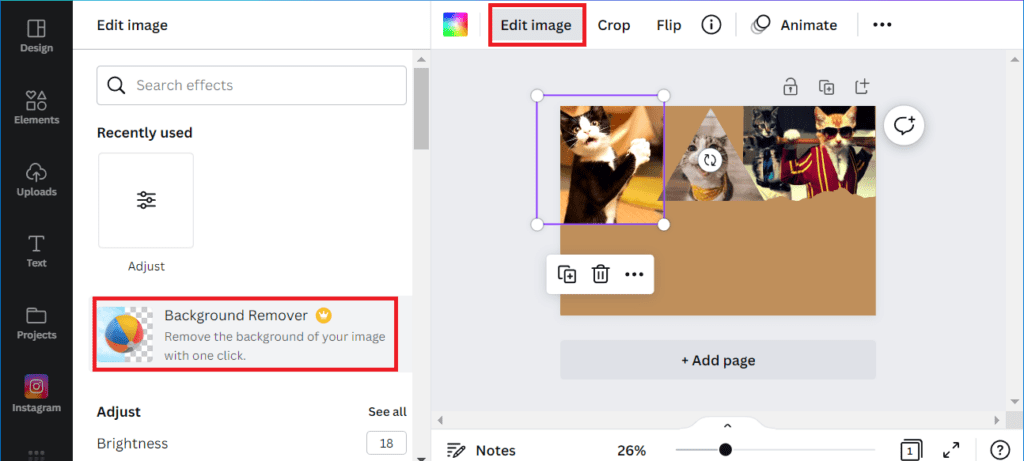
- You can remove it from the Edit image section at the top panel.
- Click on Background Remover on the side panel. Meanwhile, this feature is only available on Canva pro version.
To Add a Gradient Background
- Follow the same step no. 1 as above.
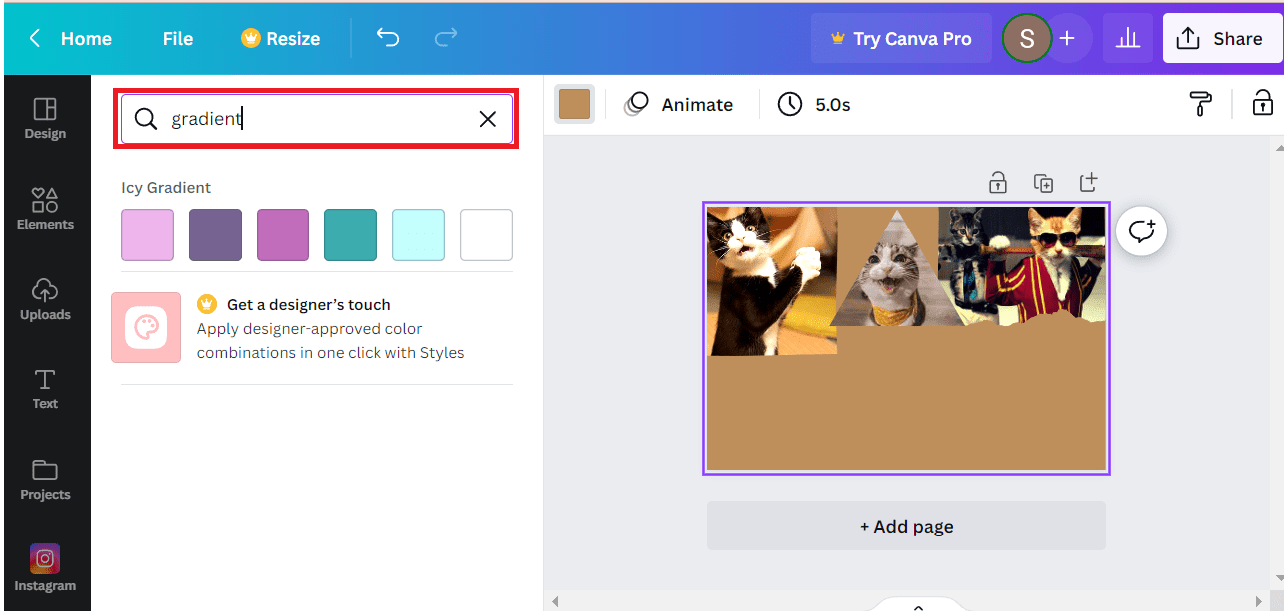
- Type gradient on the search bar and click enter.
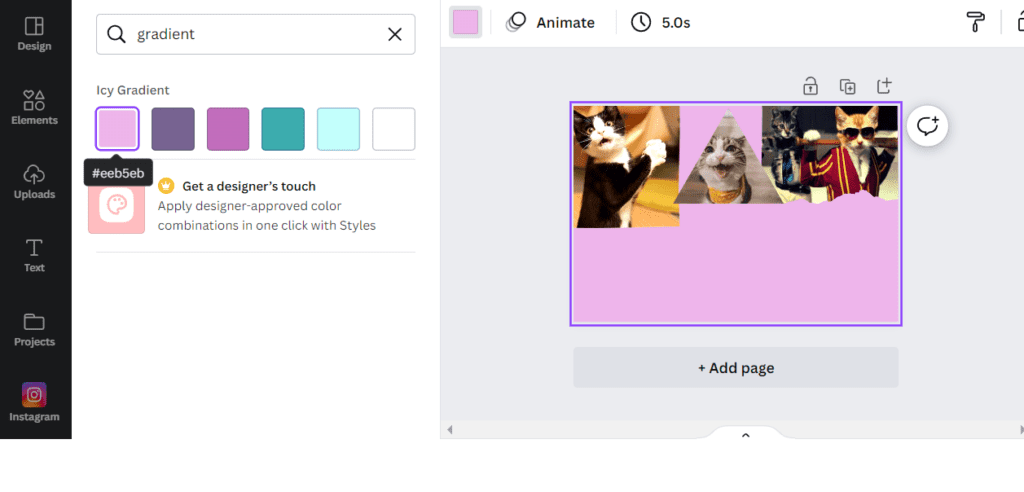
- Select any of the gradient options.
- You can also edit the gradient color. Click the Background color tile icon on the upperside toolbar.
To Add an Image Background
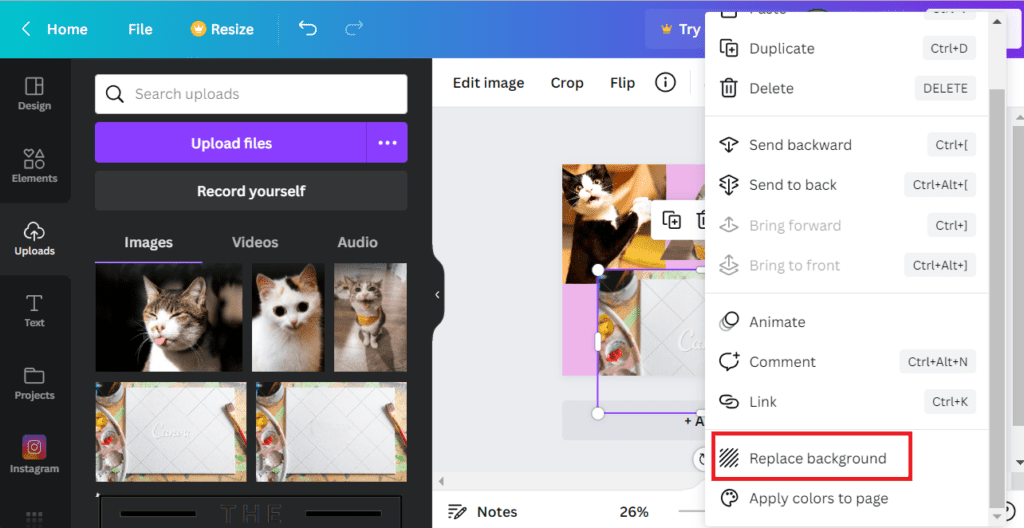
- Look for an image to use as a background. You can also use Canva images.
- Right-click on it and select the Set Image as background or Replace Background.
For Adding the Video Background
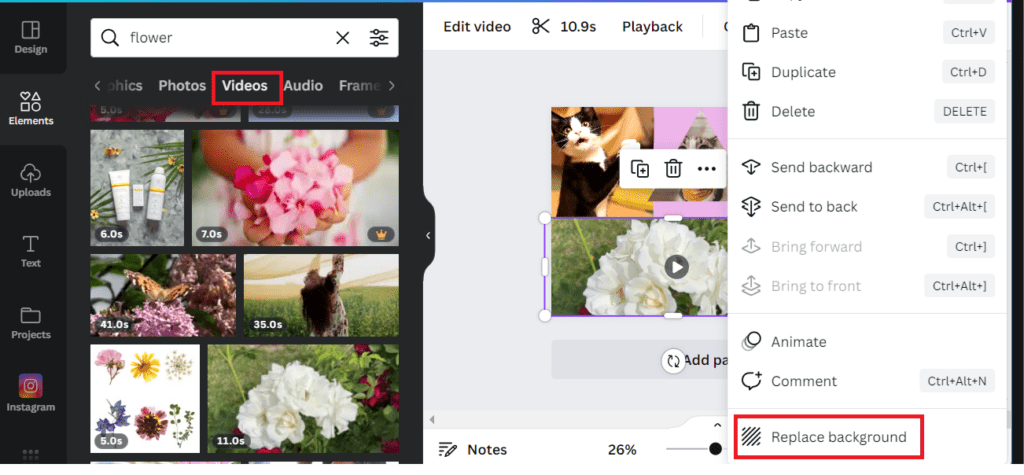
- Add any video from the upload section to your design, or you can use Canva Video.
- Right-click on the video and select the Set Image as Background or Replace Background.
8. Add Text to Frames
If you want to add text to your Frames, follow the steps outlined below;
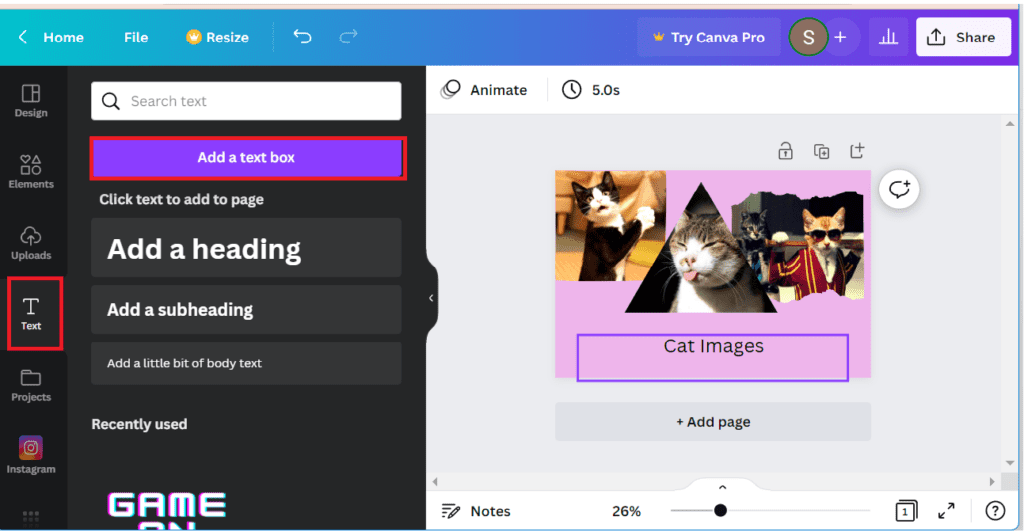
- Click the frame where you want to add text.
- Select the Text box and click Add a text box.
- You can adjust text size, color, fonts, and font combinations.
How to Create a Custom Frame in Canva?
There are many different in-built Canva Frames to use in your design.
If you want to create your custom frame, you can create it by adding different elements.
Follow the steps below to create a custom frame in Canva.
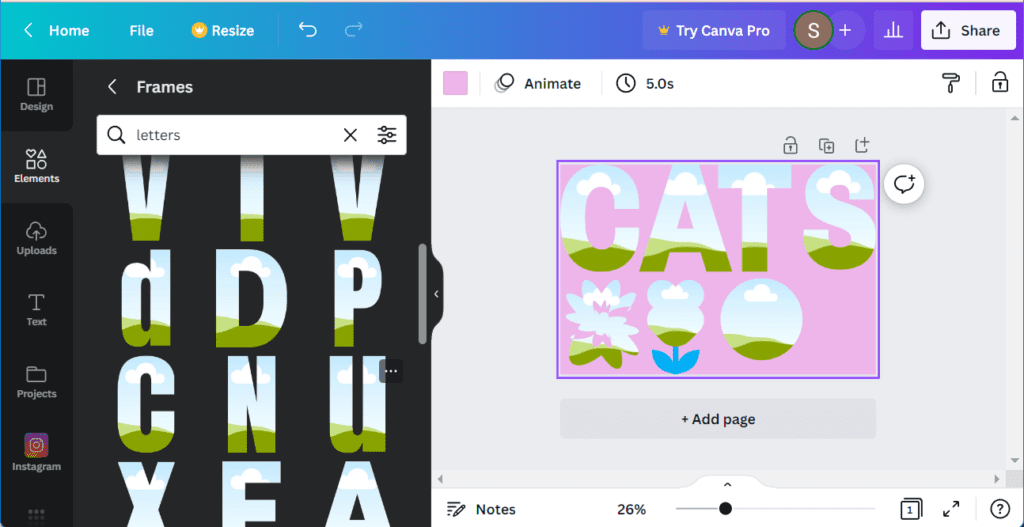
- Click the Elements option on the left sidebar and select Frames from the drop-down menu.
- You can choose different frame shapes and colors. Similarly, you can also search specific Frames on the search bar.
- Add images to your Frames by drag and drop method. You can even insert Canva Images too.
- Finally, you can arrange the Frames as you want and make them more creative.

The Bottom Line
I enjoy creating designs with Canva Frames because they make my design attractive.
So, you can also use Canva Frames to create engaging designs.
Have fun creating your professional designs and sharing them with the world.
Related article: How to remove Canva watermark?


