Are you having trouble getting your Canon Printer to print color?
If so, you are not alone. Many Canon Printer users have experienced the same issues.
However, you can fix the problem in a second. This article will explore some easy methods to fix color printing issues with Canon Printers.
So, without further ado, let us get started!
Table of Contents Show
Why is My Canon Printer Not Printing Color?
There could be several reasons your Canon Printer is not printing the color. Some of the common reasons are:
- Compatibility Problem
- Outdated or Corrupted Driver
- Low Ink Levels
- Printer setup error
- Use of duplicate ink, non-authentic ink
- Paper Jam/low paper loaded
- Dusty Print head
- Printer firmware issues
- Weak wireless connectivity
- Configuration issues
11 Possible Solutions to Canon Printer Not Printing Color
You can follow the steps below to resolve issues such as the Canon Printer not printing colors on your own.
1. Check the Ink Cartridge
A low ink level or an empty cartridge is one of the common reasons behind the Canon Printer not printing the color.
You must always check the ink cartridge and confirm it has sufficient ink for printing. Simply, you can replace the low or empty ink cartridges with new ones.
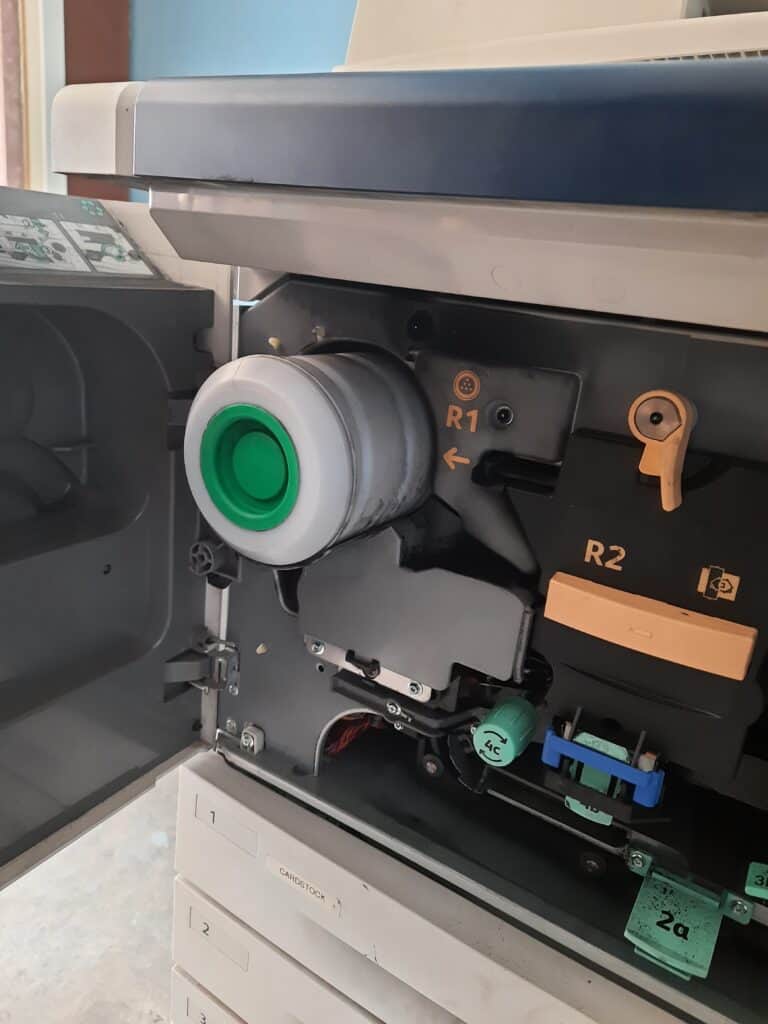
Follow the steps to check and replace the ink cartridge;
- Open the Printer’s front door and remove the cartridge slowly.
- Wait for some time until the cartridge stops moving.
- Insert a cartridge into its slot and pull it out.
- Check the ink and replace the empty cartridge with the filled one.
- Place the cartridge in its original position.
After replacing the new cartridge, run a print test to see if the problem persists.
If issues still exist, try some of the other fixes mentioned below.
2. Try Using the Original Ink
Using original ink may help you solve the Printer not printing color issue.
Sometimes, using duplicate ink or third-party ink can cause issues with your Printer.
It is because duplicate ink may not be formulated/compatible to work with your Printer’s ink delivery system.
Therefore, try to replace the ink cartridge with the original one to resolve the issue.
Here are some high-quality ink options for your Canon Printer.
| Conon Ink | Specifications |
|---|---|
| Canon PG 243 | Compatible with TR4520, MX492, MG2520, MG2922, TS302 and TS202 Printers. |
| Canon CLI-65 C | Compatible with Canon Pixma Pro 200 Printers. |
| Canon PG560 Black & CL561 | Compatible with Printer - PIXMA TS5350/TS5351/TS5352/TS5353 and so on. |
| Canon PG-30 | Compatible with Canon Pixma iP1800, iP2600, MP140, MP190, MP210 and so on. |
| Canon PG-240 XL / CL-241 XL | Compatible with all Canon Printers |
3. Update Canon Printer Driver
Outdated software sometimes causes issues with printing color. Check if there are any updates available for your Printer’s software.
You may update your Canon Printer drivers manually or automatically.
For Manual Update
Follow these steps to update the Canon Printer driver manually:
- Go to the Canon support website.
- Enter your Printer model in the search field and search for the result.
- Check on the Software and Drivers or Drivers and downloads tab.
- Select your operating system from the drop-down menu.
- Select the driver you want to download.
- Click the Download button to download the driver.
- Finally, open the downloaded file and follow the on-screen steps to install the driver.
If you can not locate the driver on the Canon website, you should contact the manufacturer to see if they have one that works with your Printer.
Alternatively, you can follow these easy steps to update the driver manually;
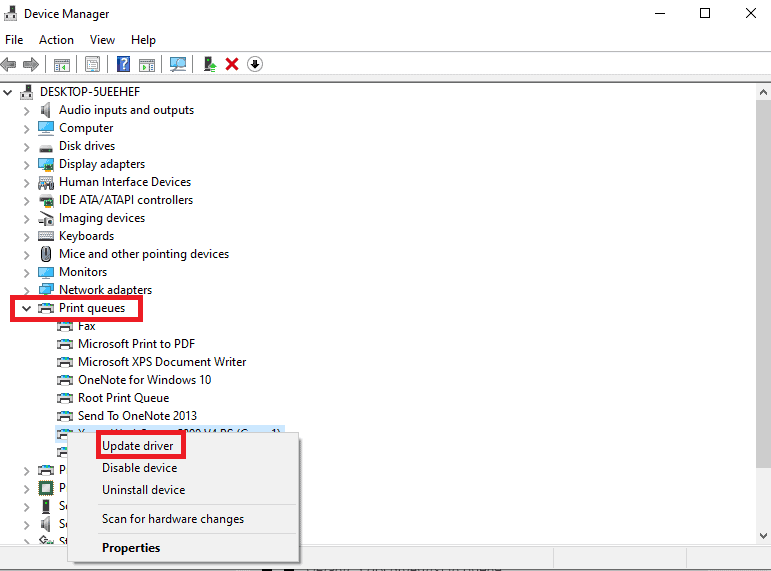
- Press the Win+R key on your windows and type devmgmt. msc in the search box and click the OK button.
- Please scroll down to see Print queues and click on it. You will see a Canon Printer device.
- Right-click on the Canon Printer device and select the Update Driver option.
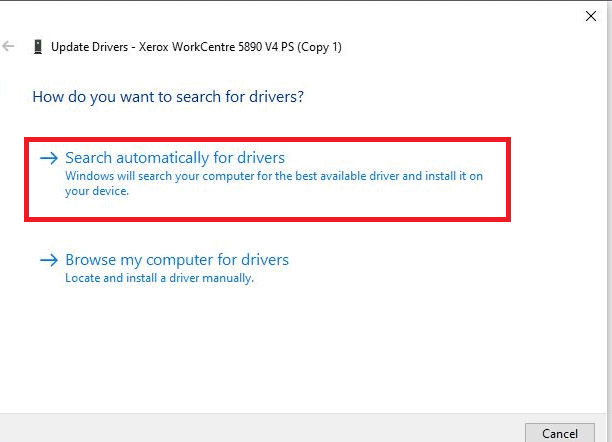
- Select Search automatically for updated driver software.
- Then, follow the on-screen instructions to complete the installation.
For Automatic Update
If you are not computer savvy, you can automatically update and install the driver.
Follow the steps outlined below to update the driver automatically;
- Download Driver Easy on your windows(11/10/7), install and run it.
- Click Scan > Scan Now. It will take around 10/20 seconds.
- You will see a list of devices with outdated or missing drivers after scanning.
- Click Update All. You can also update them one at a time.
- Driver Easy will now download and install the correct driver for all the enlisted devices.
4. Restart Your Canon Printer
Turning the Printer off and then back on can sometimes resolve the issues.
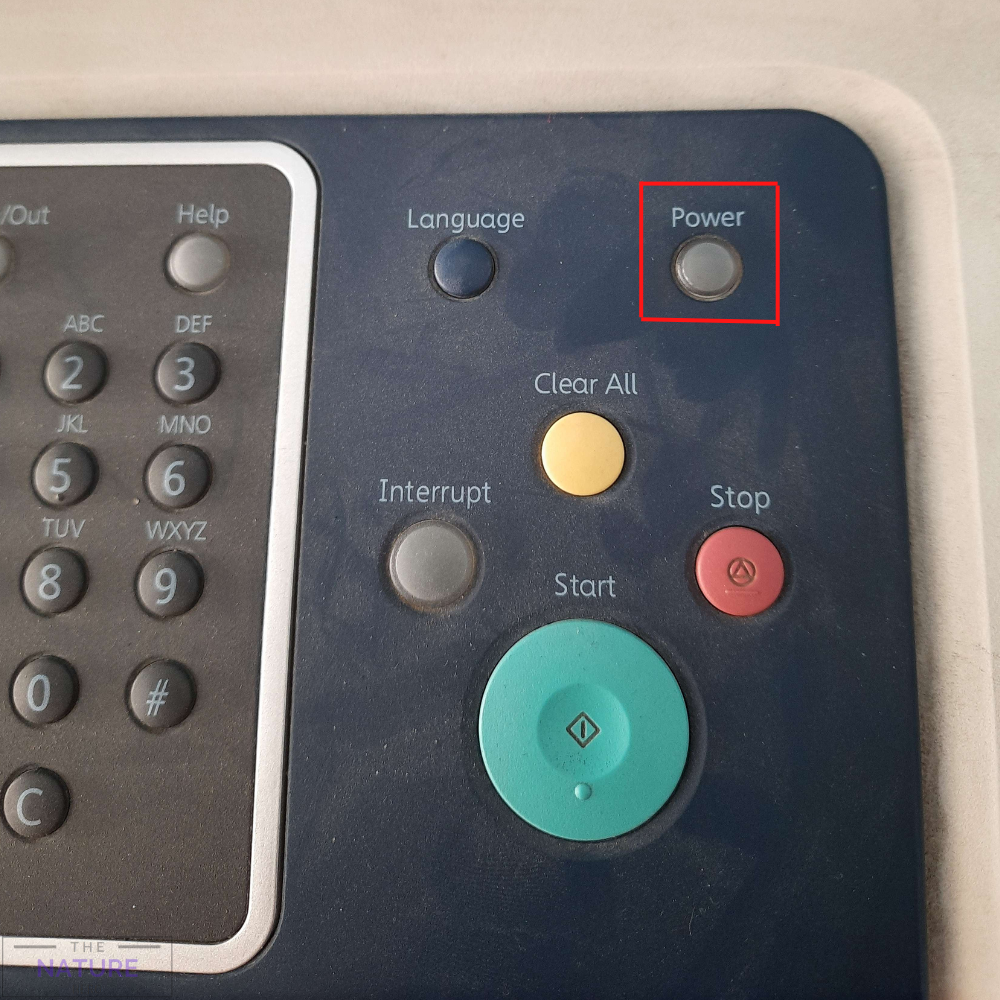
Here is how you can reset your Printer:
- Turn off the Printer by pressing the Power button on the left side of the Printer.
- Unplug the power supply from the socket.
- Unplug every connection from the Printer.
- Plug in every connection and press the Power button in your Printer again.
Check whether this fix resolves the issue or not.
5. Check Printing Settings
Make sure that the Printer is set to the correct color mode.
Some Canon Printer has a setting that allows you to switch between printing in greyscale or color.
To check the settings, you can follow these steps:
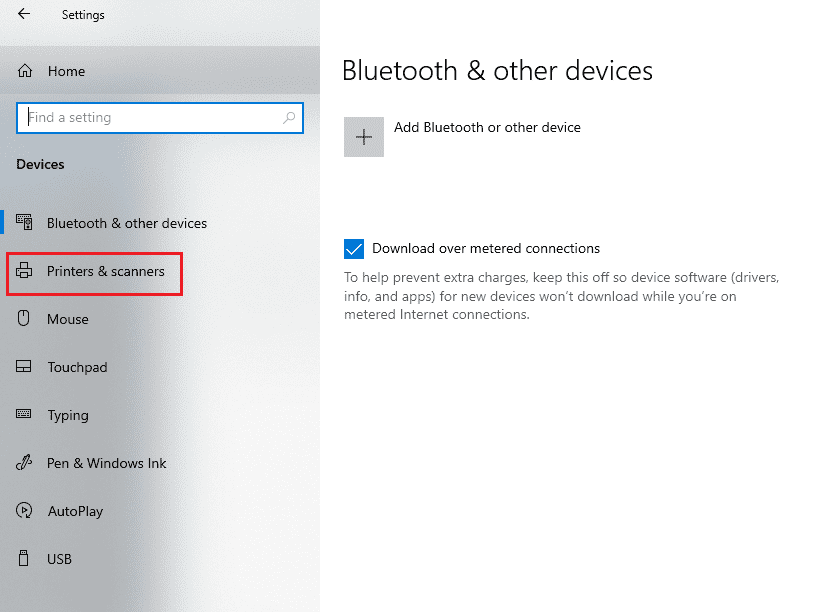
- First, Go to the start menu on your PC and open Settings.
- Click the Printer and scanner option.
- Select your Canon Printer from the available list.
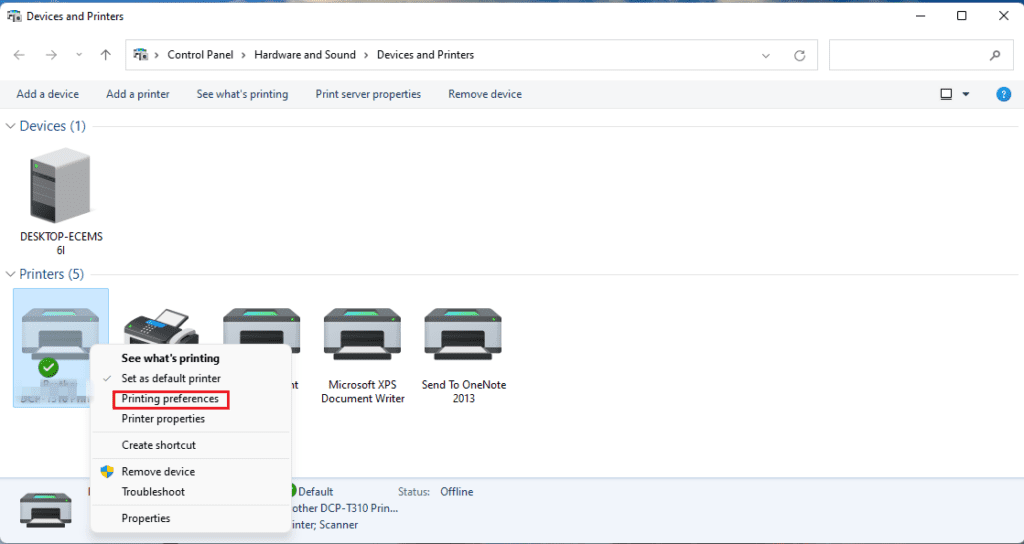
- Click on the Printing Preferences option.
- You can check whether the color printing option is enabled or not.
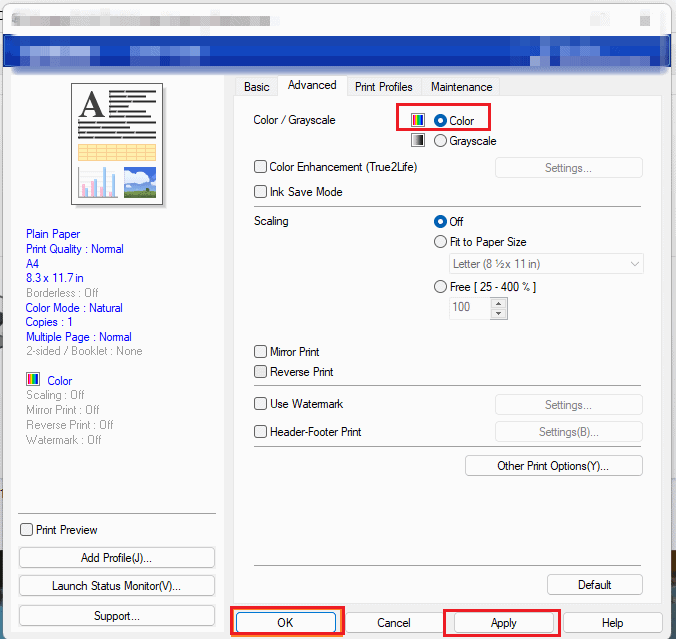
- Go to advanced options and choose Color, and tap on Apply.
6. Clean the Dusty Print Head
The Printer may be unable to print color if its head is dirty or clogged. Simply cleaning the print head may fix the issue.
You can follow the Printer’s user manual instructions or the methods listed below to clean the print head.
- Turn off the Printer and unplug every connection.
- Lift the Printer’s scanning unit.
- Locate the print head (it is a part of the Printer that the ink cartridge sits in).
- Use a clean cloth to wipe away the dust or ink residue. (Do not touch the ink nozzles and electrical contacts)
- You can use a damp cloth if the print head is extremely dirty or clogged.
- You can only use a small amount of water; however, do not let any water get on the electrical contacts.
- Once you clean the print head, close the Printer cover and connect the power cable and other connections.
- Turn on the Printer and try the printing page to verify whether the issue is resolved.
Alternatively, you can clean the print head from the Printer settings automatically. Follow the steps outlined below;
- Turn on the Printer first.
- Open the paper tray. Make sure you have 4/5 paper in the paper tray.
- Select the Installation option.
- Click the Device icon under installation.
- Click Maintenance menu > Ok.
- Select Deep Cleaning > Ok.
- Select Yes and again Ok.
After the Printer has finished cleaning, restart it to check if the issue has been resolved.
7. Adjust the Paper Cartridges Properly
Incorrect placement of the paper cartridges may sometimes create issues with printing color.
To adjust the paper cartridges, follow the steps below;
- Turn off the Printer and unplug all connections from the Printer.
- Lift the Printer’s scanning unit similarly to the cleaning printhead process.
- Locate the paper cartridges and ensure they are aligned properly with the Printer. It should be positioned properly so that the paper feeds smoothly into the Printer.
- If the paper cartridge is not correctly aligned, adjust it until it is in the correct position.
- Close the Printer cover and connect the power cable.
- Finally, turn on the Printer to see if the issue is resolved.
8. Change Paper Settings
Sometimes incorrect alignment prevents the Canon Printer from printing color.
You can change the paper settings from the settings menu. Follow the steps below to change the paper setting;
- Turn on the Printer and place the paper in the paper cartridge.
- Select the Install button.
- Select Tool from a different options list and click Adjust Printer > Ok.
Now the Printer will print align page. Check to see whether the issue has been resolved.
9. Fix the Power Supply and Connection Issue
If the connection between the computer and the Printer is lost, the Printer may fail to print color.
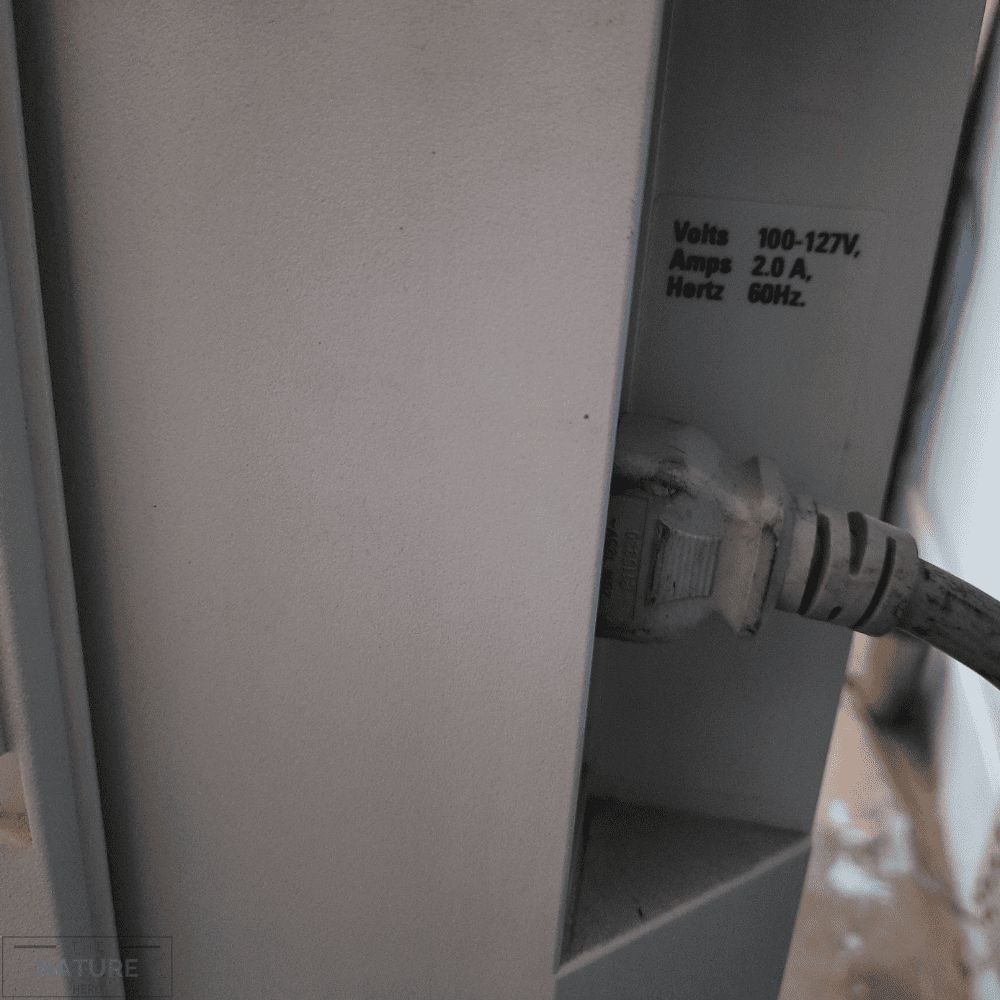
Verify whether the status LED is on or off. In case the LED light is off, check your power connection.
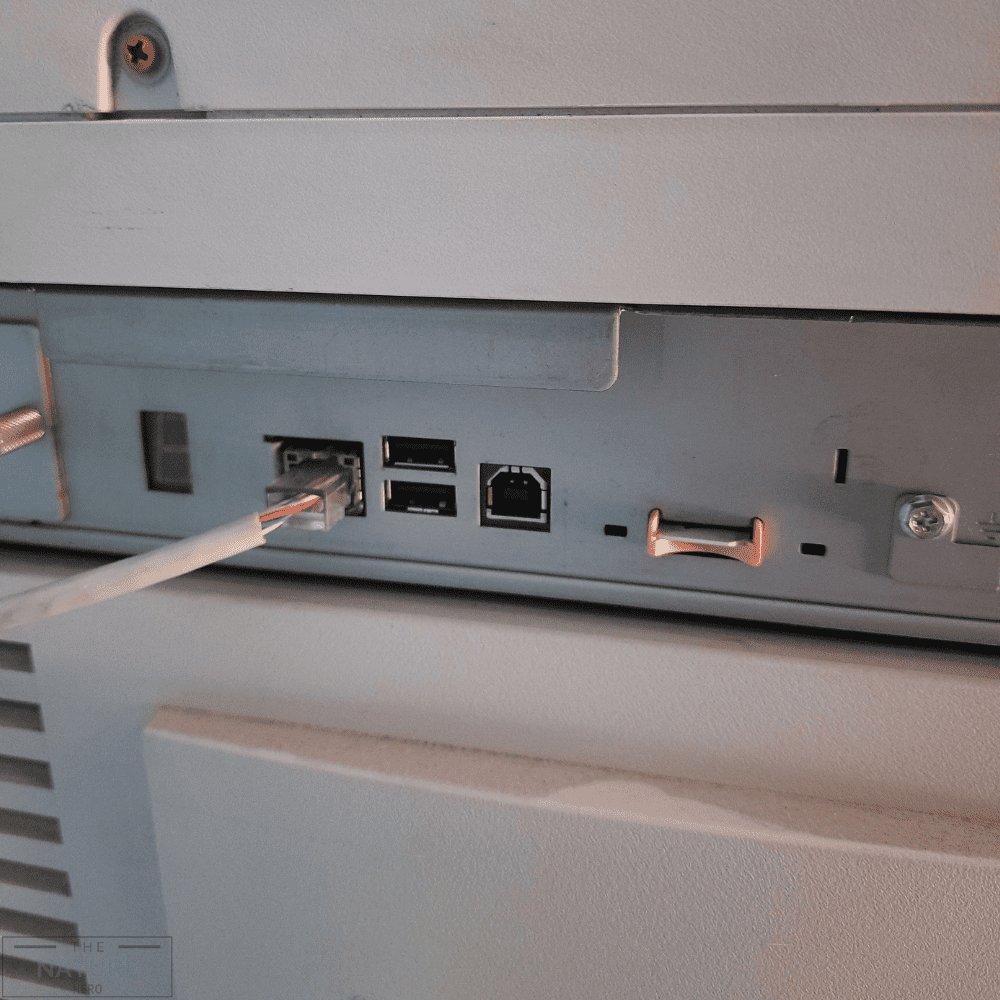
If a USB cable connects your Printer and computer, ensure the cable is plugged in correctly.
You can also try using another USB port on your computer.
If the connection between your Printer and the computer is wireless, you may also verify whether your Printer has a secure connection with the router.
10. Fix Printer Firmware Issues
Sometimes firewall software block communication between your Printer and computer.
Firmware updates may not let you print with the lower-priced compatible ink cartridge.
To continue printing, you must disable the firewall from your computer and check whether the problem is solved.
Follow these steps to disable the firewall:
- Go to the start menu, type Control Panel and click the ok button.
- Select System and Security.
- Click Turn Windows Defender Firewall on or off under Windows Defender Firewall.
- Then, Select Turn off Windows Defender Firewall.
- At last, Click the Ok button.
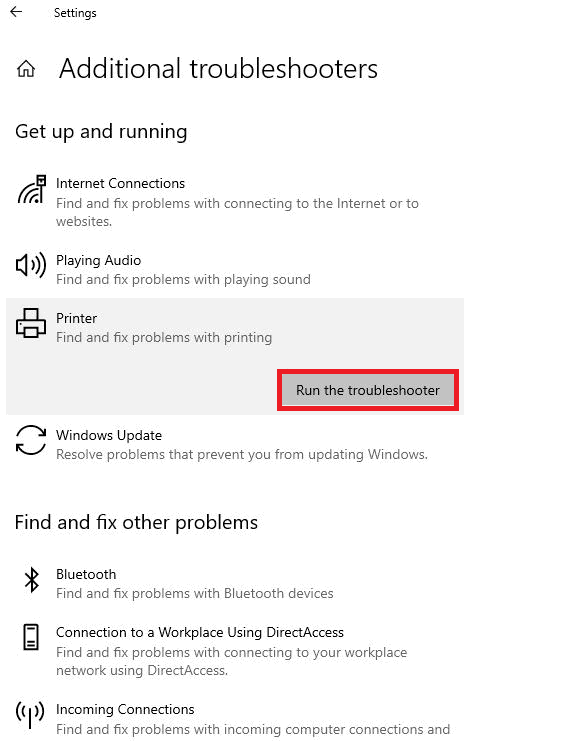
11. Run the Printer Troubleshooter
The Printer troubleshooter tool can help you with any non-physical issues.
Follow the steps outlined below to run the troubleshooter;
- Click Start and type troubleshoot on the search bar.
- Click Troubleshooting > View All.
- Scroll down and find the Printer option.
- Click the Advanced option in the next window, and select Run as Administrator/Run the Troubleshooter.
- Click Next, and choose the Printer that you want to troubleshoot.
- Then, click Next.
It will detect the issues and fix them automatically.
If you don’t see the Printer list on the troubleshooting list, ensure the Printer is connected perfectly and try again.
The Bottom Line
You can get your Canon Printer to print color with minimal effort if you have patience and the appropriate strategy.
We hope that these fixes help resolve the issues with the Canon Printer. Please share your results with us if you try any of these fixes.
If these fixes do not help, there may be a problem with the Printer itself.
In this case, you must contact Canon’s customer support for further assistance.
Frequently Asked Questions
Why is My Canon Printer Not Printing Color After the Ink Refill?
There could be several reasons your Canon Printer is not printing color after refilling the ink.
It might be due to outdated drivers, dirty print heads, configuration issues, and other reasons we mentioned above.
How do I Calibrate the Color on My Canon Printer?
To calibrate the color on your Canon Printer, follow these steps:
- Turn on your Printer and make sure you have white papers in the Printer tray.
- Open the Control panel and select the Maintenance option.
- Select the Color Adjustment option under maintenance.
- Follow the on-screen steps to complete the color calibration process.
When the color calibration is complete, try printing the page to see if it prints in color properly.