Do you struggle to organize and manage your large Photo collection on Google Photos?
It can be time-consuming to select multiple Photos on Google Photos one by one; however, you can select all Photos at once.
Continue reading for a detailed guide on selecting all Photos simultaneously in Google Photos on both mobile and desktop.
Table of Contents Show
How to Select All Photos in Google Photos?
Google Photos provides a unique feature that lets you select multiple Photos simultaneously.
You can also quickly assess the Photos and videos when you are offline.
However, there is no option such as Select All or Ctrl+A on Google Photos. But there are several other ways to select all Photos at once.
How to Select All Photos in Google Photos on Android/iPhone?
Google Photos provides a feature to select all Photos in your android and iPhone.
Follow the steps below to select multiple Photos at once in Andriod and iPhone;
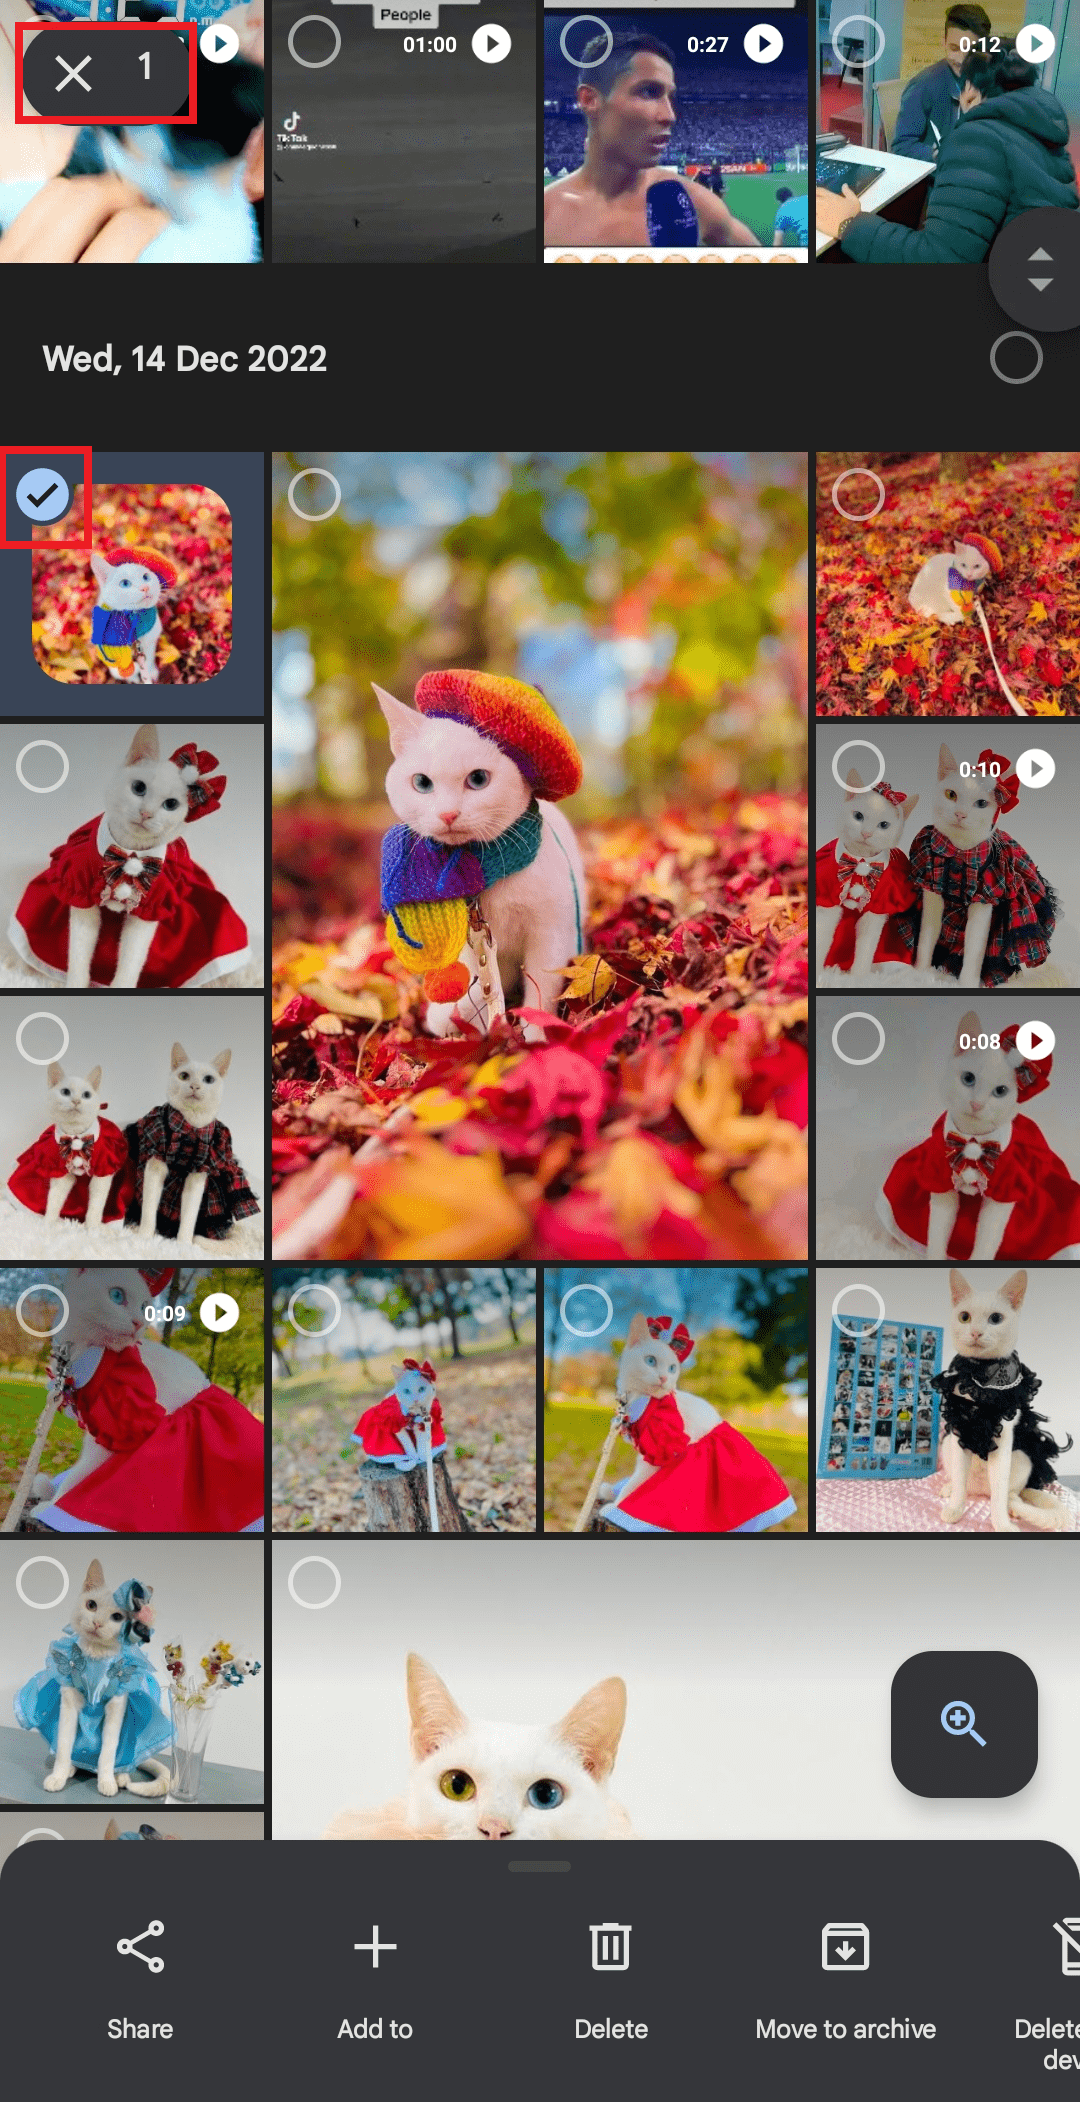
- First, launch the Google Photos application on your Android phone.
- Press the first picture you want to select. You will notice a blue checkmark on the left top corner of the selected Photo.
- Keep scrolling until the end without lifting a finger to select other Photos.
- You will notice a blue tickmark on all selected Photos.
- The number of selected Photos will be visible at the top left of your screen.

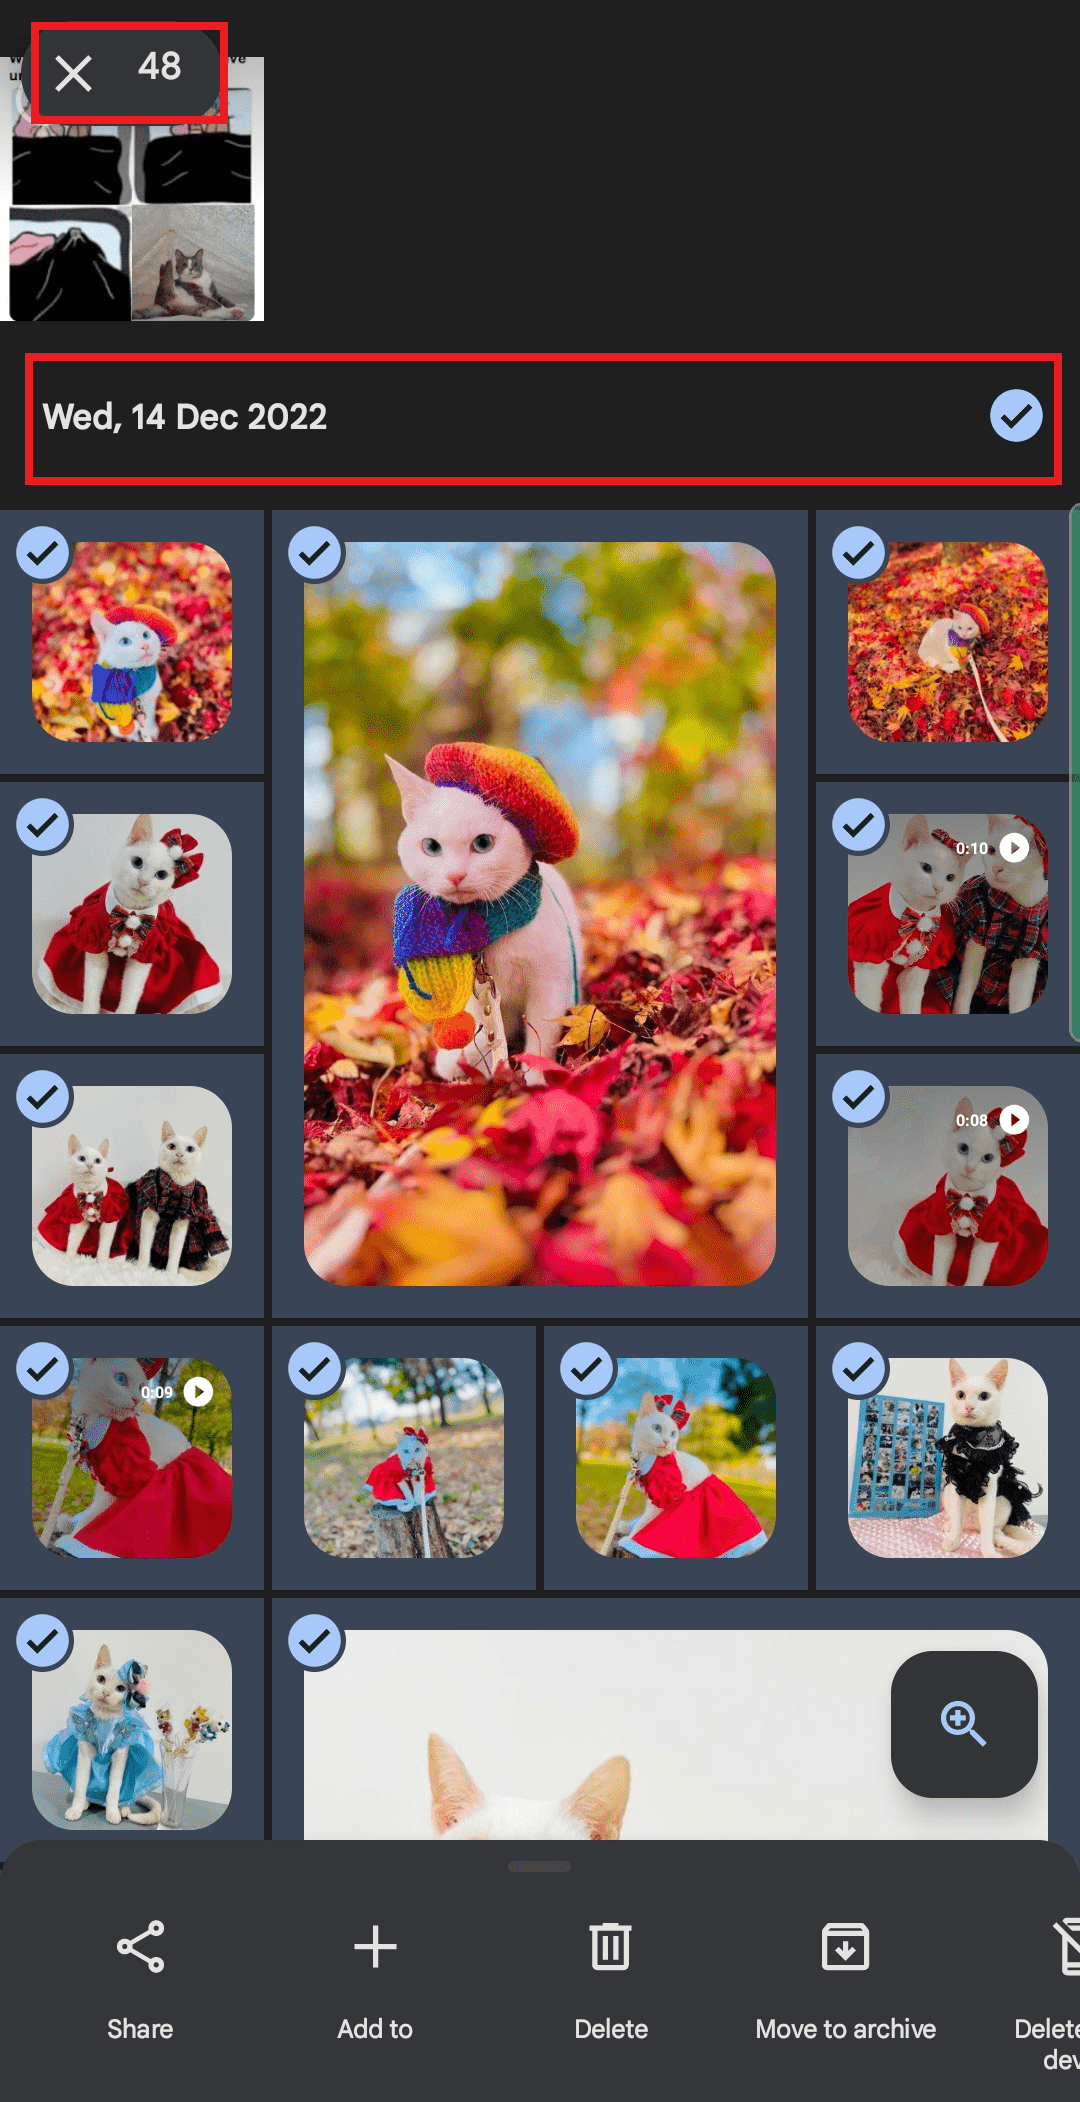
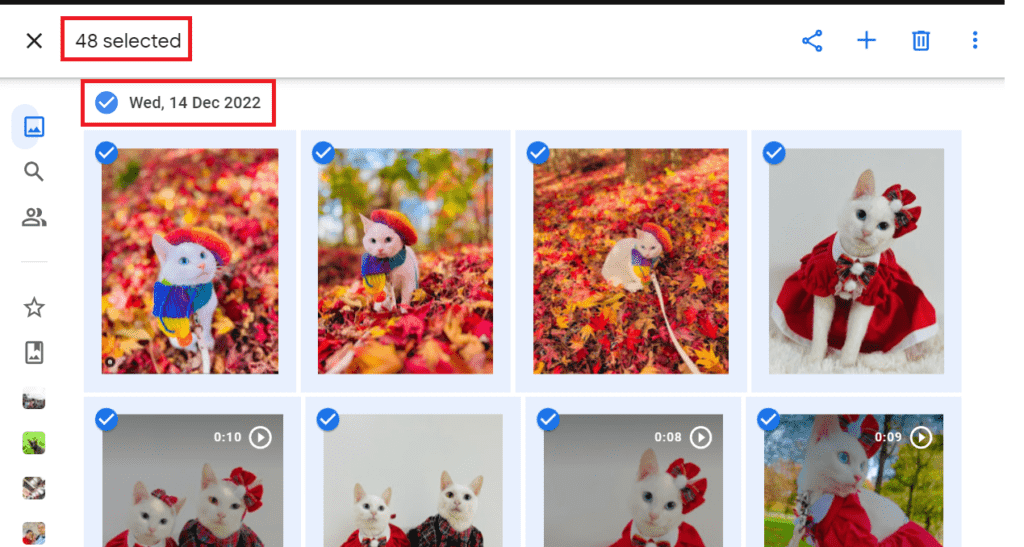
If you want to select all Photos grouped under a particular date, follow the steps outlined below;
- First, go to Google Photos and tap on the specific data.
- Like above, you can see a blue tickmark on the selected Photos and the number of selected Photos.
Then, using the bottom menu panel, select Delete, Share or Move to a new or existing folder.
How to Select All Photos in Google Photos on Windows/Mac?
Many users feel comfortable organizing Photos on a computer.
Google Photos does not support the keyboard shortcut. However, a few techniques can be used with the computer’s input devices.
Follow the steps below to select all Photos on your Windows/Mac;
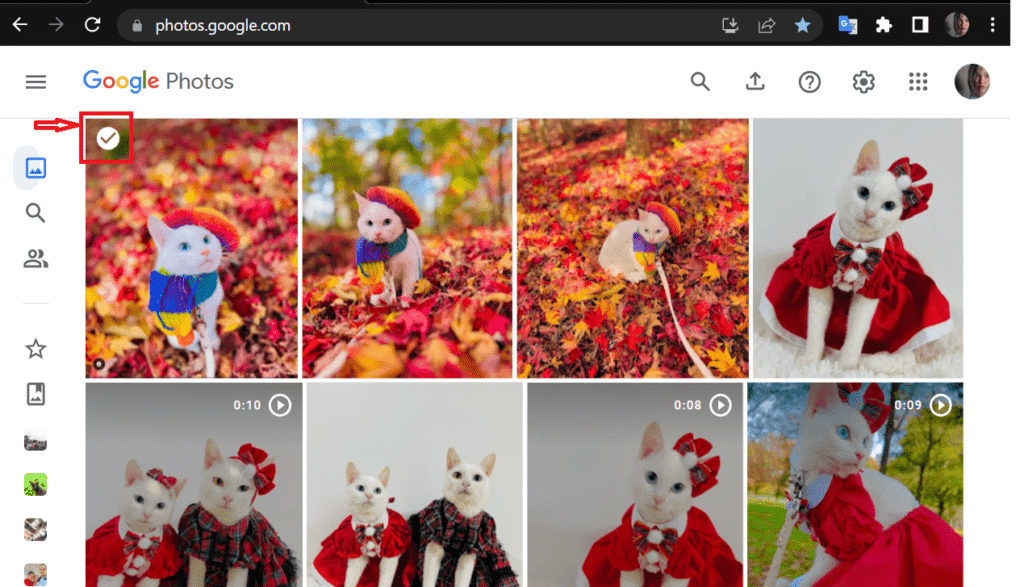
- Launch Google Photos on your device.
- Choose the first Photo you want to select. You will see a white tickmark on the left top corner of the selected Photo.
- After clicking on the white tickmark, it will turn blue.
- Click the Shift key on your keyboard to scroll down to the last Photo.
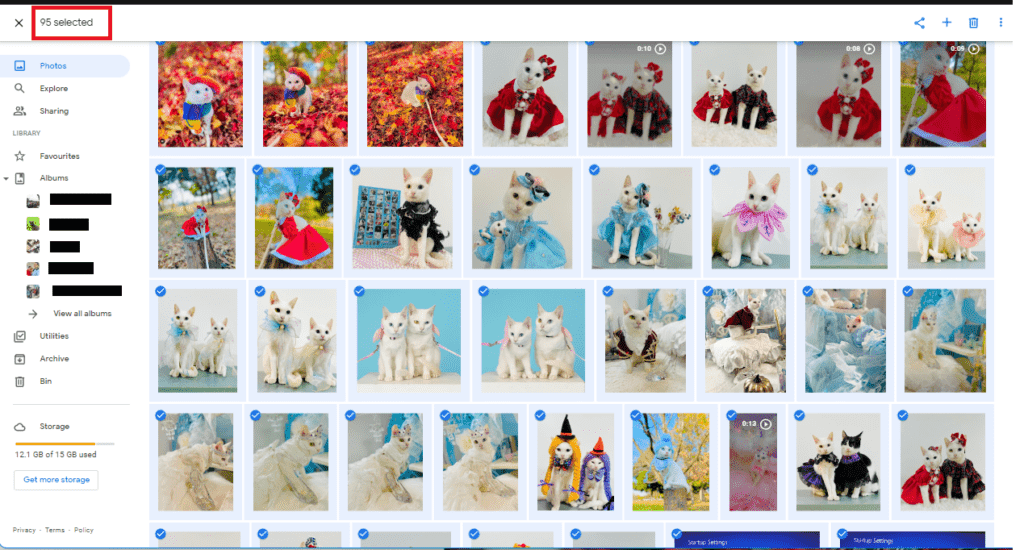
- Here you will see a blue tickmark on all the selected Photos.
- Also, you can see the number of selected Photos at the top left corner of your computer screen.
Here are the steps to follow if you want to select every Photo on your computer that is grouped under a specific date:
- Launch Google Chrome on your computer.
- Select the tickmark option.
- After clicking on it, you will see a blue tickmark on all the Photos of that particular date.
- Similarly, in the left corner, you will see the number of selected Photos for that specific date.
Now you can delete, share, or move selected Photos and videos.
Download All Selected Google Photos
Follow the steps to download all selected Google Photos easily;
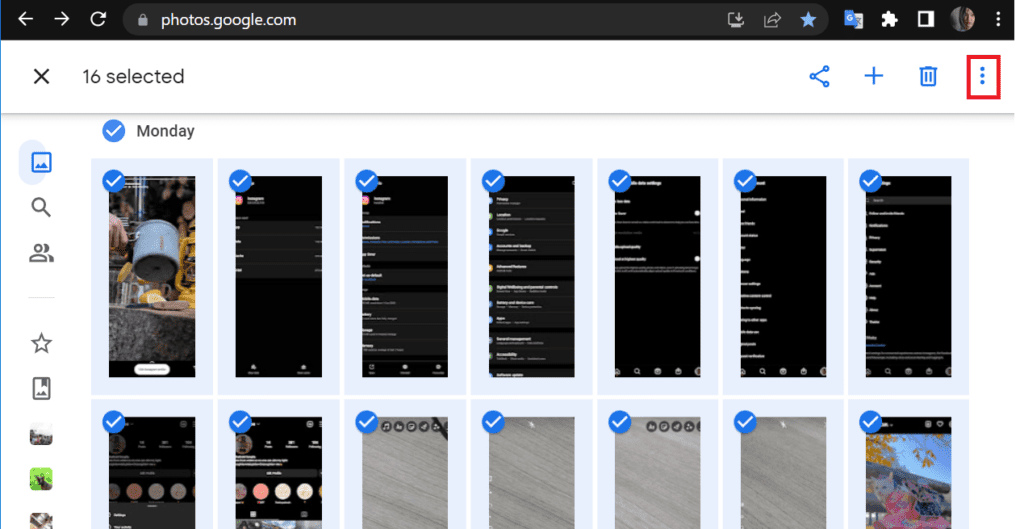
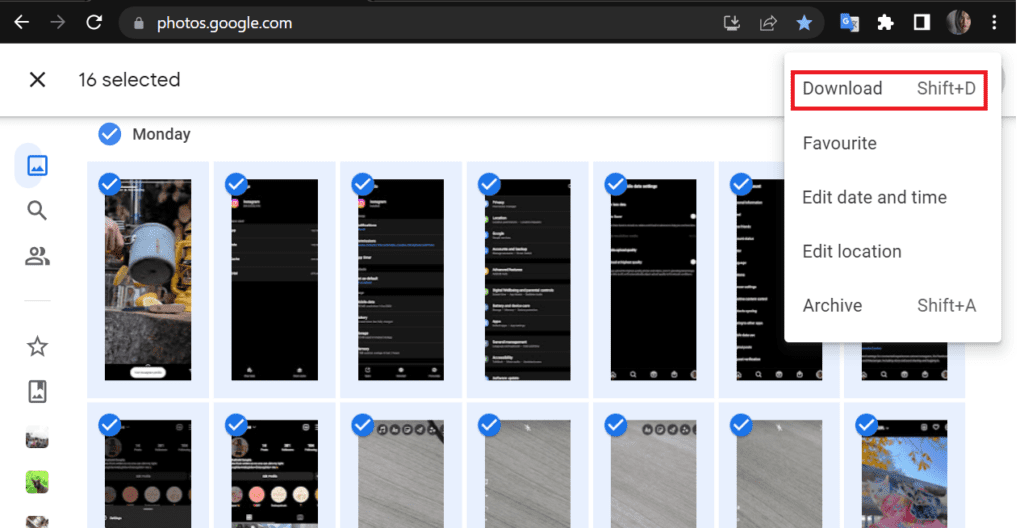
- To download the selected Google Photos, click three vertical dots in the right corner.
- Click the Download option from the drop-down menu.
Delete All Selected Google Photos
Follow the steps below to delete all selected Google Photos quickly;
- Click the Delete icon from the top options panel.
- Then, click the Move to bin option from the pop-up window.
![]()
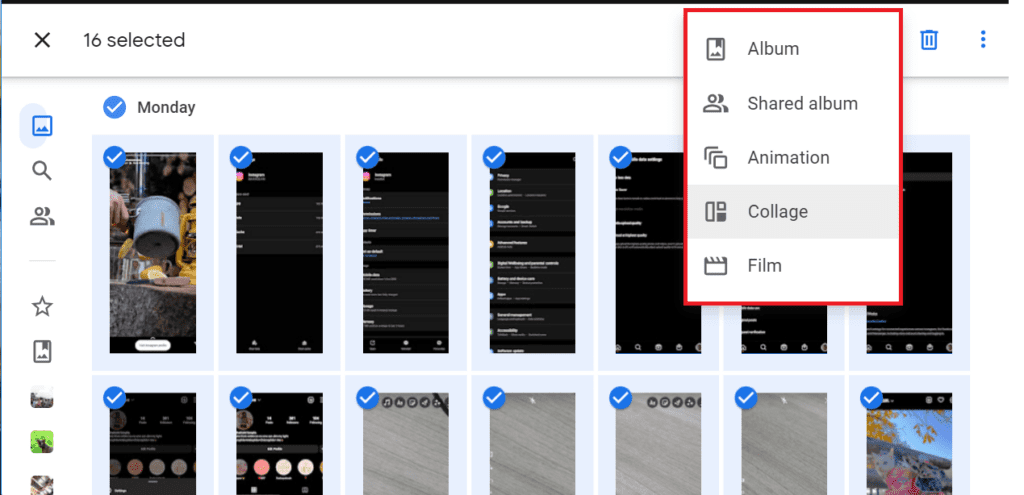
Move All Selected Google Photos to Another Folder
Follow the steps below to move all the selected Google Photos from one Album to another;
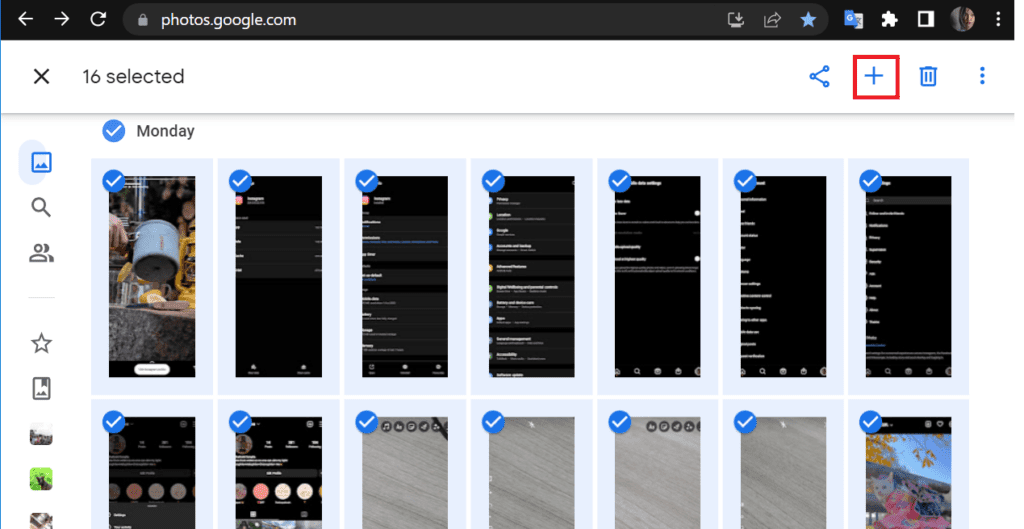
- Click the Plus icon(+) from the top options panel.
- Select the options you want, such as Album, animation, collage etc.
Share All Selected Google Photos
Follow the steps below to share all the selected Google Photos with others;
- Click the Share icon from the top options panel.
- Select the medium accordingly. You can also create a link for the selected Photos.
![]()
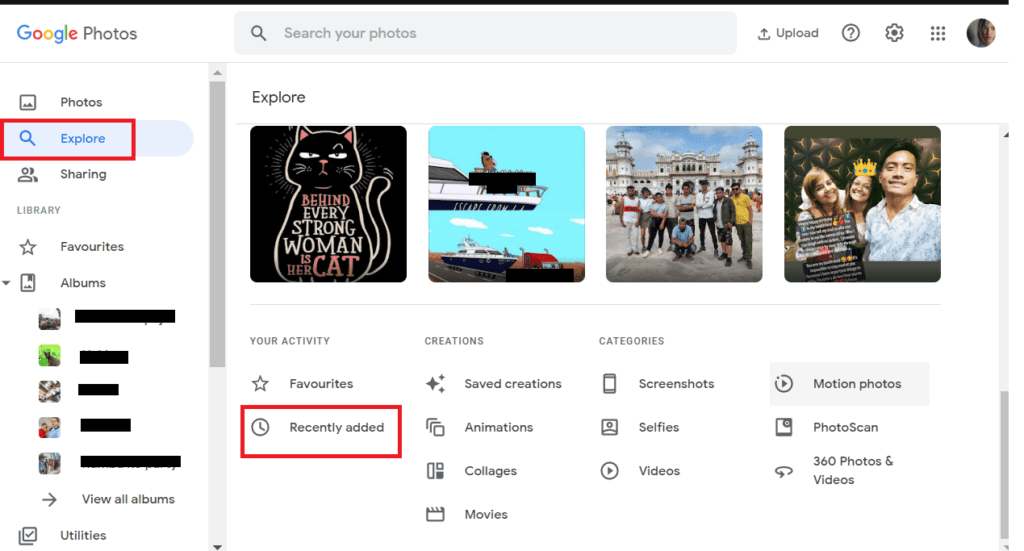
How to Select Recently Added Photos on Google Photos?
Follow the steps to select recently added Photos and videos on Google Photos;
- First, launch Google Photos on your device.
- Navigate and tap on Explore on the left-hand side.
- Scroll down and locate the activity icon.
- Then, select Recently Added. This way, you will see all the Photos or videos that have been added recently.
- Now, follow the same process of selecting all Photos or particular date Photos.
The process is similar to the phone and desktop versions of Google Photos.
The Bottom Line
You can easily select multiple Photos on Google Photos on Android, iPhone, Mac, and Windows.
So, why waste time selecting Photos one by one? These quick tips mentioned above can assist you in organizing your folder.
Enjoy the memories you have saved in Google Photos.
Frequently Asked Questions
How to Select All Photos Albums on Google Photos?
Google Photos does not allow you to select all Photos Albums at once with a single shortcut.
All you need to do is select an Album and then select its content.
How Do I Select a Whole Year Photo in Google Photos?
You can select whole-year Photos by selecting the particular date Photos.
You can select multiple date Photos by clicking the checkmark next to the particular date on your device.