Due to the advancement in Wi-Fi technologies, people prefer Wi-Fi over an Ethernet connection.
However, a Wi-Fi connection might not be available if you use a Desktop.
But you can connect your Desktop to Wi-Fi effortlessly in seconds.
Continue reading the article to learn various methods to add Wi-Fi to your Desktop in detail.
Table of Contents Show
How to Add Wi-Fi to Desktop? [4 Easy Methods]
If you are tired of tangled wires and want to go wireless, you should consider installing Wi-Fi on your Desktop PC.
This article will go through four possible methods to add Wi-Fi to a Desktop.
1. USB Wi-Fi Adapter
If you are not tech-savvy and do not want to spend much money to have Wi-Fi on your Desktop, you should consider using a USB Wi-Fi adapter.
A USB Wi-Fi adapter allows a Desktop computer to connect to a wireless network.
The adapter plugs into a USB port on the Desktop and typically comes with a small antenna that sticks out of the USB port.
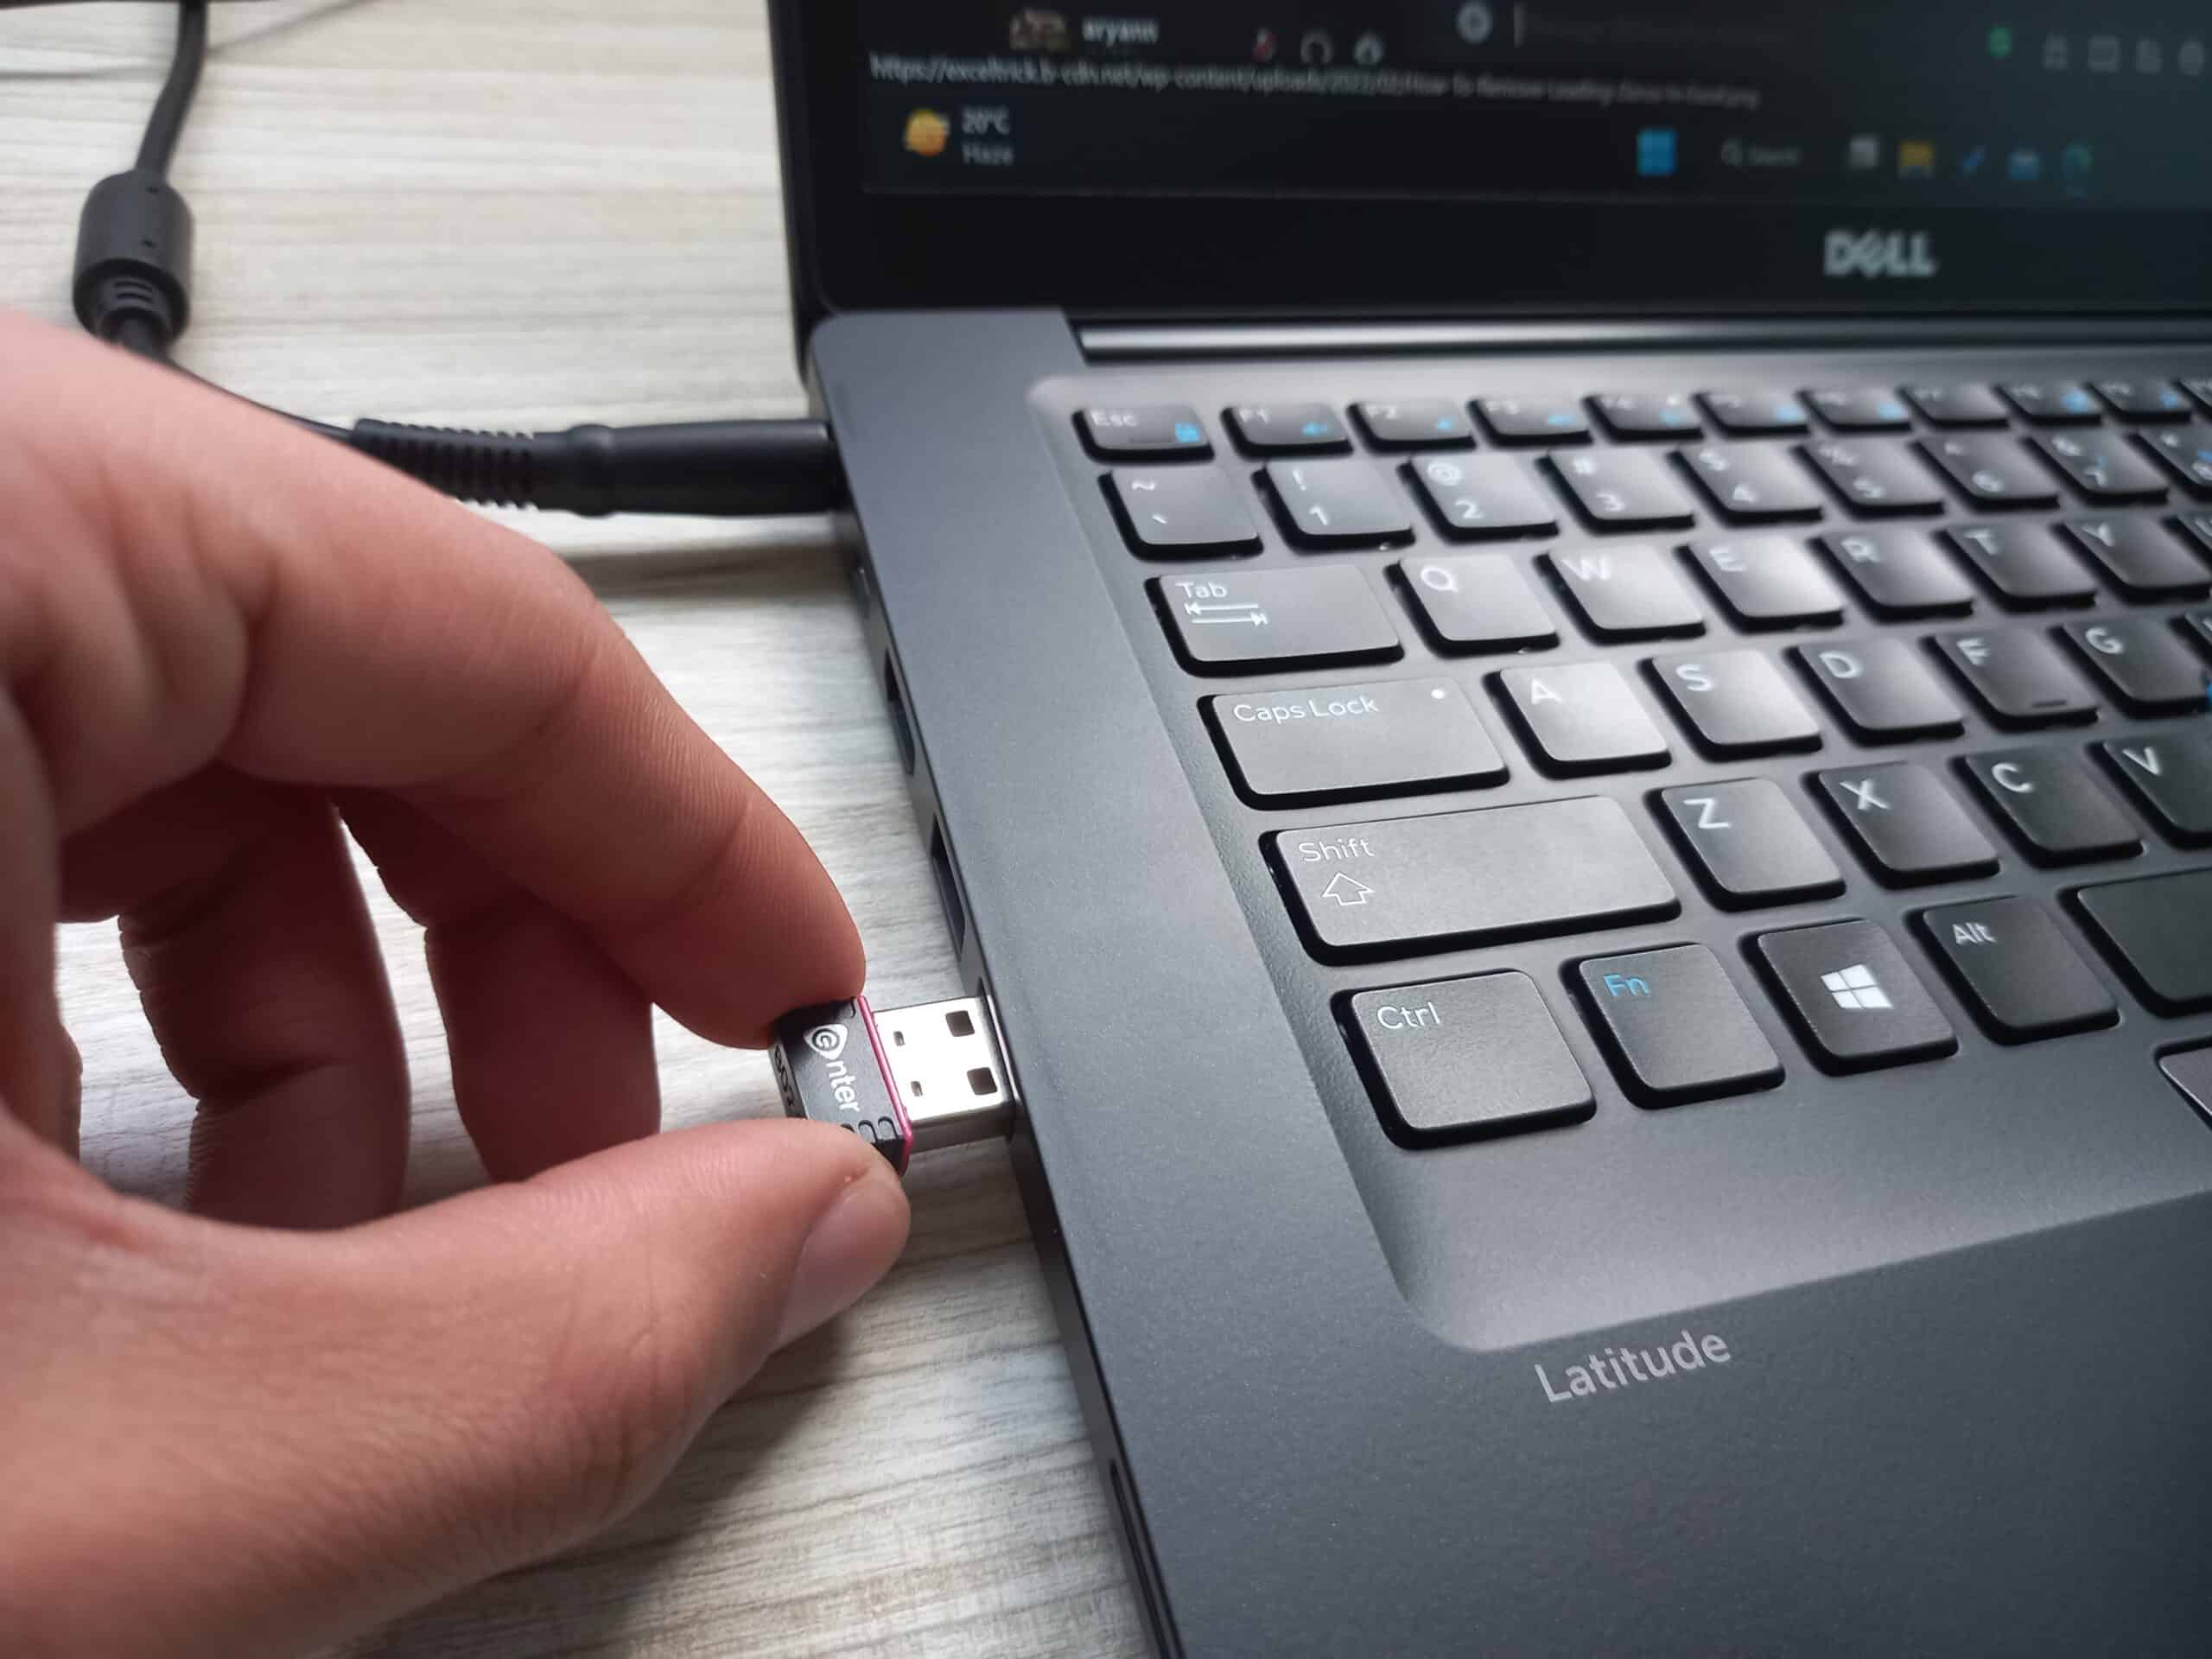
The adapter contains a wireless receiver that communicates with a wireless router or access points.
Once you have plugged in the adapter and installed the drivers, your Desktop can connect to available Wi-Fi networks.
It works in the same principle as a built-in wireless card but connects to the USB port instead of being physically installed inside the computer.
Some USB Wi-Fi adapters also have external antennas to improve signal strength which is helpful in areas with weak wireless signals or if the Desktop computer is far from the wireless router.
Additionally, various USB Wi-Fi adapters available in the market can help you connect your Desktop to Wi-Fi.
Here are some of our recommendations for USB adapters;
| USB WiFi Adapters | Specifications |
|---|---|
| TP-Link AC600 USB WiFi Adapter | Supports up to 433 Mbps 5dBi High Gain Antenna |
| TP-Link USB WiFi Adapter | Wi-Fi speeds up to 150 Mbps Compatible with Windows (XP/7/8/8.1/10/11) Mac OS (10.9 - 10.15) Linux Kernel (2.6.18 - 4.4.3) |
| NETGEAR AC1900 Wi-Fi USB | Speeds up to 1300Mbps DUAL BAND WIFI 3x4 MIMO DESIGN |
2. Ethernet to Wi-Fi adapter
A device with only a wired Ethernet can connect to a wireless Wi-Fi network via an Ethernet to Wi-Fi adapter.
Usually, the adapter contains a Wi-Fi transmitter on one side and an Ethernet port on the other.
It establishes a wired Ethernet connection before giving the device a Wi-Fi connection. It enables the gadget to connect to the internet or other wireless network users’ devices.
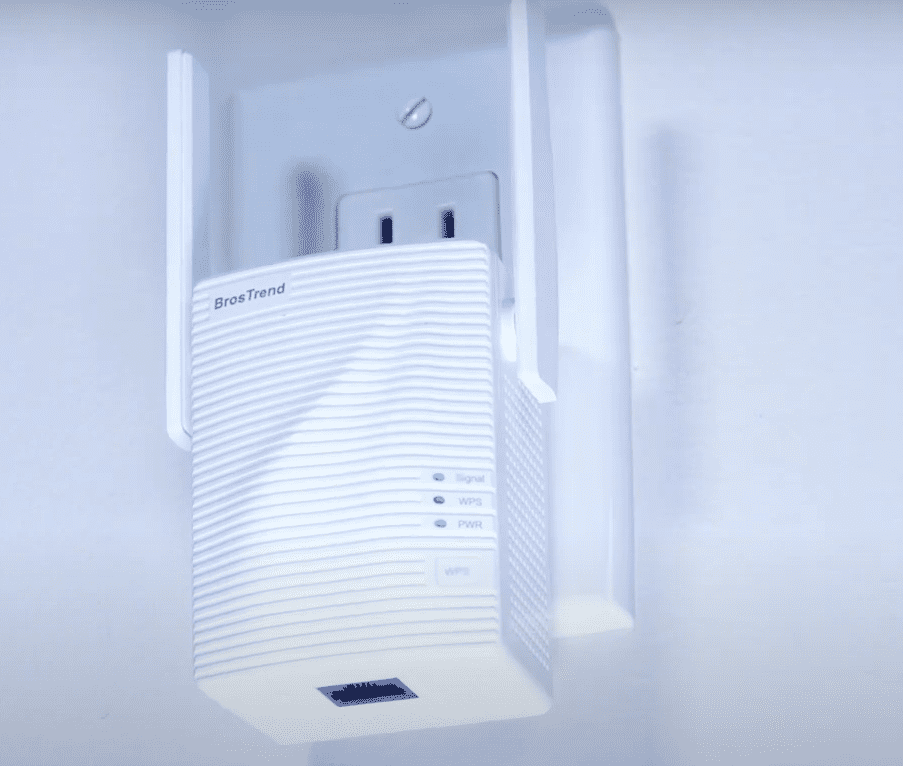
The device converts Wi-Fi signals into electric pulses to be recognizable by the ethernet port.
The adapter can also be helpful in other ethernet-only devices, such as TV, printers, VOIP telephones, IP cameras and other legacy devices.
Some Ethernet to Wi-Fi adapters also has a built-in router, which allows multiple devices to connect to the wireless network simultaneously.
You can connect this device to your PC through an ethernet port and connect to the available Wi-Fi networks.
Here are some of our recommendations for the Ethernet to Wi-Fi adapter;
| Ethernet to WiFi adapter | Specification |
|---|---|
| IOGEAR Universal Ethernet to Wi-Fi Adapter | Requires no additional power. Connection up to 180 m. Universal Compatibility |
| NETGEAR Universal N300 Wi-Fi to Ethernet Adapter | Wireless Security-WPA-PSK Wireless Transmission Speed-300 Mbps |
3. PCIe Wi-Fi Adapters
PCIe (Peripheral Component Interconnect Express) Wi-Fi adapters are installed inside a Desktop computer using a PCIe slot.
They are often more stable and provide better speeds than USB adapters or Ethernet to Wi-Fi adapters, as they are directly connected to the computer Motherboard.
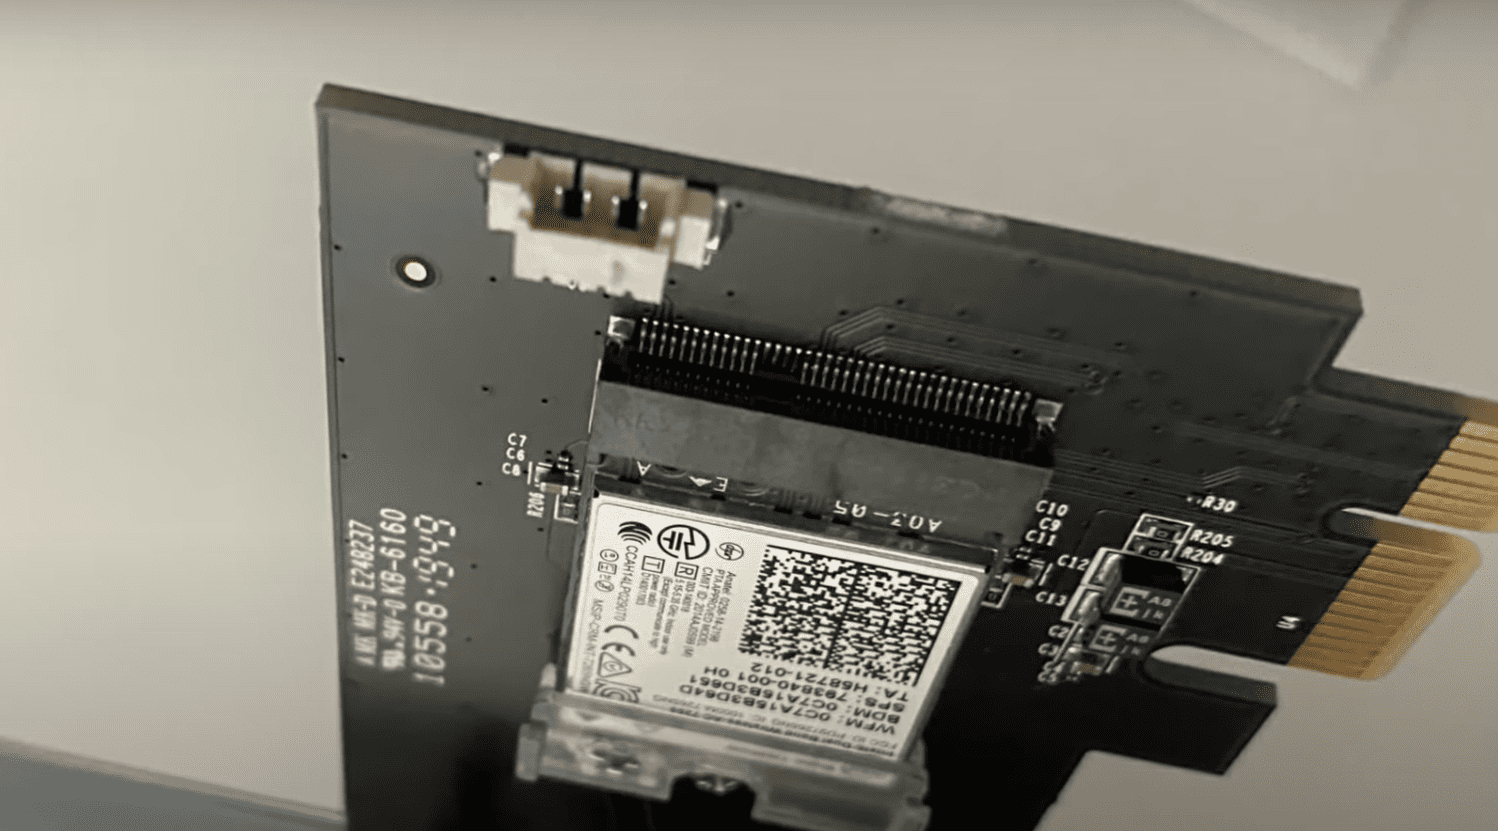
Additionally, they contain an internal antenna that connects within the computer casing to strengthen the wireless signal in cases where the signal is weak.
You must discover a PCIe slot when you open the computer casing to install a PCIe Wi-Fi adapter.
You can insert the adapter and tighten it with the screw after locating an open slot.
After that, you will need to connect the antenna and the adapter to the power supply.
You may then need to install the drivers and software for the adapter. This will vary depending on the adapter you are using.
Most of the time, the PC will automatically search and install the required drivers. However, if it does not, you should refer to the user’s manual to install them manually.
Once the installation is complete, you can connect to available wireless networks in the area.
Here are some of our recommendations for PCIe Wi-Fi adapters;
| PCIe Wifi Adapters | Specification |
|---|---|
| TP-Link AC1200 PCIe WiFi Card | Super-Fast Speed up to 867 Mbps Supports Bluetooth 4.2 Broad Wireless Range |
| TP-Link WiFi 6 AX3000 PCIe WiFi Card | Supports Wi-Fi 6 Technology Powered by Intel Speeds up to 2.4Gbps Bluetooth 5.2 for Greater Speeds and Coverage |
| GIGABYTE WiFi 6E GC-WBAX210 | Intel WI-FI 6E AX210 module built-in EEE 802.11.acR2+ax compliant High speed wireless connection up to 2400Mbps |
| ASUS PCE-AC68 Dual-Band 3x3 AC1900 | Custom heatsink dissipates heat Up to 1.30Gbps speed Flexible Antenna Placement |
4. Upgrading the Motherboard (If You are Already Considering an Upgrade)
You can leverage Wi-Fi connectivity by upgrading your existing Motherboard with the Wi-Fi-enabled one.
However, it is essential to note that this is a more involved process that can be more expensive than a USB or PCIe Wi-Fi adapter.
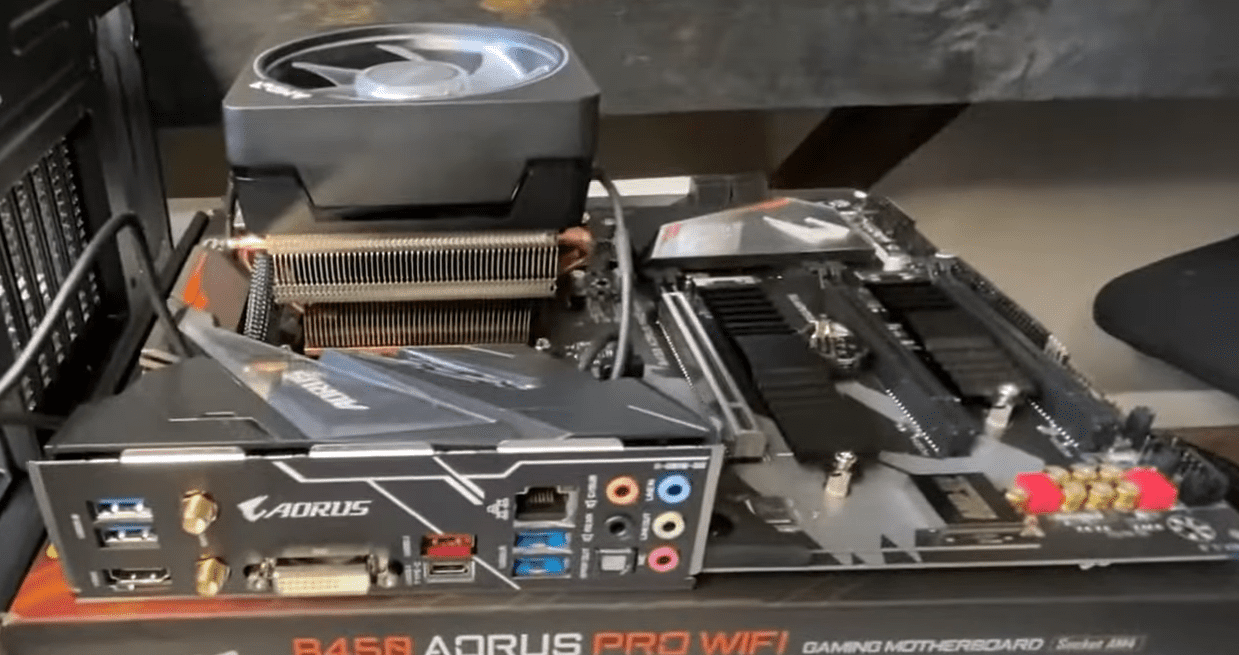
Before upgrading the Motherboard, you should determine whether your current Motherboard has an open PCIe slot.
Furthermore, some Motherboards include built-in Wi-Fi, while others have a PCIe slot for a Wi-Fi card.
If your current Motherboard lacks either of these features, you will need to buy a new Motherboard with built-in Wi-Fi or a PCIe slot for a Wi-Fi card.
When upgrading the Motherboard, you must first remove the old one and then install the new one.
This procedure will require the removal of all cables, power supply and data cables, and any other components connected to the current Motherboard.
Lastly, after installing the new Motherboard, you must reconnect all of these components and install the new Motherboard’s drivers and software.
You should consult a professional or someone familiar with computer hardware, as this process may require technical expertise.
5. Use your Phone as Wi-Fi Adapter
You can connect to the Wi-Fi on your Desktop if you have a smartphone that supports USB tethering.
Your smartphone will act as a USB Wi-Fi adapter in this case. You can follow these steps to connect to the Wi-Fi network using a phone:
- Insert the USB data cable from your smartphone into the PC.
- Connect to the Wi-Fi in your smartphone.
- Turn on USB tethering on your smartphone by navigating to Connections> Mobile Hotspot and Tethering> Toggle USB tethering On.
- Now, you can connect to Wi-Fi via smartphone.
The Bottom Line
You can follow the method that suits you best. But, in my opinion, if you are looking for a cost-efficient solution, you can go for the USB Wi-Fi adapter option.
However, if you are looking for high-speed and stable connectivity, you can consider a PCIe Wi-Fi adapter over any other option.
After going through the article, we hope you can gain a general insight into accessing Wi-Fi on your Desktop.
Frequently Asked Questions
How to Connect your Desktop to Wi-Fi Without Cable?
You can connect your Desktop to Wi-Fi without a cable using a USB Wi-Fi adapter or PCIe Wi-Fi adapter or upgrading your Motherboard to Wi-Fi enable Motherboard.
Why am I Unable to Connect Wi-Fi to my Desktop?
If you can not connect your Desktop to a Wi-Fi network, it is possible that the network settings have changed or the profile has become corrupted.
To resolve this, disconnect (or “forget”) the Wi-Fi connection before reconnecting.
Can we Use the Laptop as a Wi-Fi Adapter?
Yes, we can utilize the Laptop to work as the Wi-Fi adapter. It can be done by enabling the “Sharing” option under the Wi-Fi properties of the Laptop.
Then, we must enter some code in the cmd with administrative privilege to connect to the available SSID.


