Imagine that you are working in your office. You have connected to the Wi-Fi network.
But you are facing slow internet speed on your laptop, whereas your colleagues are not.
Moreover, you find out it’s completely fine on your and others’ smartphone.
You will get frustrated thinking about why the internet is slow only on your laptop but not on other devices.
Then you can safely guess that your laptop is the very culprit. You can solve this problem very easily using the following methods.
Table of Contents Show
What Causes Slow Internet Connection on Laptop?
The internet connection on a laptop can be slow for many reasons. Some of the most common ones are:
- Outdated network drivers
- Programs eating up your internet bandwidth
- Damaged peripherals
- Misconfigured network settings
- Pending software updates
- Temporary files and cache
How to Fix a Slow Internet on Laptop but Not on Other Devices?
We will be trying to look at these solutions in the order of the severity of our issue.
Starting up from the most common solutions:
1. Restart Your Laptop
Restarting your laptop can solve the majority of your existing internet issues in your laptop.
It is the most common way to solve internet issues. It reloads all the startup items and drivers from the beginning.
So, this means if you have a problem in any of them, it would most likely resolve in most cases. To restart, follow these steps:
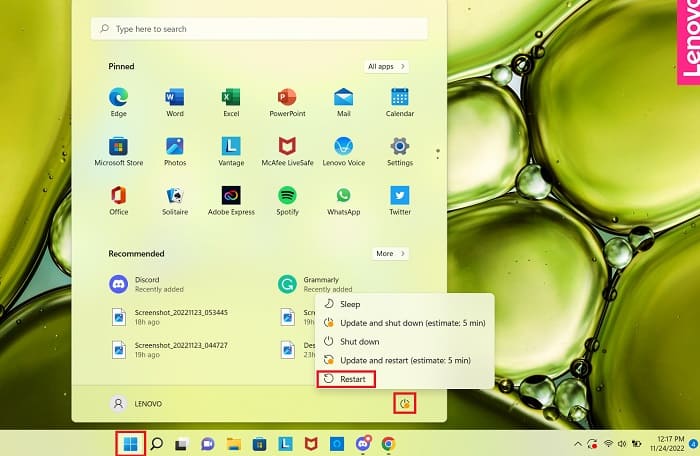
- Click on the Start menu at the bottom-left bottom-middle of your computer. (You can also press the Windows key to open the Start.)
- Click on the Power button.
- Select Restart and wait a few moments until your laptop reboots.
2. Restart Your Router
Sometimes, there may be bad configs or memory leaks on your router. This generally happens when your router is old and has been working regularly for a long time.
Following these steps will allow your router to set up a new broadcasting channel. It results in proper signal reception on your laptop.
- Unplug or turn off your router by pressing the power button beside the router.
- Wait for about 15 seconds. During this interval, the router reconfigures itself to the initial stage of operation.
- Plug on or power on your router.
Did you know that Routers save the data and other browsing history for the marketing purposes?
3. Check Wi-Fi Status
If you have a Dual Band router and your laptop is compatible with it, you should connect your device to 5 GHz because 2.4 GHz is more prone to signal interference.
- To connect to a 5 GHz network, follow these steps:
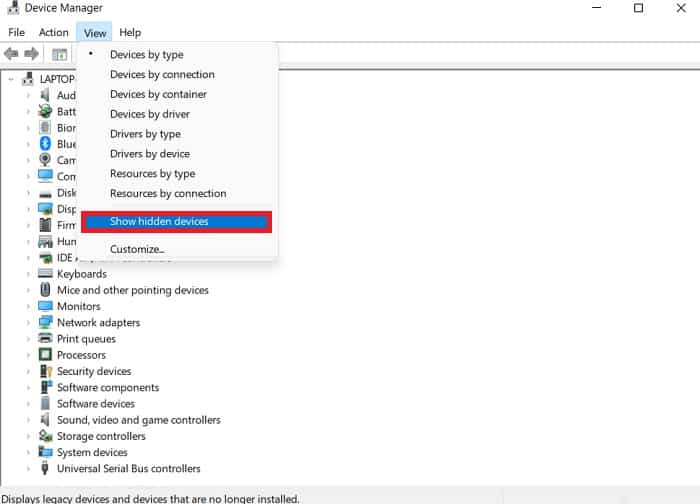
- Use the Win + X keyboard shortcut and select Device Manager.
- Select View > Show hidden devices to ensure Windows 10 displays all drivers.
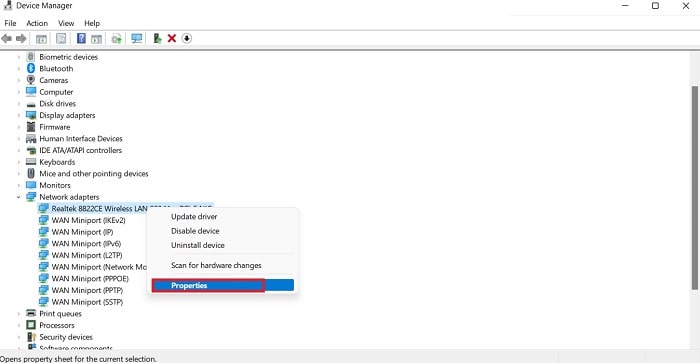
- Expand the Network adapters list.
- Right-click your Wi-Fi adapter and then select Properties.
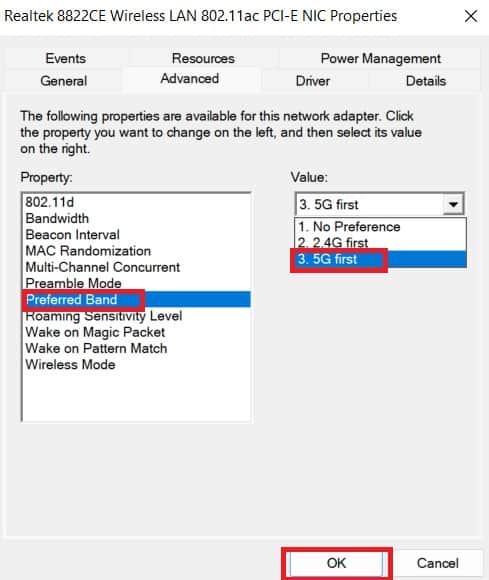
- Open the Advanced tab.
- Set Property to Band or Preferred band. This option can have a different name depending on the adapter producer.
- Use the drop-down menu below Value and select 5GHz.
- Click OK to save the new changes.
4. Use Ethernet Cable
Sometimes, Wi-Fi signal interference can cause this problem. In this case, you can use an ethernet cable to solve this problem.
Generally, an ethernet cable’s internet connection is faster than Wi-Fi.
Ensure the cable is not too long since that may also obstruct the connection.
However, the ethernet connection might sometimes be slower than Wi-Fi for several reasons.
Read more to find out why your ethernet connection is not working and some easy ways to fix the problem.
5. Update/Reinstall Wi-Fi Drivers
An outdated Wi-Fi driver might be the reason for the slow internet speed in laptops.
Resetting and updating it to the latest version might fix your problem. Follow these steps:
- Use the Win + X keyboard shortcut and select Device Manager.
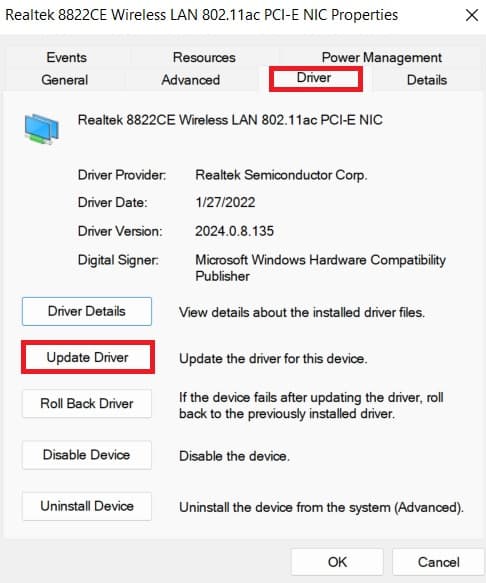
- Expand Network adapters. Right-click on your Wi-Fi driver and select properties.
- Click on the Driver tab and click on Update driver.
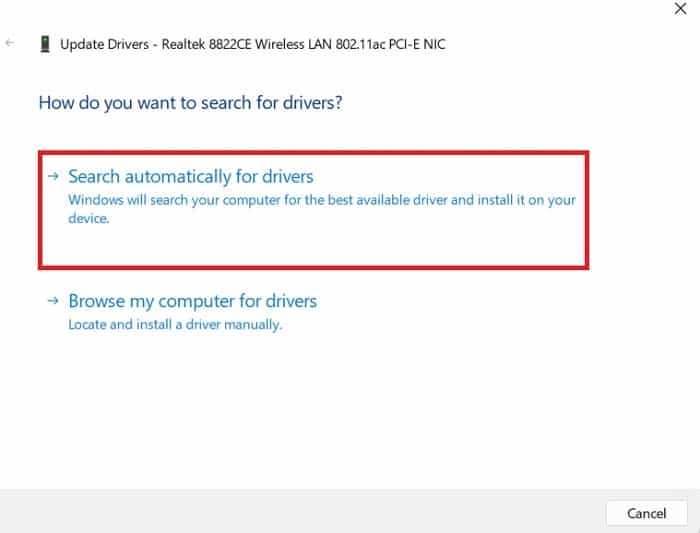
- Then select Search automatically for drivers.
- Now, restart your computer.
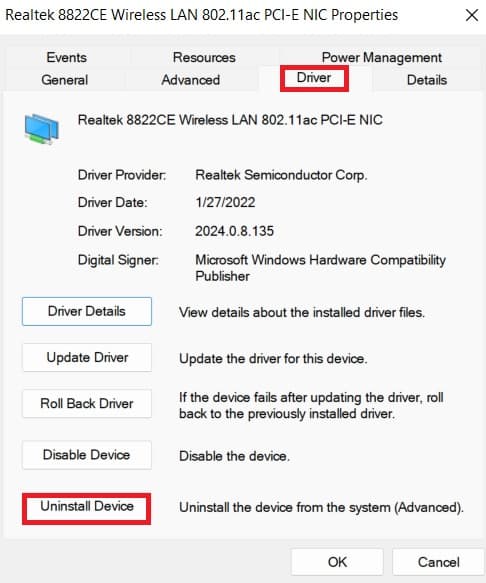
If the problem still persists, then try reinstalling the wi-fi driver:
- Go to the Driver tab from above step 3 and select Uninstall Device. Then click Uninstall again to confirm.
- Restart your computer. Your Wi-Fi driver will automatically reinstall.
6. Uninstall Unnecessary Programs
There may be some software or programs that are eating up large bandwidth.
If you do not use them anymore, then you can uninstall them. Uninstalling these Programs may resolve your problem.
To uninstall those programs, follow these steps:
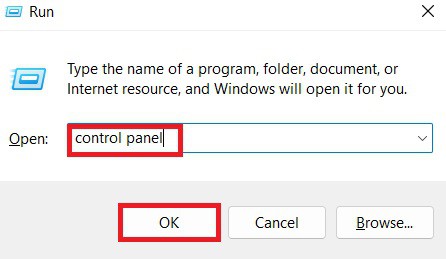
- Press the Windows + R to open Run dialog box. Type “Control Panel” in the dialog box and hit Enter.
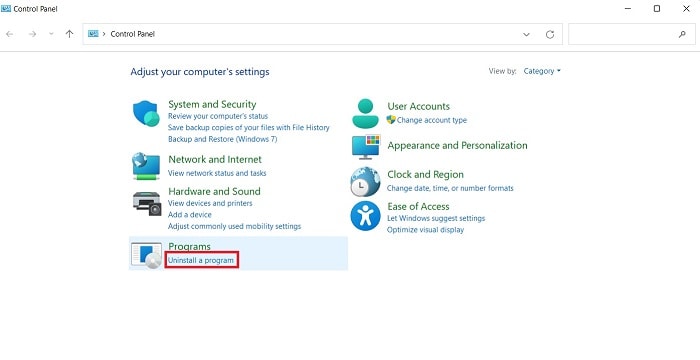
- Click on Uninstall a program under the Programs.
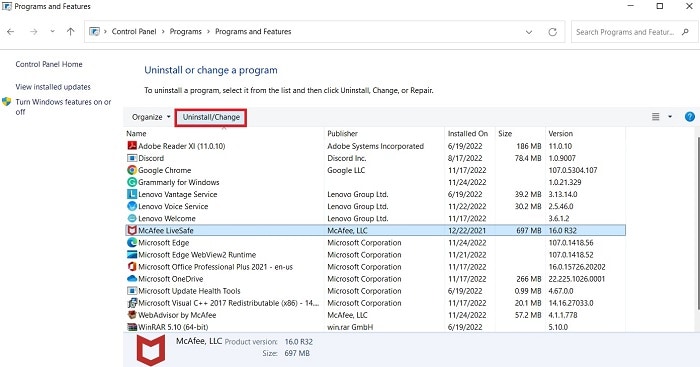
- Select the program and click Uninstall/Change.
- Follow the on-screen instructions.
7. Reset Your DNS Settings
Incorrect DNS configuration might also cause slow Internet issues in laptops.
Fortunately, there is an easy fix. We need to use CMD to execute our commands to perform those actions.
Additionally, you can use Custom DNS to get faster page response. Cloudflare, Google DNS, Quad 9, and Comodo are good DNS to try out.
To reset your DNS settings on your laptop, follow these steps:
- Press the Windows + R to open the Run box, type “cmd” and then press Ctrl+Shift+Enter to open the elevated Command Prompt.
- Type the following command and then press Enter. Wait for the command to execute before you type and use the next one.
- Restart the computer once you’re done and try reconnecting to the network.
ipconfig /flushdns
ipconfig /renew
netsh winsock reset
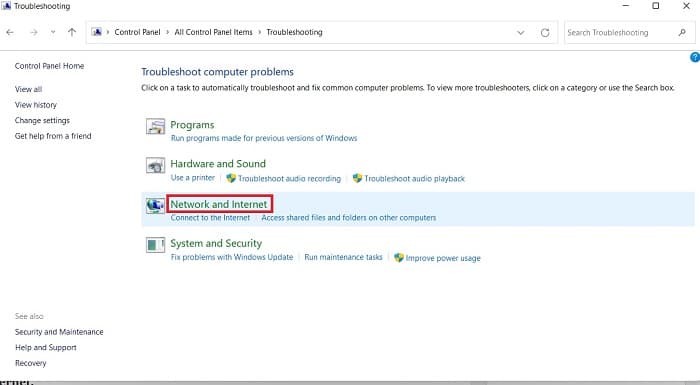
8. Run a Network Troubleshooter
Operating systems are designed in such a way that they can find and fix problems by themselves.
The feature is called troubleshooters. To access the troubleshooter, follow these steps:
- Press the Windows + R to open Run. Type “Control Panel” in the dialog box and hit Enter.
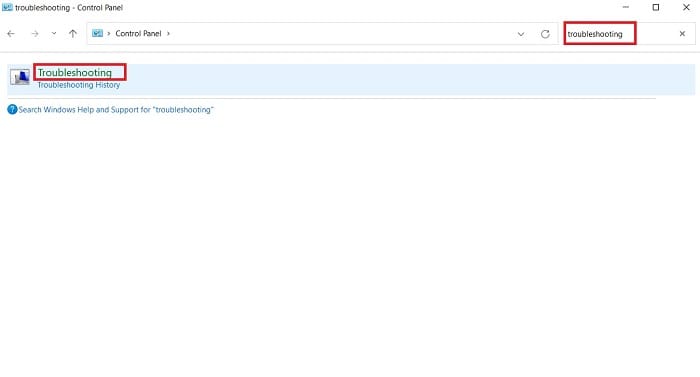
- Type “Troubleshooting” in the search box and hit enter.
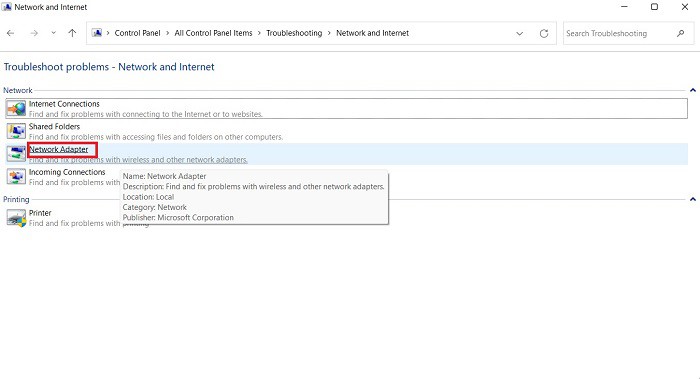
- Select the Network and Internet option.
- Click Network Adapter and then follow the on-screen instructions.
9. Restrict Background Internet Usage
Even if you are not actively using your internet connection, certain apps and programs can continue to run in the background.
That may eat up significant bandwidth causing your connection to slow down.
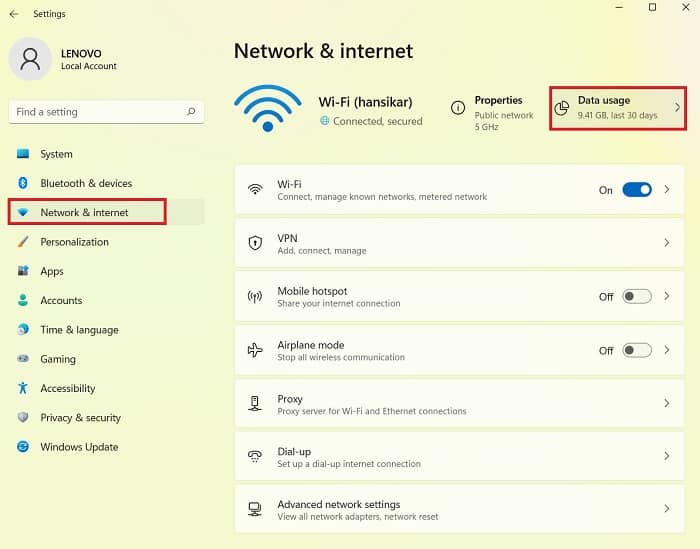
To check your background app usage and restrict them, follow these steps:
- Right-click on the Start button, then click on Settings.
- Select ‘Network & Internet.
- On the left-hand section, tap Data usage.
- Scroll to the Background data section and select Never to restrict the background usage of data.
10. Reset TCP/IP Stack
The corrupted TCP/IP stack might be another cause for the slow internet connection.
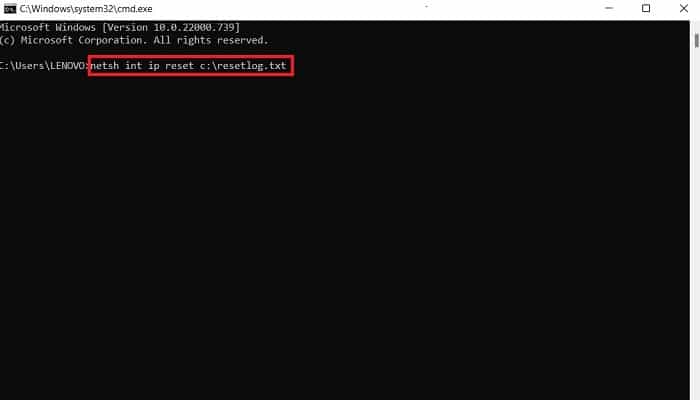
We can resolve this issue by removing and reinstalling the TCP/IP. Follow these steps:
- Type “cmd” in the run search box and press Ctrl+Shift+Enter to open the elevated Command Prompt.
- Type netsh int ip reset c:\resetlog.txtand hit the Enter key on the keyboard.
- Restart your laptop and see if the problem is solved.
11. Disable Any Running VPN Service
A virtual Private Network (VPN) acts as a bridge between your PC and ISP. It might also be the culprit of the issue of slow internet that you are currently facing.
A connection through a slow VPN server may affect your internet speed despite having fast broadband.
We can disable the VPN service to improve the internet speed. You can enable it afterward if necessary.
Follow these steps to disable the VPN service:
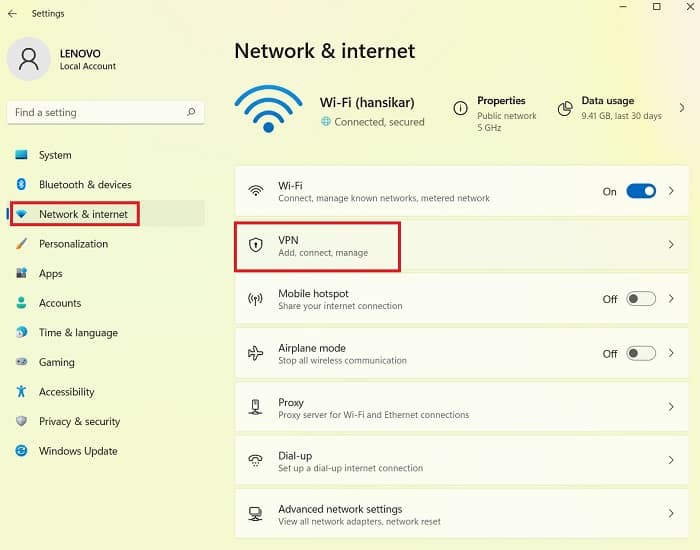
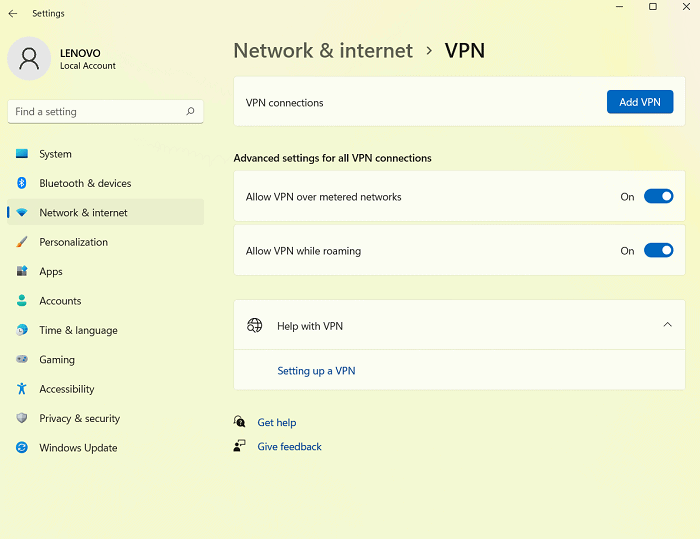
- Right-click on the Start button, then click on Settings.
- Select Settings>Network & internet>VPN.
- Select the VPN category in the left-hand menu.
- On the right, if VPN shows up, select the one you want to disable.
- Click Disconnect if you want to disconnect or Remove if you want to delete it.
Read on to find out why you should never go online in public with out a VPN.
12. Try Clearing Your Browser Cookies
Having a ton of cookies piled up in your browser may also degrade the website’s loading performance.
Cleaning it routinely helps the browser to run smoothly.
To clean up cookies on Google Chrome, follow these steps:
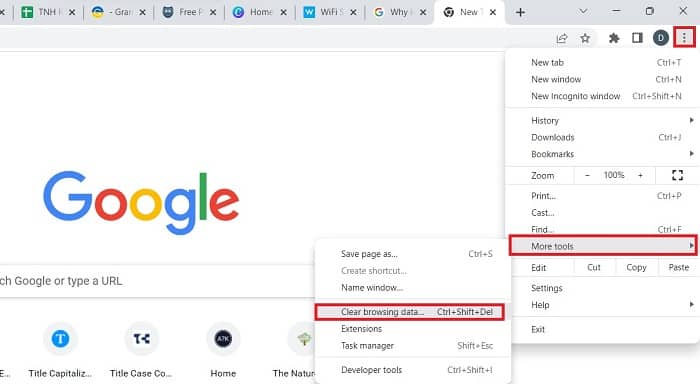
- On your computer, open Google Chrome.
- Click three vertical dots at the top right corner.
- Click More tools>Clear browsing data.
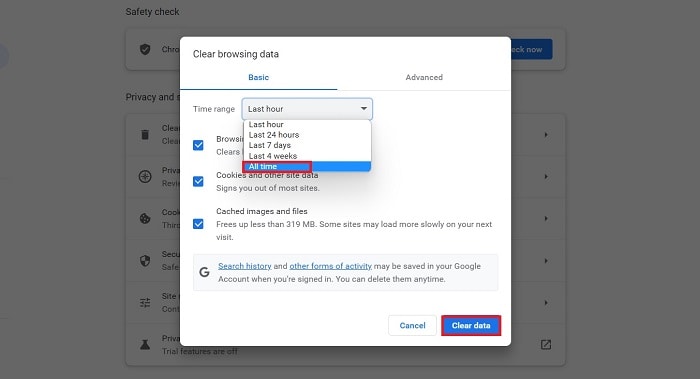
- At the top, choose a time range. To delete everything, select All time.
- Check Cookies and other site data and Cached images and files.
- Click Clear data.
13. Check Network Peripherals
Hardware failure or malfunction might also create slow internet issues. Sometimes, faulty components might also be the reason.
These types of problems are suggested to be fixed by technicians. So, we recommend you visit the nearest repair shop and get it fixed.
Related Article: Internet slow after power outage: 5 easy ways to fix