If your PC turns on, but there is no display on your Monitor, that could be frustrating.
In this article, we will go through some common reasons and provide some steps to fix the problem.
Whether you’re a seasoned PC builder or a beginner, we hope this article will help you get your PC up and running again.
Table of Contents Show
Causes of PC Turns on But No Display Problem
There are several potential causes for a PC turning on but not displaying anything on the Monitor. Some common causes include:
- Faulty Display: The broken or malfunctioning display might also cause the issue, possibly due to a hardware issue or a problem with the display driver.
- Incorrect Display Settings: The display may be set to a resolution or refresh rate that the Monitor does not support. For example, if you have a Monitor that supports input of 1920*1080 resolution, but you fed with 2560*1440 resolution, it results in a black screen.
- Faulty or Overheated Graphics Card: If the display is not working, it could be due to a problem with the graphics card. This might be due to dust accumulation in the connection point.
- Outdated BIOS: If the BIOS is outdated, not configured properly or corrupt, it could cause the display not to turn on.
- Power Supply and Voltage Issue: If the power supply or motherboard is not functioning correctly, it could result in the incorrect voltage supply to the internal components, leading to the display not working.
- Problematic Peripheral Issue: A problematic peripheral issue in a computer refers to a problem with a peripheral device such as a printer, scanner, or external hard drive.
PC Turns On But No Display: Here’s How to Fix
To resolve the display not showing the issue, follow the quick fixes below and check your hardware and software.
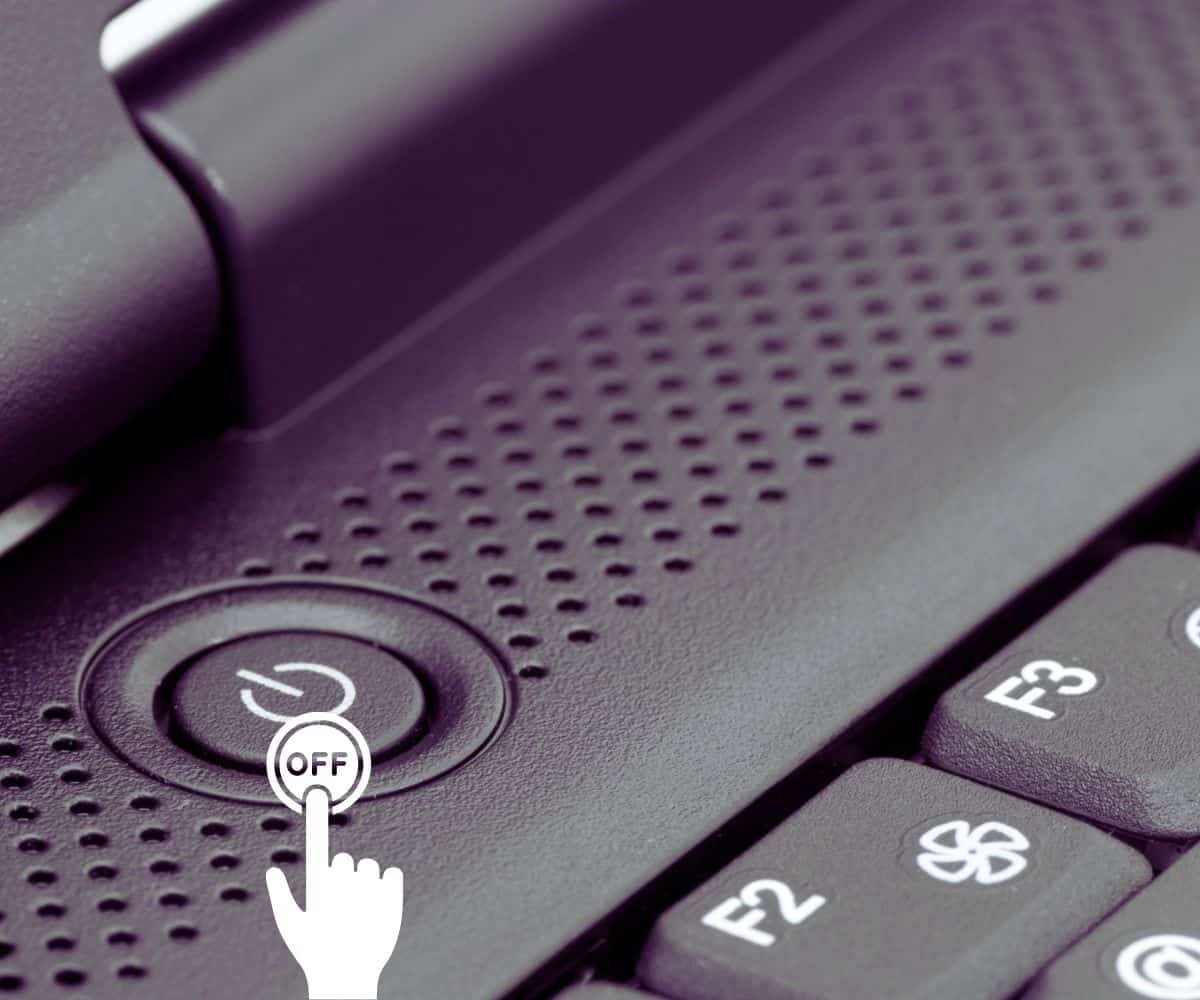
1. Force Restart the Computer
The first and most obvious thing you can do is force your computer to restart.
- Press and hold the power button for around 5 seconds continuously until the PC shuts down.
- Disconnect the power cord from the PC, wait a few seconds, and reconnect it.
- If the PC is running on a battery, remove it and re-insert it.
- Turn on your PC again.
It is important to note that forcibly restarting a PC can result in data loss or corruption, so having a backup for the data is usually a good practice.
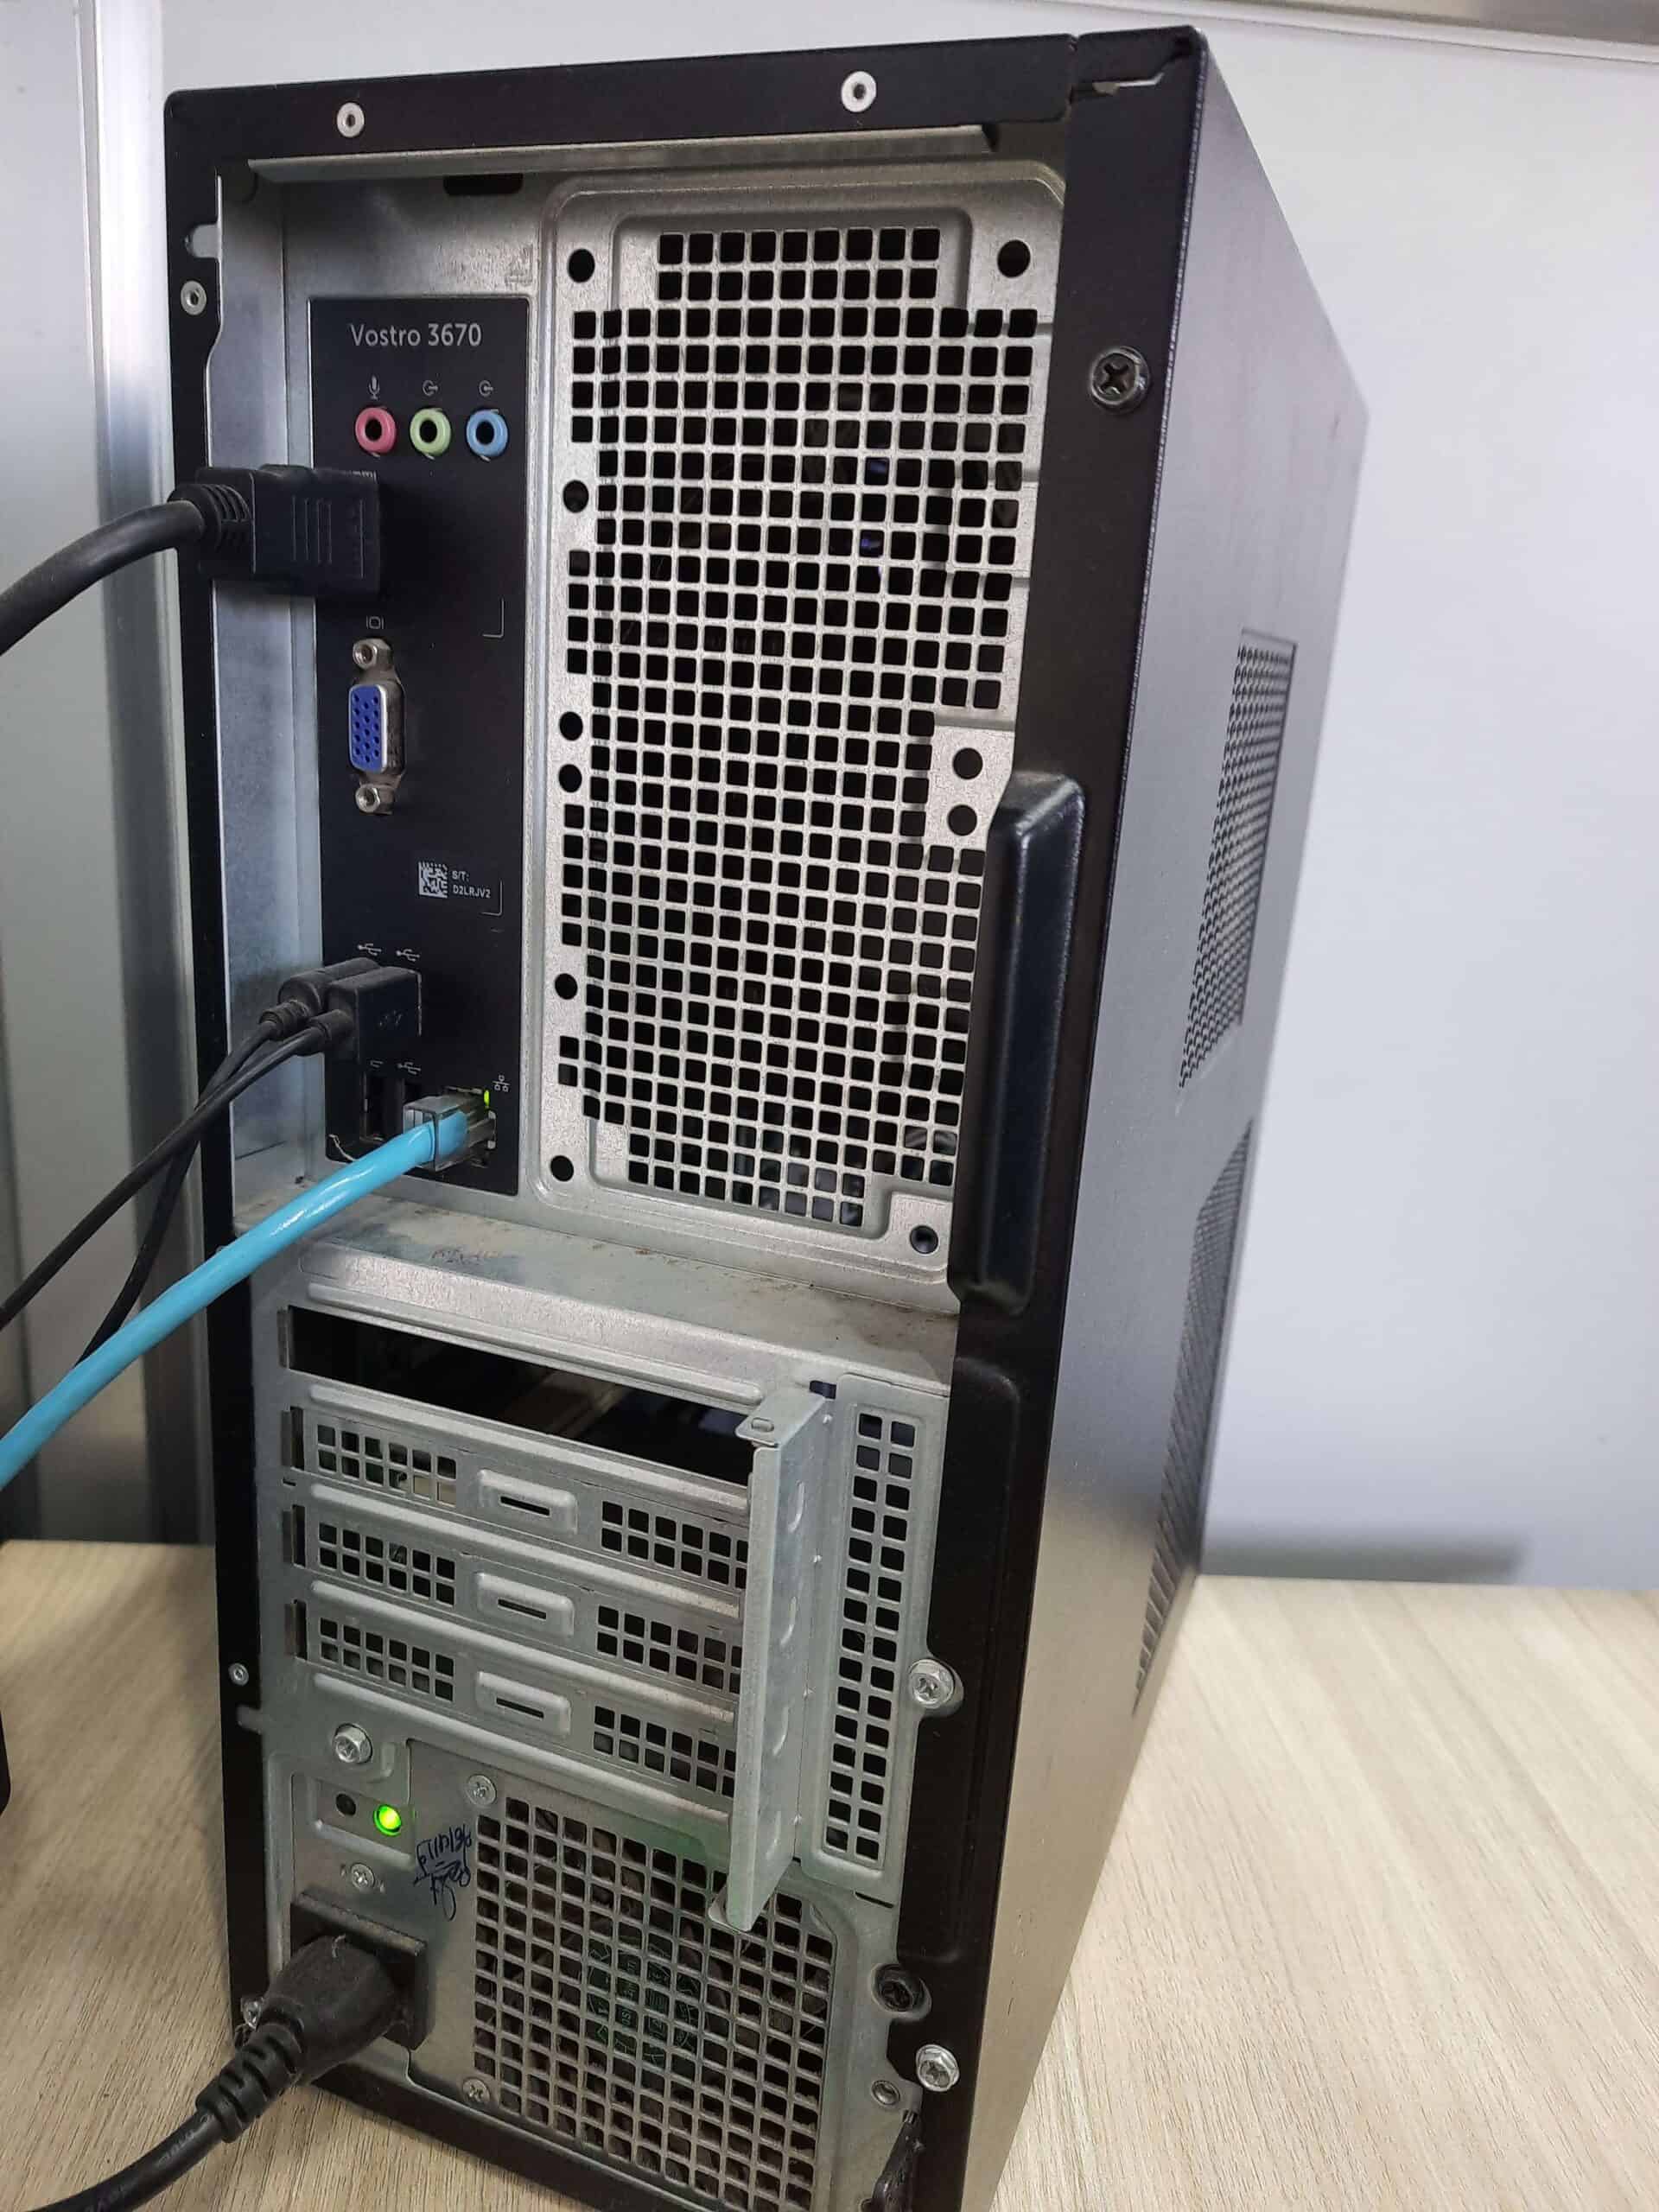
2. Check all the Connections
The first thing is to check the connections between the Monitor and the computer.
Make sure the cables between the two are securely plugged in. If the connections are loose or damaged, it could cause the display not to work.
Moreover, the regular bend can cause the display cable, such as HDMI or VGA, to prevent it from working properly.
In this case, you need to change the display cable with the new one.
To check the connections on the Monitor and Laptop, you can try the following steps:
- Power off the computer and Monitor.
- Disconnect the cables from the Monitor and the computer.
- Carefully inspect the cables for any visible damage, such as frayed wires or bent connectors.
- Reconnect the cables to the Monitor and the computer, ensuring they are securely plugged in.
- Power on the PC and Monitor.
You can also connect the cable to the second Monitor. If the Monitor works normally, then there is no issue with your cable; otherwise, consider replacing your cable.
For a laptop, you can check the connection of the HDMI cable going through the laptop to your Monitor.
A loose or faulty connection might also cause this issue.
You can continue reading to learn whether the optical cables may degrade over time.
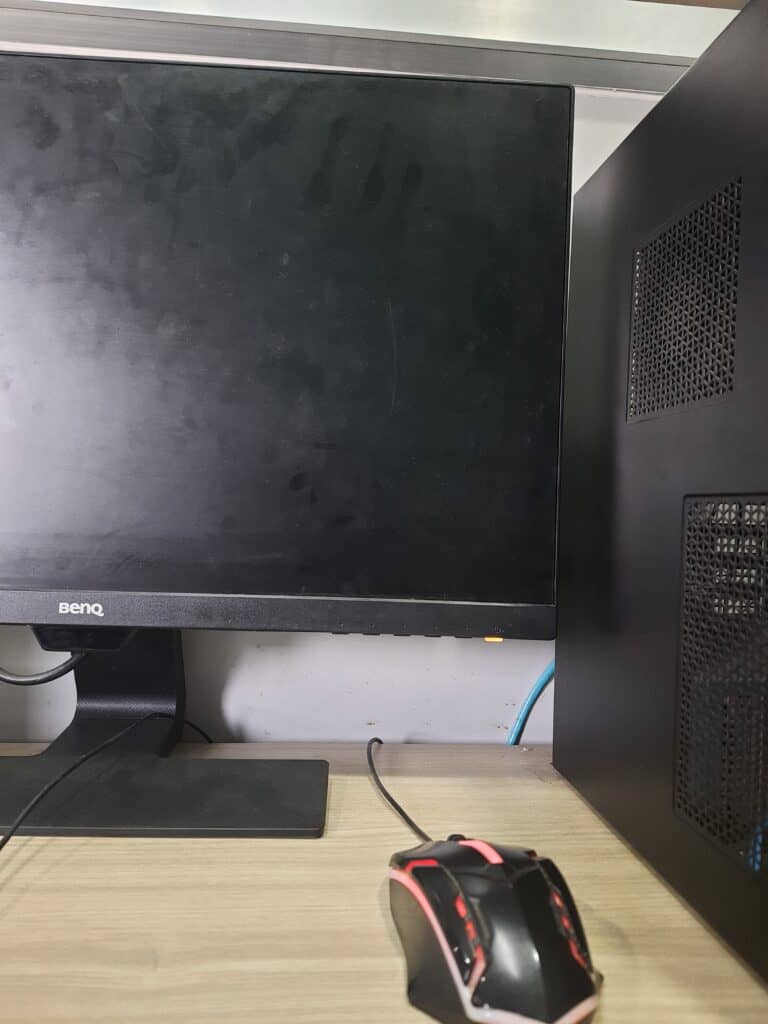
3. Check the Status of the Monitor
Sometimes you need to check the proper power source for the Monitor’s connection. This can be done by checking the power light of the Monitor.
Check whether the light is glowing on the bottom side of your Monitor (depending on the model).
If you can see the Monitor light, restart your system and wake the screen by pressing the shortcut keys (Windows + Ctrl + Shift + B).
Re-check the connection of the cable. Try reconnecting the cable on the Monitor.
By this method, you can verify whether it is turned on. If your Monitor works fine, you can follow the next possible solutions.
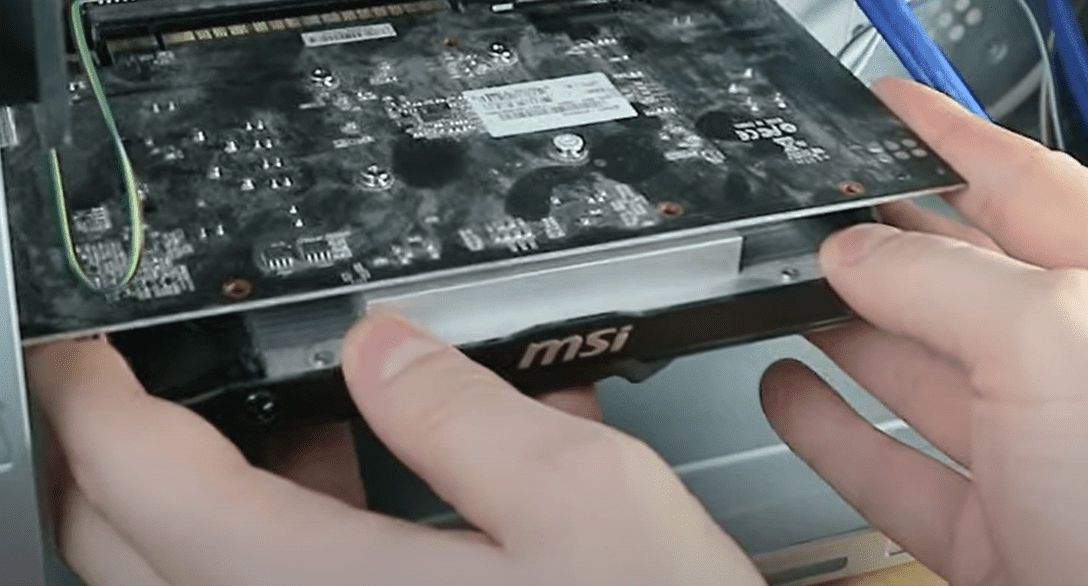
4. Check the Graphics Card
If you have a dedicated graphics card, ensure it is functioning correctly. A faulty or malfunctioning graphics card could cause the display not to work.
To check the graphics card, you can try the following steps:
- Power off the computer and remove the power cord.
- Locate the graphics card in the computer and remove it.
- Carefully inspect the graphics card for any visible damage or loose components.
- Clean up the contact point (primarily golden in color) with the help of isopropyl alcohol.
- Securely re-insert the graphics card.
- Reattach the power cord and power it on the computer.
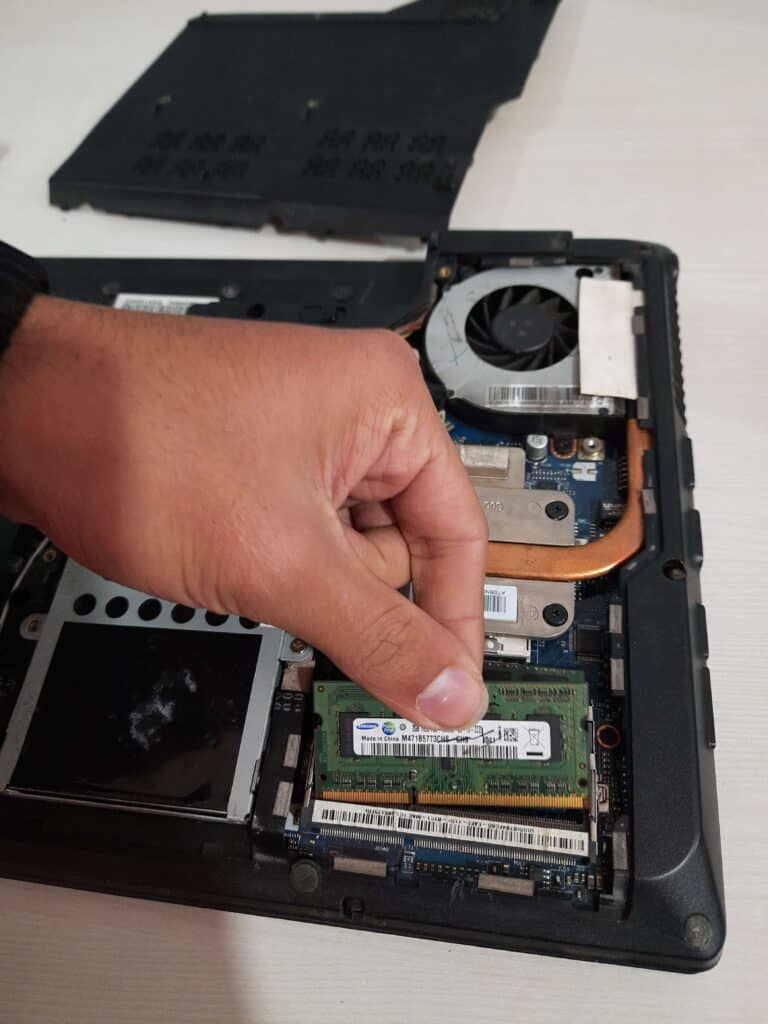
5. Reinstall Your RAM
The improper connection of RAM might cause the display to malfunction.
Dust build-up in the RAM slot may affect the data transfer leading your RAM to function properly. This may prevent your display from turning on.
To fix this problem, follow these steps:
- Press and hold the power button to turn off your PC.
- Disconnect the battery or AC plug from the source.
- Now, carefully remove the RAM from the RAM slot onto the motherboard, as shown in the image.
- Gently clean up the contact point (primarily golden in color) with the help of isopropyl alcohol.
- Fix the RAM in the RAM slot firmly.
- Connect the battery or AC source back into the power source.
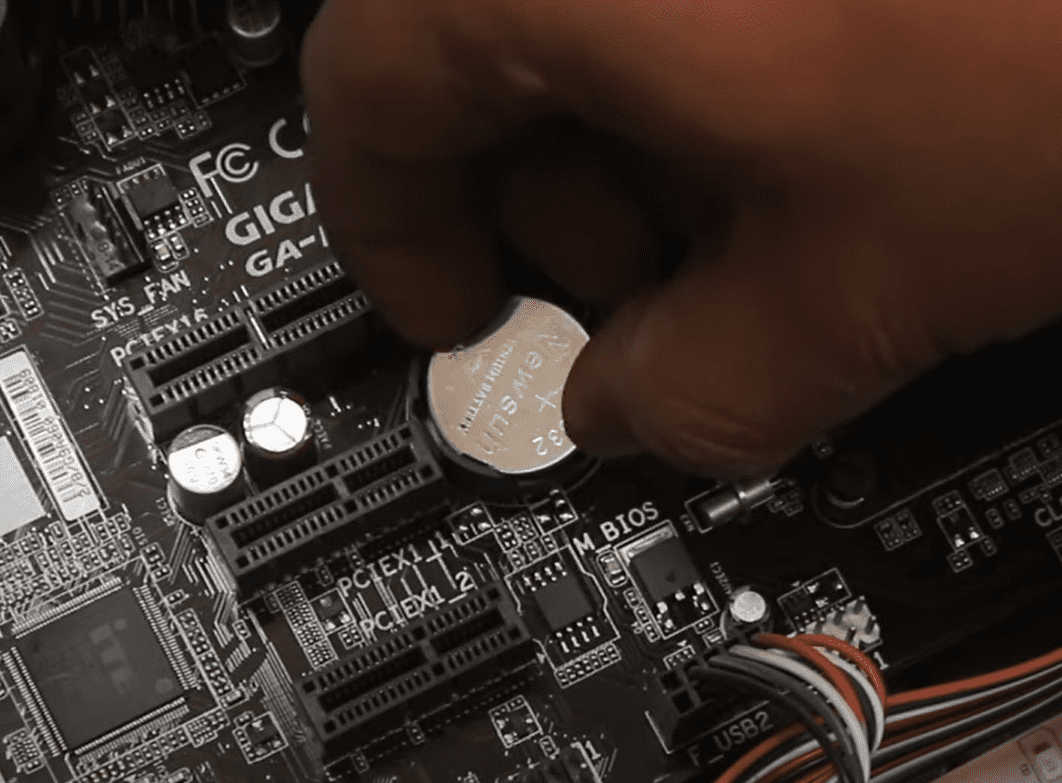
6. Reset the BIOS Settings
Incorrectly configured BIOS can also lead to display failure. Resetting the BIOS can help fix this problem.
Resetting the BIOS brings it to the recommended factory default.
After reinstalling the RAM, you should reset the BIOS to rule out the RAM as the culprit.
If you remove and reinstall CMOS, your BIOS settings will be restored to their defaults.
To reset your computer’s BIOS, follow these steps:
- Power off your PC.
- Disconnect the power cable from power sources.
- Take out the CMOS battery attached to the computer’s motherboard.
- Press the power button continuously for at least 15 seconds. This resets your system’s BIOS.
- Connect the power sources and turn on your computer.
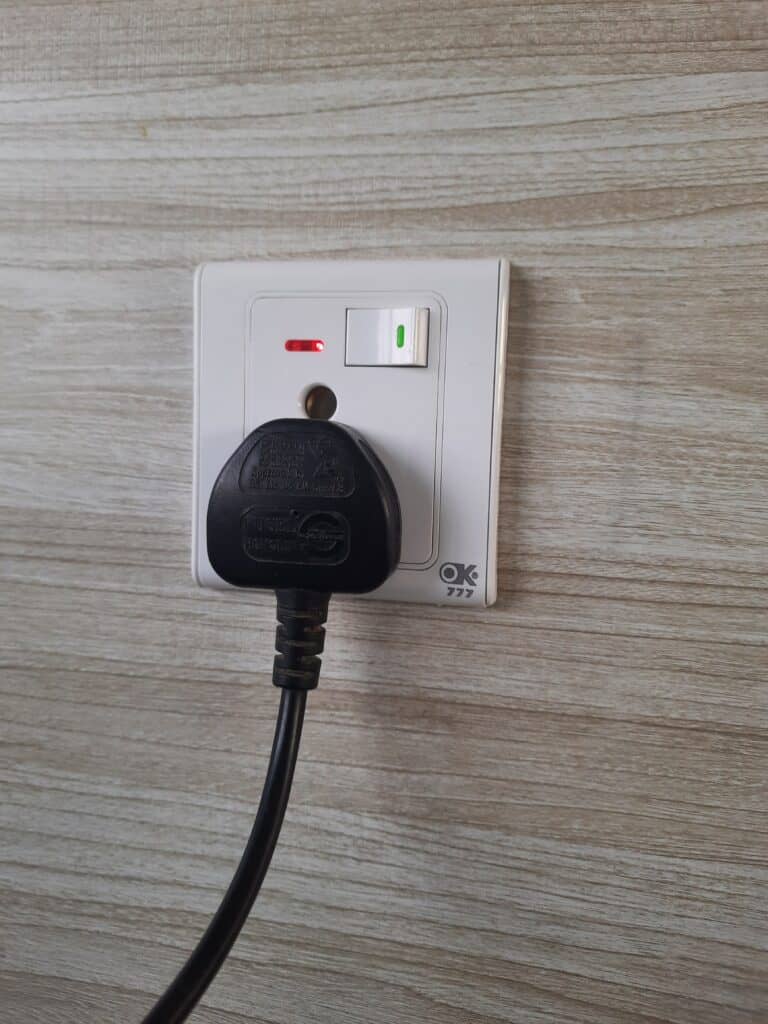
7. Check the Power Supply and Motherboard
You must ensure that the computer’s power supply is adequate and that the motherboard is functioning properly.
Ensure the input voltage for the power supply is correct (depending on your country).
A faulty power supply or motherboard could cause the display not to work.
If the display is still not working, you can try the other steps listed in my previous response to troubleshoot the issue further.
This is a critical fix, so we suggest you seek the help of a professional or computer manufacturer.
Fixing it on your own can seriously damage the computer’s system, short circuit, or Fire.
8. Disconnect all the Peripherals
Sometimes the issue may be initiated due to some faulty and unsupported peripherals.
It includes Bluetooth, speakers, a mouse, webcams, external storage drivers, keyboard to cameras, scanners, printers and other peripherals.
To disconnect all the peripherals from your computer, you will need to follow these steps:
- Shut down your computer and unplug it from the power outlet.
- Disconnect any cables or cords connected to the peripherals you want to remove. This may include USB cables, HDMI cables, Ethernet cables, power cords, or other cables.
- Carefully unplug the cables from the ports on your computer and the peripherals. Hold onto both ends of the cable to avoid pulling on the connectors.
- Update the respective drivers to avoid the issue.
- Once all the cables are disconnected, you can gently remove the peripherals from your computer.
- When you are finished, you can turn your computer back on and start using it with the new peripherals.
The Bottom Line
After going through all the possible causes and troubleshooting steps for a PC that turns on but shows no display, it is important to remember that multiple factors could be at play.
Ultimately, the key is to be thorough and methodical in your troubleshooting process.
If you have tried all of the above steps and can still not get a display, it may be necessary to seek further assistance or consider repairing the PC.
Read on to learn whether you can upgrade Laptop’s motherboard.
Frequently Asked Questions
How to Fix the Display Not Turning After it Goes to Sleep?
For several reasons, your computer may not show the display after going to sleep or hibernate mode.
You can resolve the problem by restarting it, changing the display settings, or updating the software and drivers.
How to Change Display Settings When You can Not See the Display?
You cannot particularly change the display settings. But resetting the BIOS can help your display to get into work again.
Can Outdated Drivers Cause No signal on a PC?
Yes, outdated drivers can potentially cause a “no signal” error on a PC.
The drivers are responsible for controlling the various hardware components of the computer, including the graphics card and display.
Therefore, an outdated and faulty driver could cause issues with the display and result in a “no signal” error.
Read more to find out why your second Monitor is showing no signal.