If you have seen an orange light on your Motherboard, you know it can cause concern.
While orange lights can indicate a hardware issue, they don’t always mean something is wrong with your Computer.
Continue reading the article to learn what the orange light on Motherboard indicates and how to troubleshoot the problem.
Table of Contents Show
Symptoms of an Orange Light on Motherboard
Orange light on Motherboard issue typically takes the form of one or more of the following:
- Overheating of the internal components
- Sudden freezing
- Blue screen of Death appears with some error code while using or starting up the PC
- Crashing and malfunctioning of the programs
- Beeping sound from the Motherboard
- The inability of the Motherboard to detect the hardware
- Damaged RAM
10 Ways to Fix Orange Light on Motherboard
When a Computer experiences an issue with the orange light on its Motherboard, it’s often difficult to determine what caused it.
While there are several reasons why it could occur, it usually has the same outcome.
This article will explore the causes of the orange light on your Motherboard and how to resolve any potential issues.
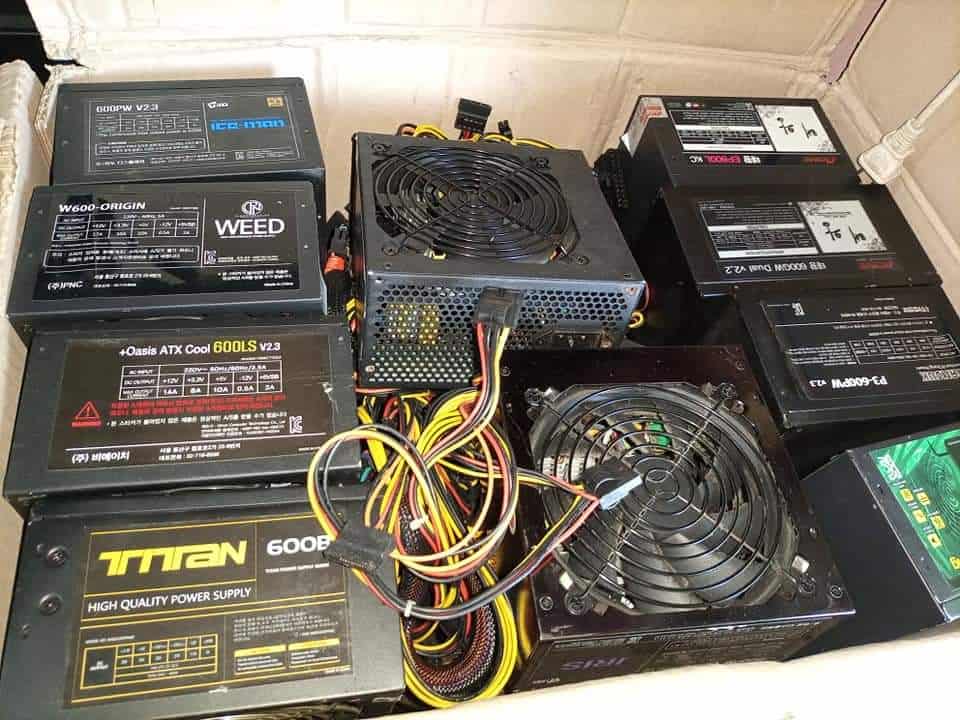
1. Repair the Power Supply Unit (PSU)
The orange light on a Motherboard can indicate a problem with the power supply unit (PSU).
You can follow these steps to repair the PSU:
- Ensure the PSU is correctly connected to the wall outlet and the Motherboard.
- Check for any physical damage to the PSU, such as bent pins or a broken casing.
- Test the rated voltage output of the PSU using a multimeter.
- If the voltage output is incorrect or the PSU is damaged, replace the unit with a new one.
If the steps above do not resolve the issue, the problem may lie elsewhere in the system.
We will continue to troubleshoot the system for potential causes.
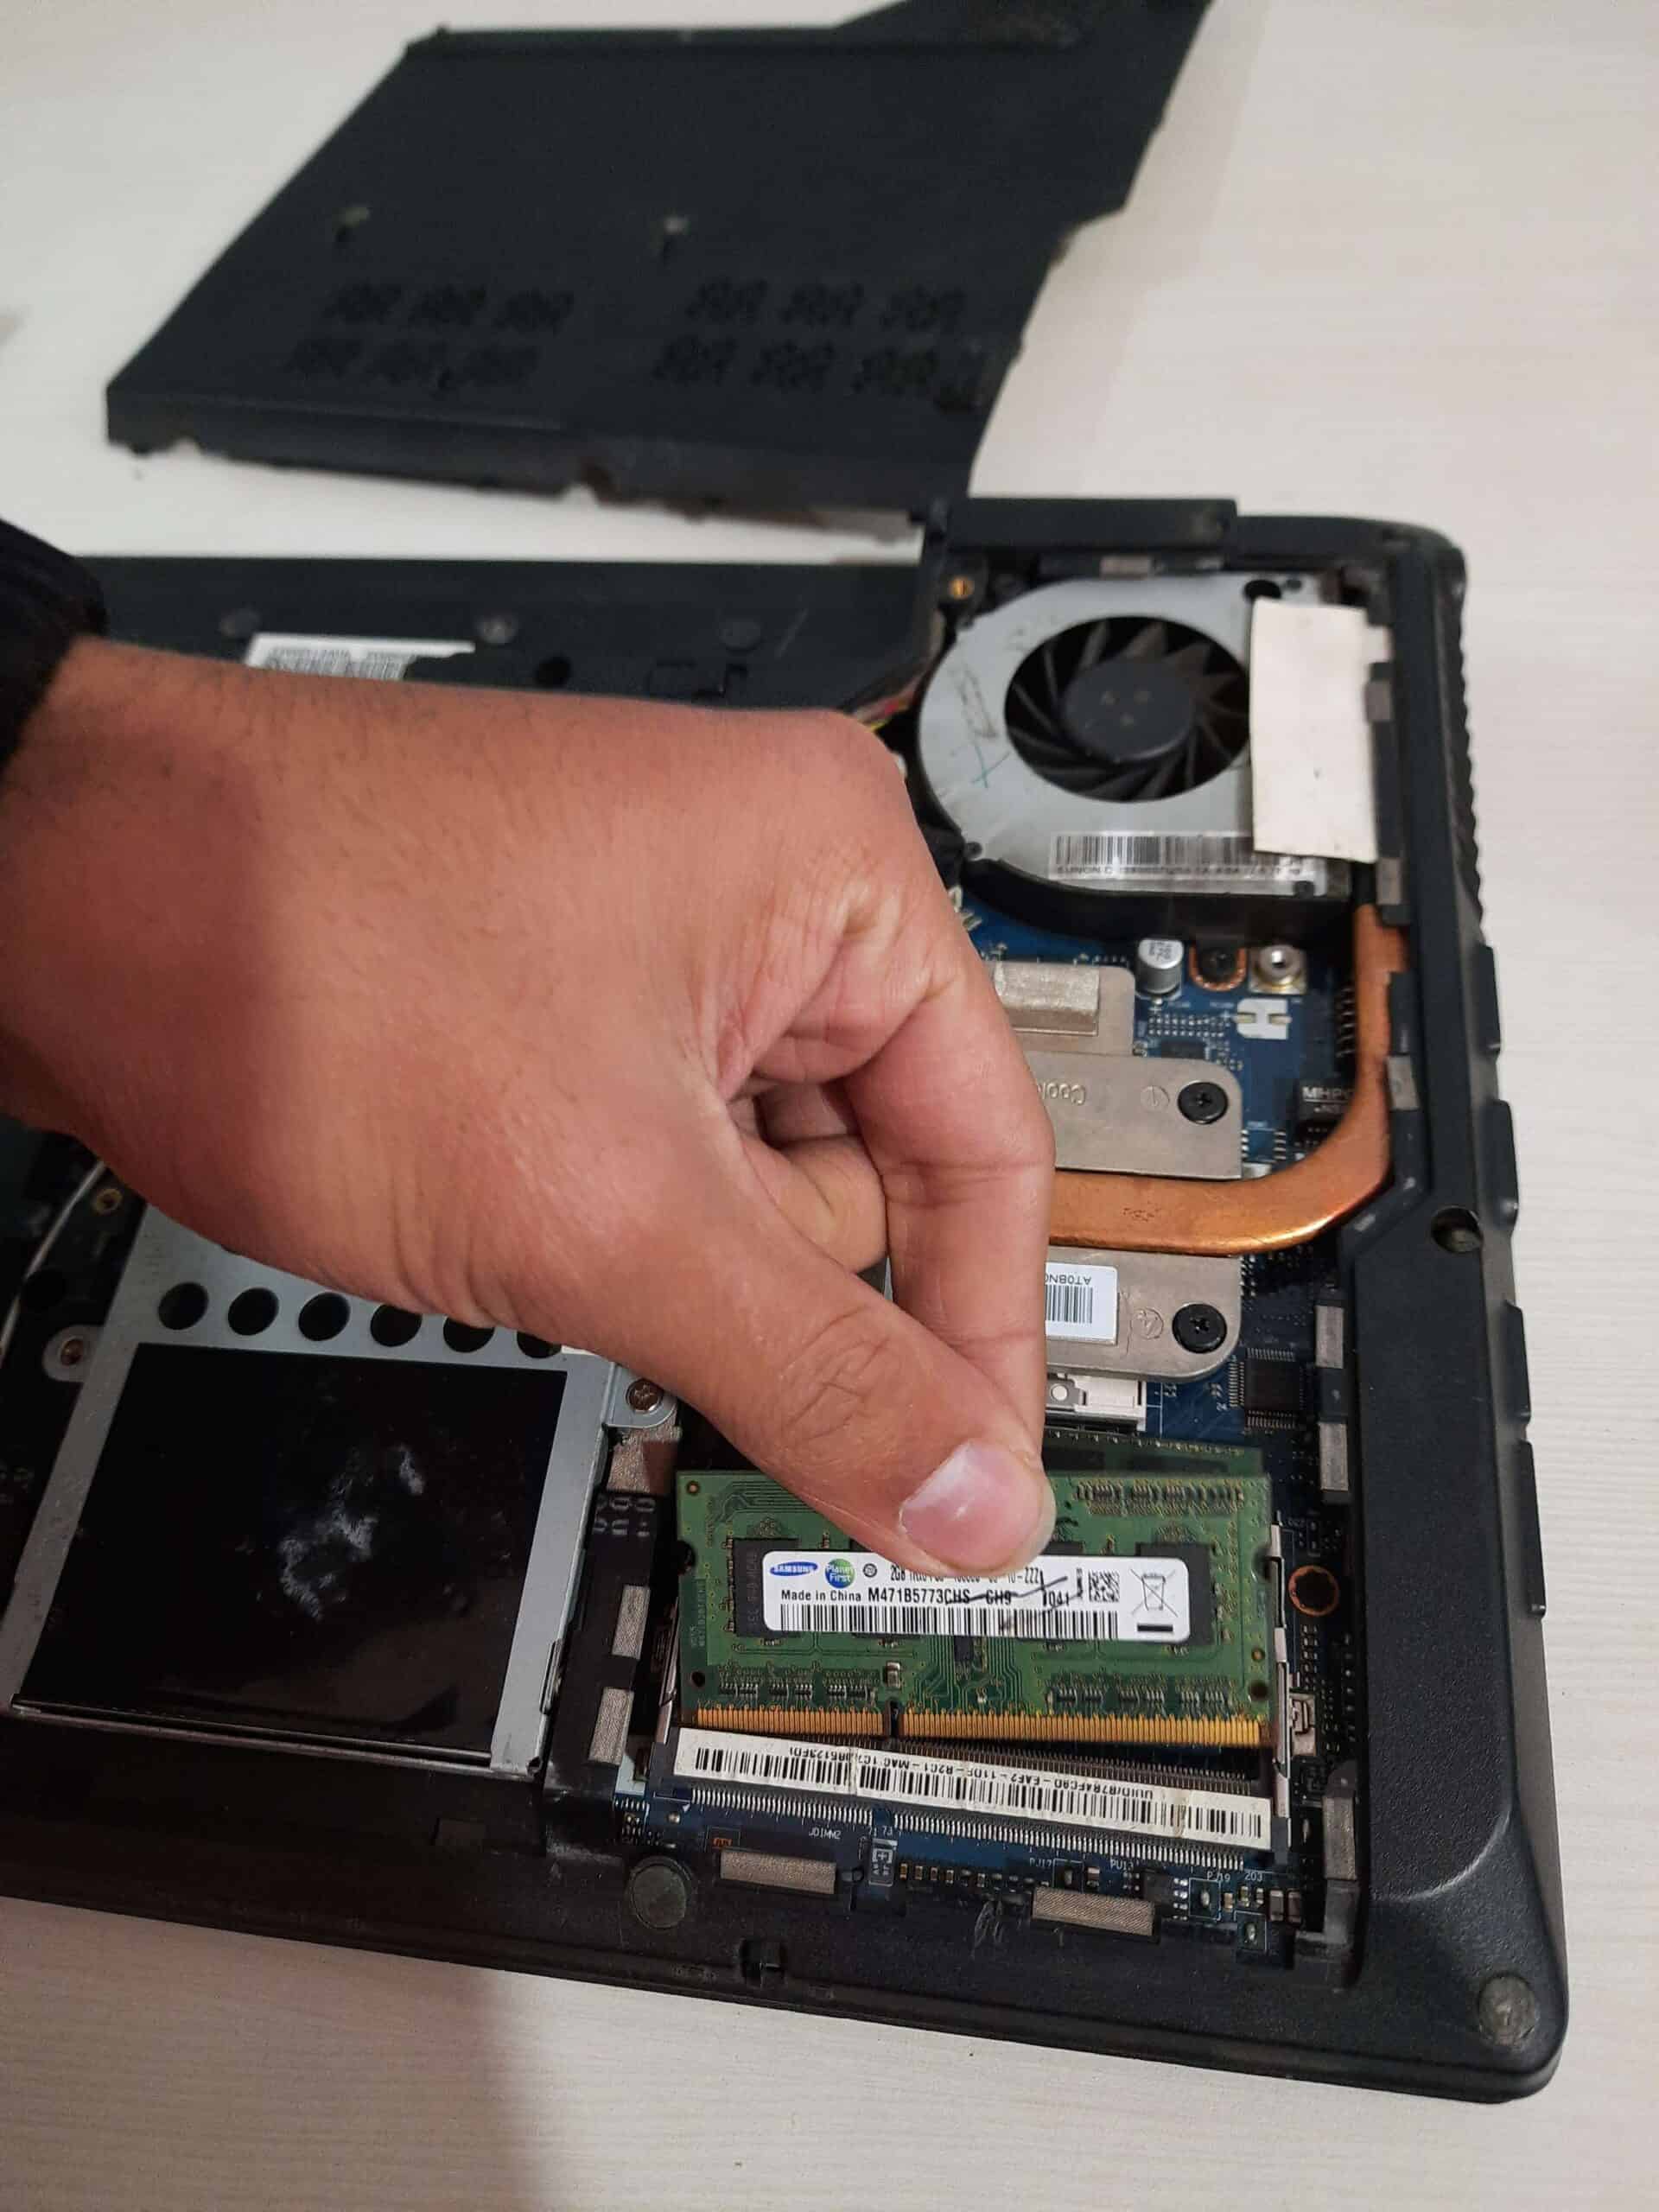
2. Check for Damaged or Incompatible RAM/Slots
The orange light on the Motherboard could result from a hardware error or malfunction.
As a result, inspecting the RAM and its slots may provide useful clues in troubleshooting this problem.
We can verify the condition of the RAM and its slots in various ways.
First, we must ensure the RAM module is properly seated in the slots. If there is dust and dirt within the RAM module, we should consider cleaning it.
You can clean the RAM slots by spraying Isopropyl Rubbing Alcohol on the Microfiber Cloth.
As simple as it may sound, checking the compatibility of the RAM with the Motherboard is also one of the crucial steps.
Different types of RAM are available, and you should check the RAM that fits within the RAM slot and matches the required specification.
Moreover, sometimes the DRAM light may turn on your Motherboard which means that the RAM is faulty and incompatible with your Motherboard.
At last, if none of the above methods worked, you should also consider verifying the RAM condition by checking it on the other Computer systems.
If you get to know that your RAM module is faulty, you should consider replacing it.
Here are some of our top recommendations:
| RAM | Specifications |
|---|---|
| Corsair Vengeance RGB PRO 16GB | 16 GB capacity DDR4 type Upto 3200 MHz |
| Crucial RAM 32GB Kit (2x16GB) | 32GB DDR4 Upto 3200MHz |
| G.Skill Ripjaws X Series | 16 GB DDR3 1600 MHz |
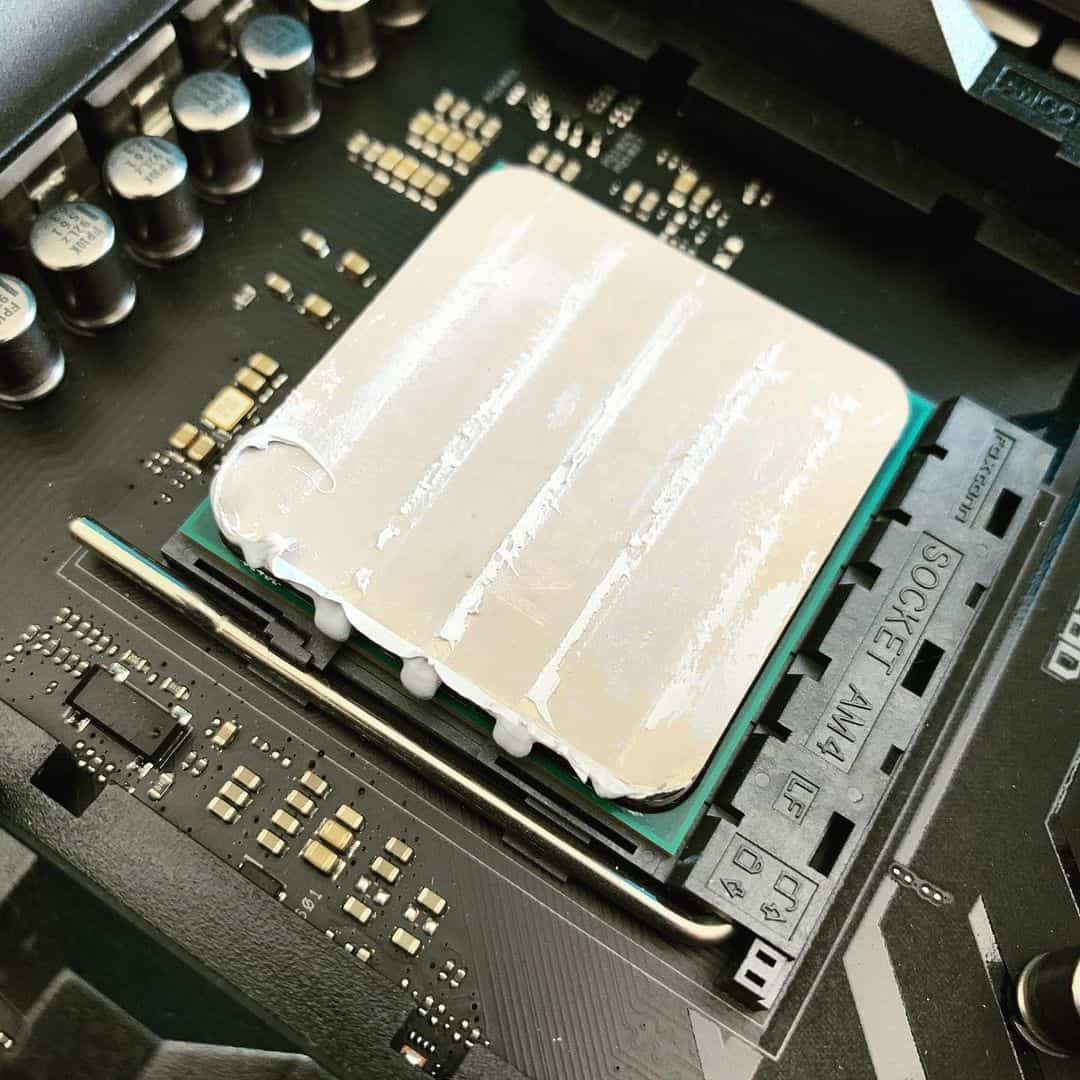
3. Check the Processor
The processor is responsible for the overall operation of the Computer; even a minor issue can affect the overall operation.
The faulty processor may also cause the orange light to glow in the Computer’s Motherboard.
First, check if the processor is securely and properly installed in the socket.
You can try reseating the processor to ensure a proper connection which may fix the problem.
You should also consider checking for any visible damage or defects on the processor.
On top of that, ensuring that the processor is compatible with the socket and the Motherboard is always a good idea.
If none of the above methods work, you can try a different processor, if one is available, to see if the problem is with the current processor.
4. Ensure Proper Power Cable Connections
Disruption in the proper power supply in the Computer system can cause the orange light in the Motherboard.
You should ensure the power connection is properly supplied from the power outlet to the PSU.
Additionally, you can also thoroughly check the condition of wires and the wiring structure to know whether cables are not worn out or bent.
You can also try unplugging all cables that connect your Motherboard or any internal hardware to the power supply and plug it in again.
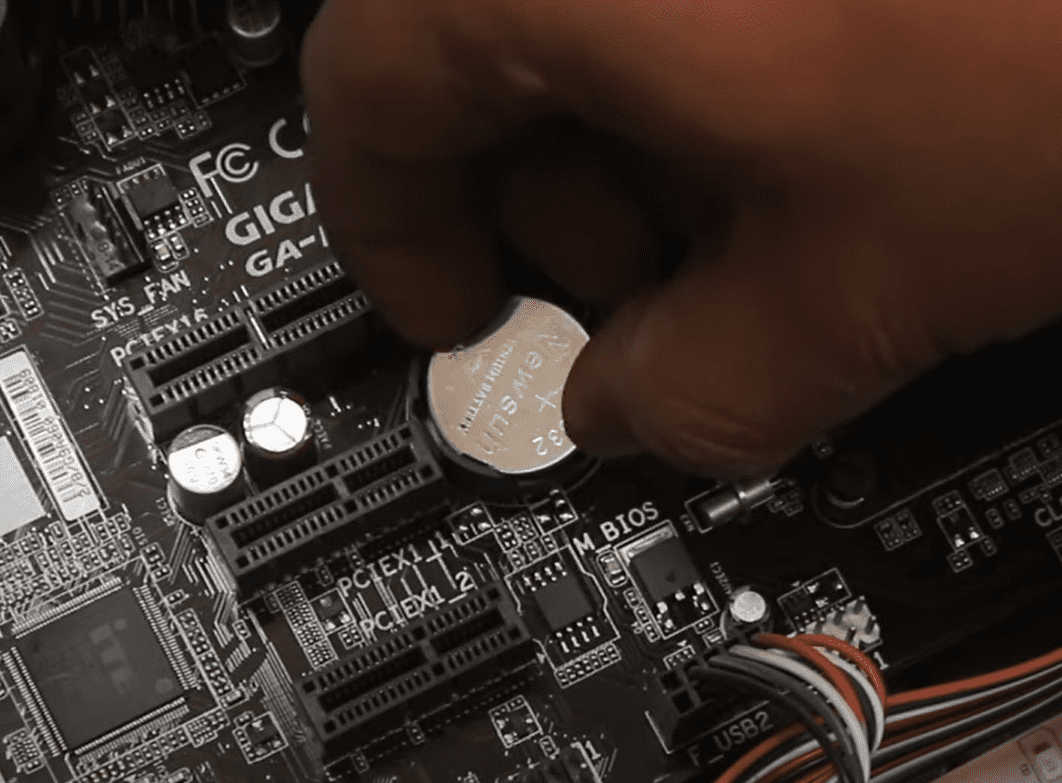
5. Replace CMOS
Our PC needs to store BIOS settings and configuration even after the PC is turned off. For that purpose, the CMOS battery comes into play.
This provides the necessary power required for the BIOS when the PC is turned off and is not supplied.
The CMOS (Complementary Metal Oxide Semiconductor) battery has an average endurance of 4-5 years. After that time frame, you should consider replacing the CMOS battery.
6. Reset BIOS
BIOS (Basic Input Output System) is responsible for initializing and controlling all the components in the Computer system.
It performs crucial tasks like controlling data flow and IPO (Input-Process-Output).
Misconfigured BIOS settings and configuration might affect normal hardware functioning, resulting in orange light glowing inside the Motherboard.
In this case, the most effective action is to reset the BIOS. Resetting BIOS brings all of the configurations back to factory default.
Here, we will follow the CMOS battery method to reset the BIOS. Follow these steps:
- Turn off your PC.
- Disconnect the power cable from the power outlets.
- Take out the CMOS battery attached to the Computer’s Motherboard.
- Press the power button continuously for at least 15 to 30 seconds. This will reset your system’s BIOS to factory default.
- Connect the power sources again and turn on your Computer.
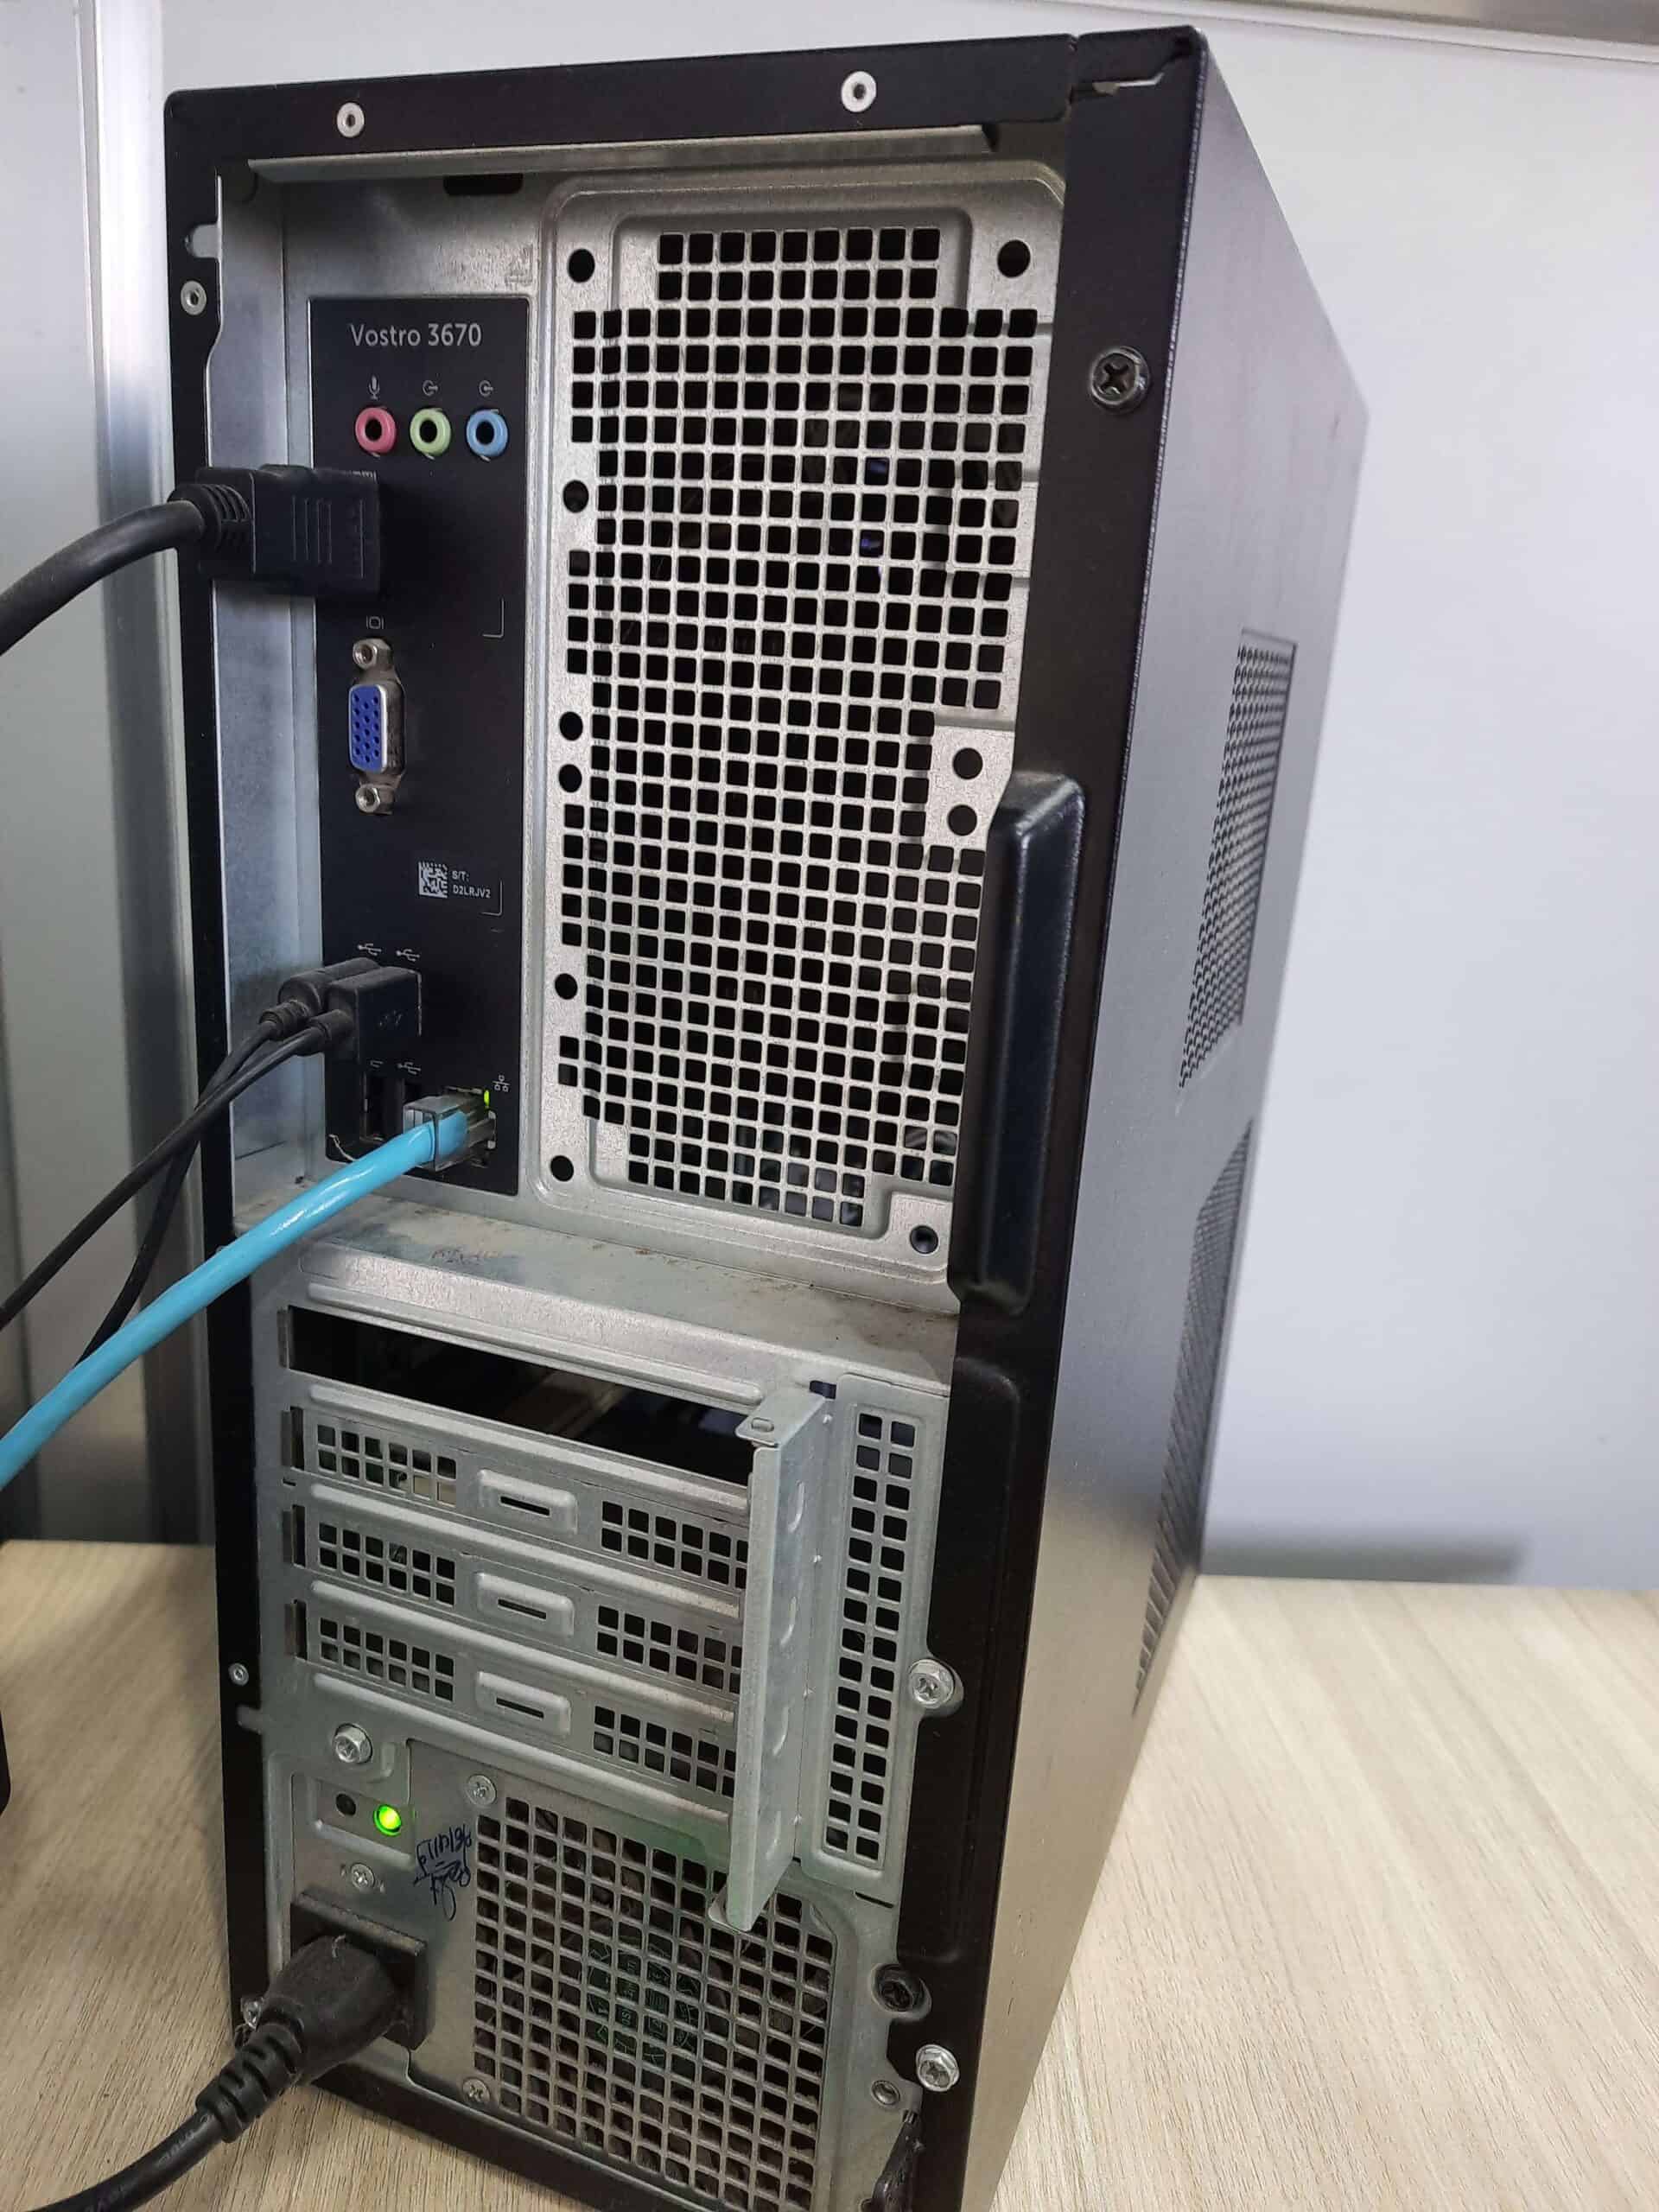
7. Check the Graphics Card
An orange light on a Motherboard could indicate a problem with the graphics card (GPU).
This could be due to a faulty GPU, an outdated driver, or a compatibility issue between the GPU and the Motherboard.
To resolve the issue, check for compatibility between the GPU and Motherboard or replace the GPU if necessary.
Follow the steps outlined below to check and replace the graphics card;
- First, shut down the Computer and unplug all of the cables.
- Next, open up the case and locate the graphics card.
- If you see any dust or dirt on the card, blow it off with a can of compressed air.
- Once the card is clean, reattach all the cables and power on the Computer.
- If the orange light is still on, the problem is likely with the graphics card.
If the problem persists, it may be best to consult a professional repair service or the manufacturer for further assistance.
8. Protect Components From Overheating
An orange light on a Motherboard indicates that one or more system components are overheating.
Overheating can damage components, reduce system performance, and even cause the system to shut down unexpectedly.
To troubleshoot, clean the system’s interior, check that the PC fans are working properly, and make sure the thermal paste on the CPU and GPU is still effective.
If the problem persists, additional cooling solutions may be required, such as adding fans, liquid cooling, or replacing the overheating component.
Furthermore, seeking further assistance from a professional repair service or manufacturer is always a good idea.
9. Improperly Assembled Hardware
An orange light on a Motherboard indicates that the hardware has been assembled incorrectly.
This can include incorrect component placement, cable connection, or jumper configuration.
To resolve the problem, carefully re-examine the system’s assembly, double-check that all components are securely connected and properly configured.
If unsure about the proper assembly procedure, consult the Motherboard and other components manual or seek assistance from a professional repair service or manufacturer.
10. Fix the Short Circuit Problem
A short circuit, a low-resistance connection between two points in an electrical circuit that allows a large amount of current to flow, can also cause an orange light on a Motherboard.
A short circuit can damage components and even cause a Fire.
To resolve the problem, immediately turn off and unplug the system.
Then, carefully inspect the system’s interior for any signs of damage, such as burn marks, melted components, and loose or disconnected cables.
If you discover a faulty component, you should replace it.
The Bottom Line
The orange light in the Motherboard is the thing to concern. If it is left unaddressed, it can cause serious hardware failure.
Therefore, it is always a good idea to seek further assistance from a professional repair service or manufacturer if you are unsure about the issue.